
The Toniebox is a fantastic concept that lets children enjoy stories and music in a fun and engaging way. But what if you want more control over what it plays? Perhaps you’d like unlimited access to audiobooks, music, or even content in other languages if you’re raising your kids multilingual. No problem! We’ll show you how to hack your Toniebox and unlock its full potential.
What you need
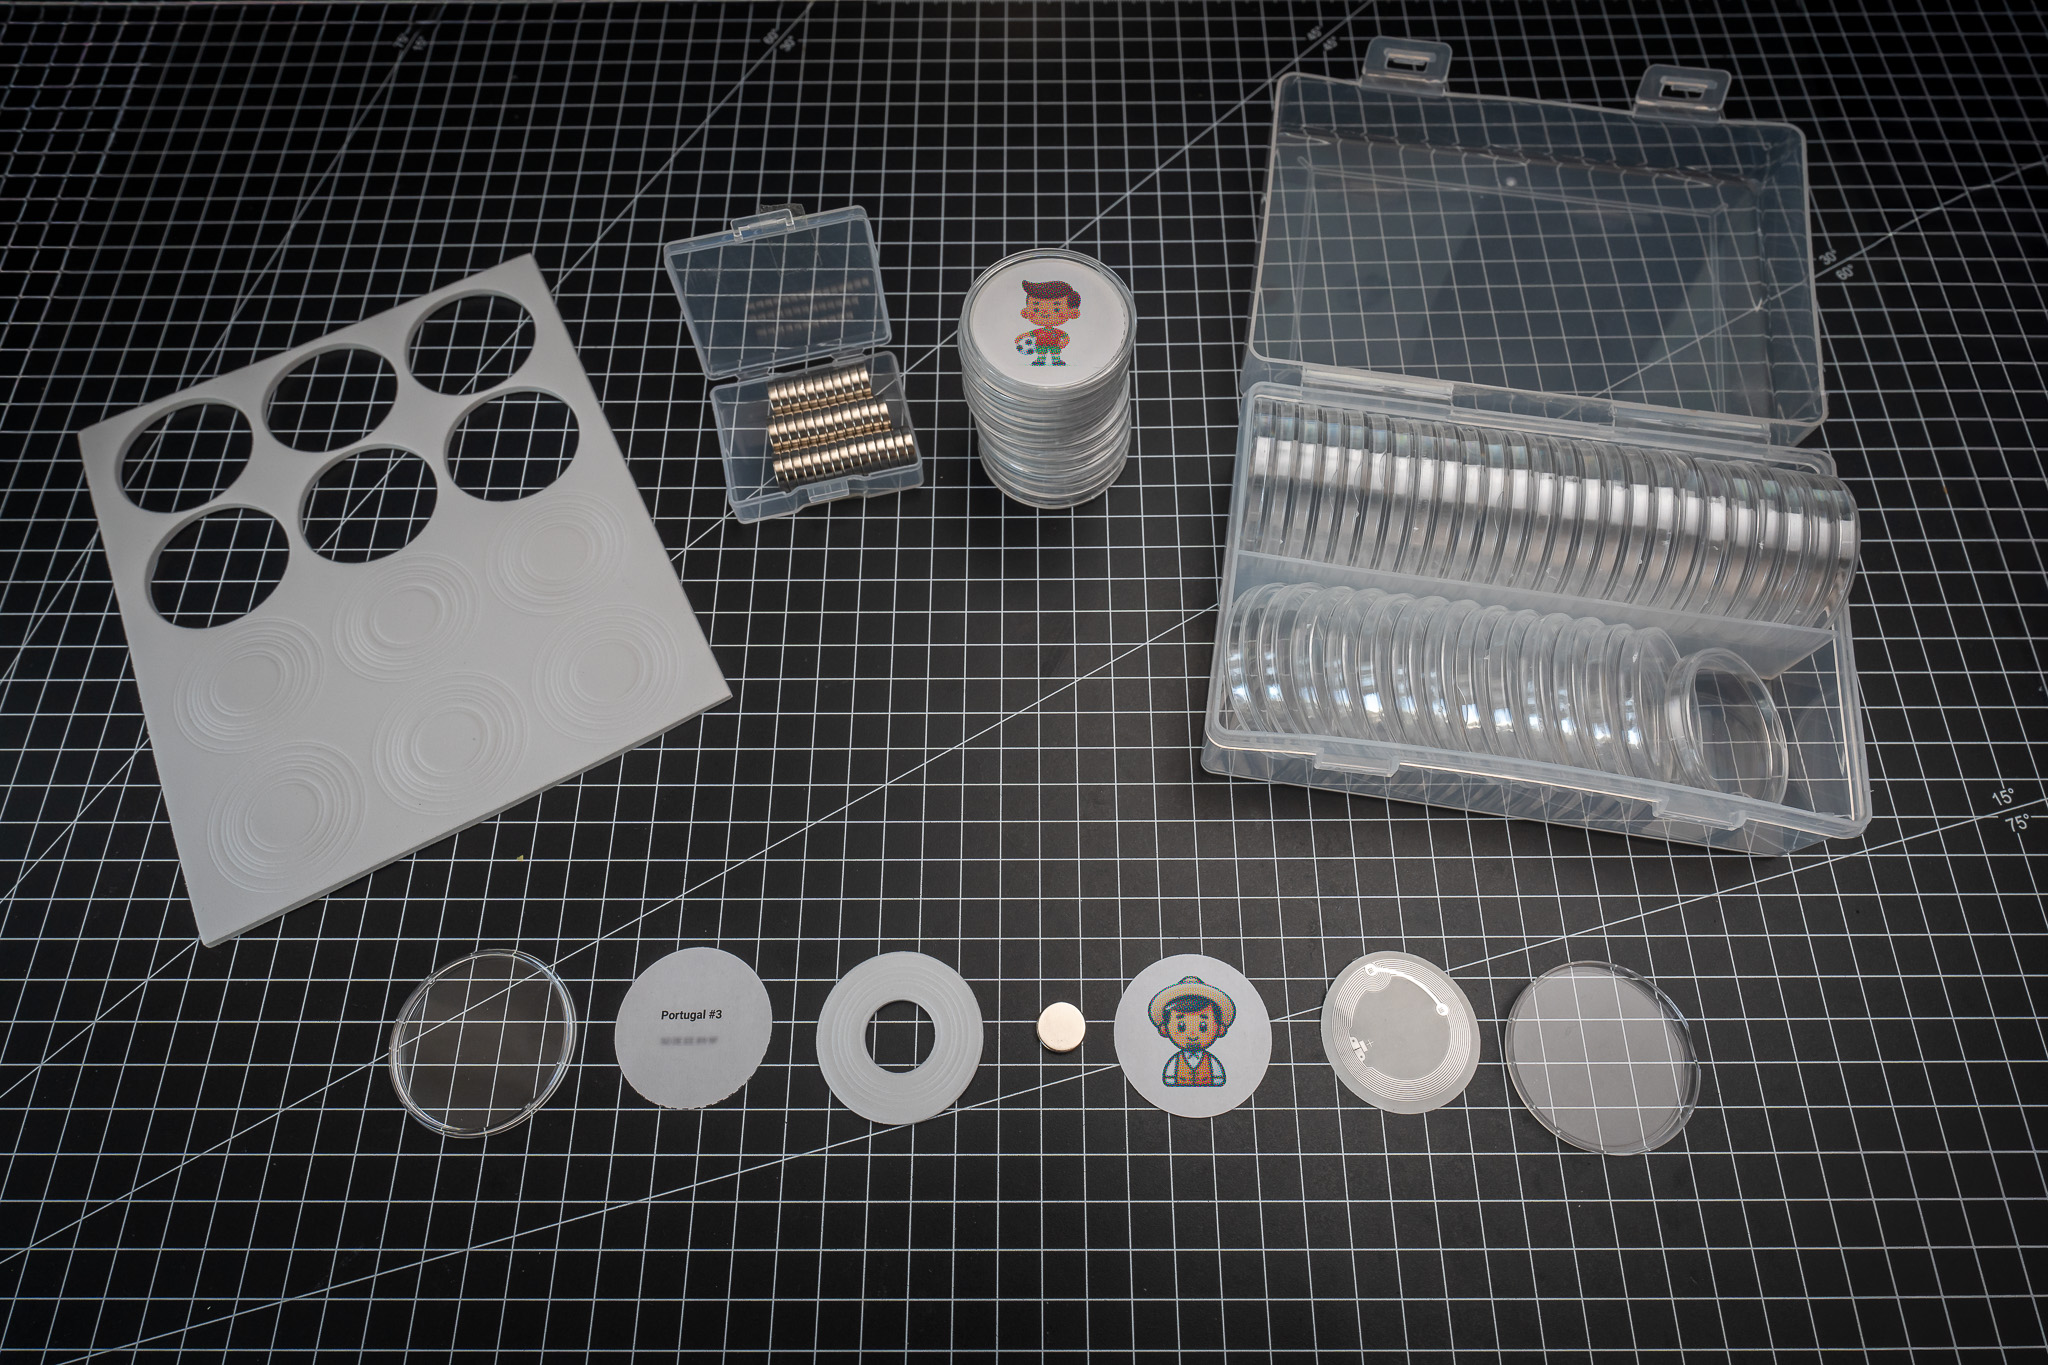
Before we dive into the technical part, here is an overview of the things you need for the hack:
- A Toniebox (obviously 😉)
- MicroSD card (we recommend at least 16 GB so you have enough space for your content; mine was already formatted with FAT32, which is important)
- Teddybench-Software (for reading and editing the audio files on the SD card)
- A Micro SD extension cable (so that you can easily access the SD card from the outside; as short as possible so that we have to put it in the box)
- NFC tags (for your own figurines that trigger the audio files)
- A 3D printer or crafting materials (for individual figures or mounts)
-
 Magnetic Eyeshadow Makeup Palette XL
 -
 12-Pocket Coin Pages for Collectors, Standard 9-Hole Coin Collection Pages, 10 Sheets Coin Sleeves, Coin Collecting Supplies
 -
 25 x SLIX-L RFID Tag Stickers Compatible with Toniebox, NFC Chip, Self-Adhesive
 -
 Micro SD Card 1 TB
 -
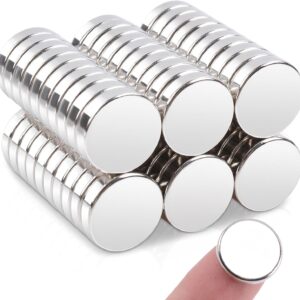 Magnet 12x3mm
 -
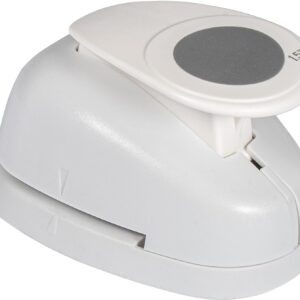 Circle Paper Punch 38mm
 -
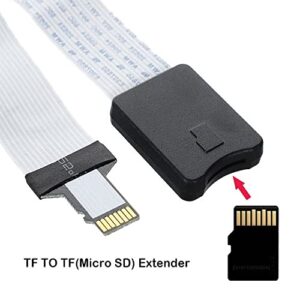 Micro-SD Extension Cable
 -
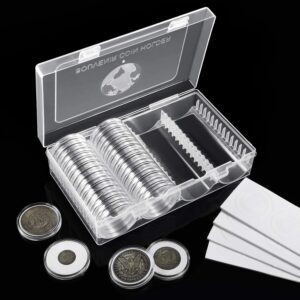 Coin Capsules 41 mm with Foam Gasket
*Affiliate Links: From everything you buy we will receive a small kickback that helps us maintain our channel. THANK YOU for your support!
Unfortunately, the special Slix-L NFC tags can only be ordered in large quantities (>1000) in China or individually from online retailers in Germany.
The basics of the Toniebox: How it works
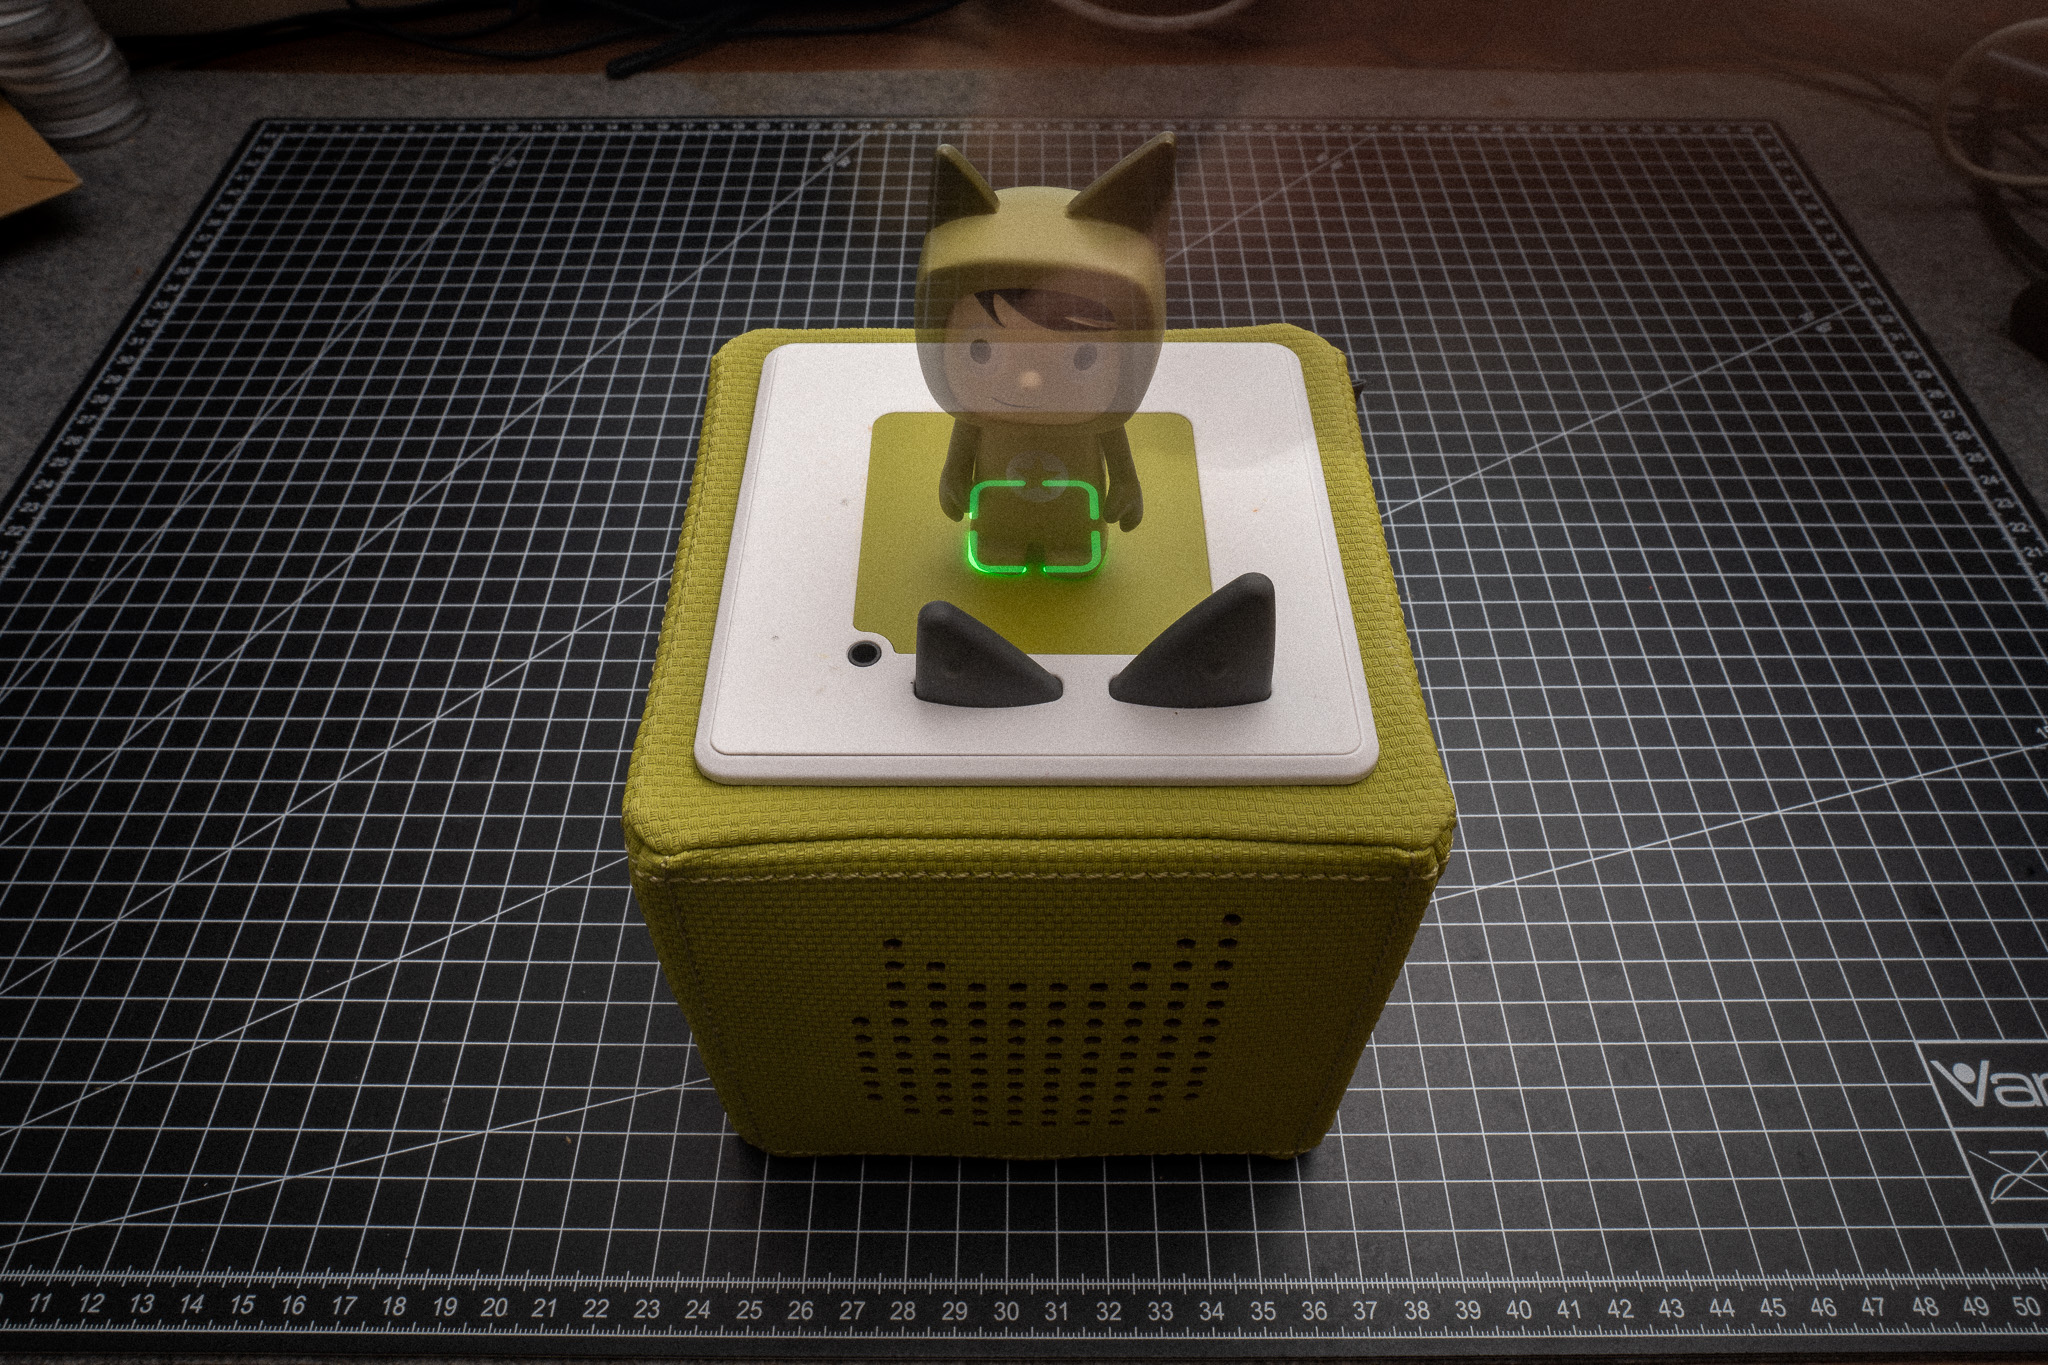
The Toniebox plays audio content from an SD card. Each Tonie (the little figurines) is linked to a folder on this card. If you place a figurine on the box, the corresponding folder is played. The content can either be downloaded from the Internet or added via the Tonie app.
The NFC antenna in the figurine establishes the connection between the box and the data on the SD card. This is where the first hack lies: we can make the SD card accessible and add our own content, which the Toniebox then recognizes.
The hack: Make the SD card accessible from outside
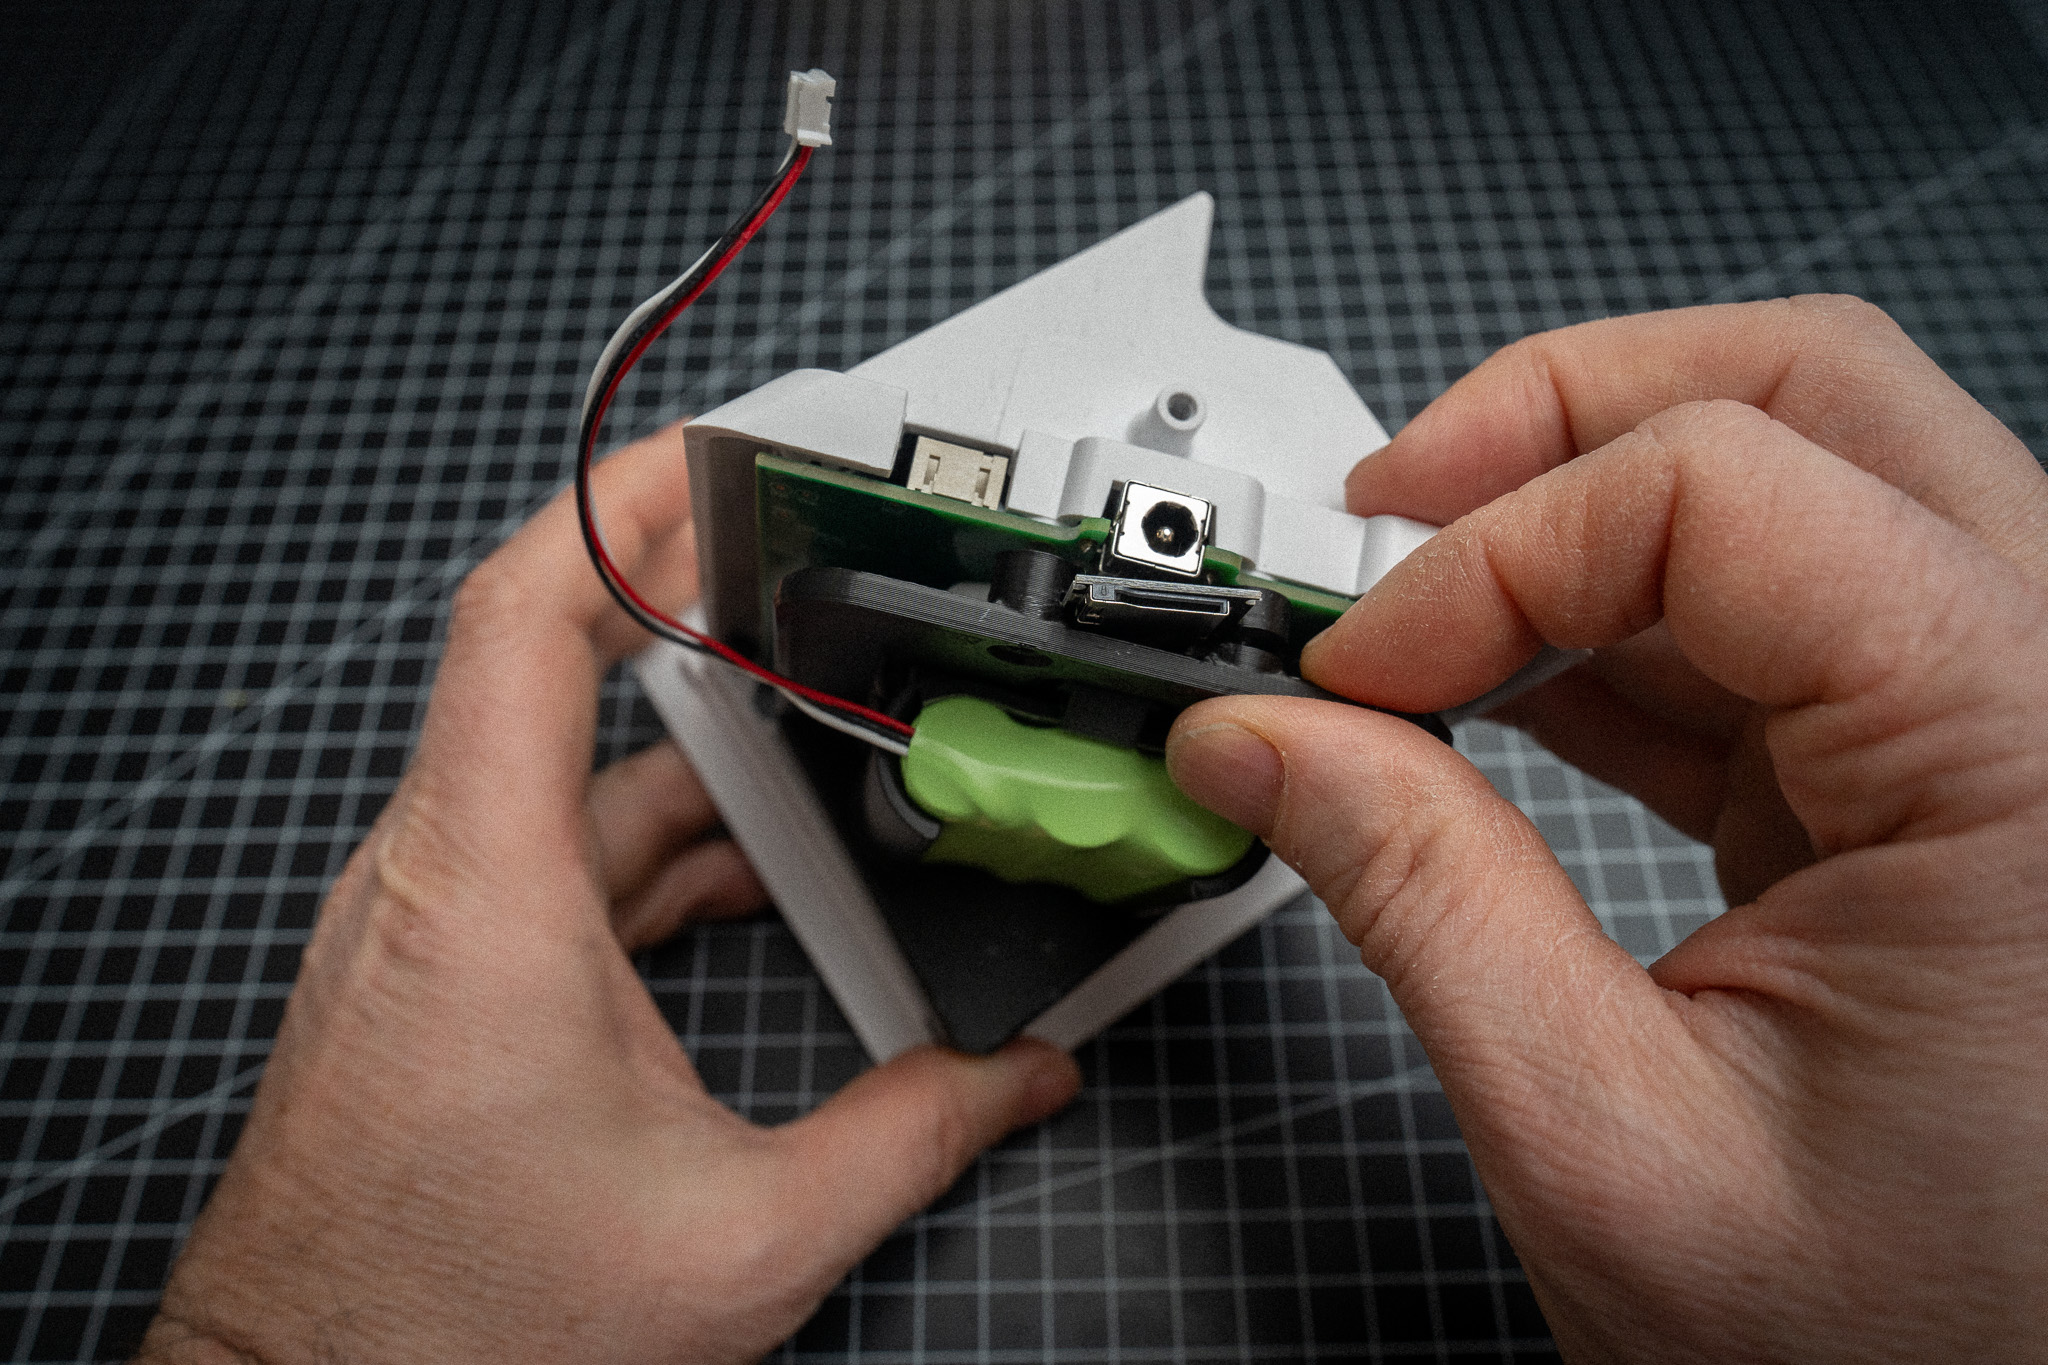
The first step to adding your own content is to extend the MicroSD slot on the Toniebox circuit board so that it is accessible from the outside. To do this, we use a Micro SD extension cable, which we cleverly store inside the box.
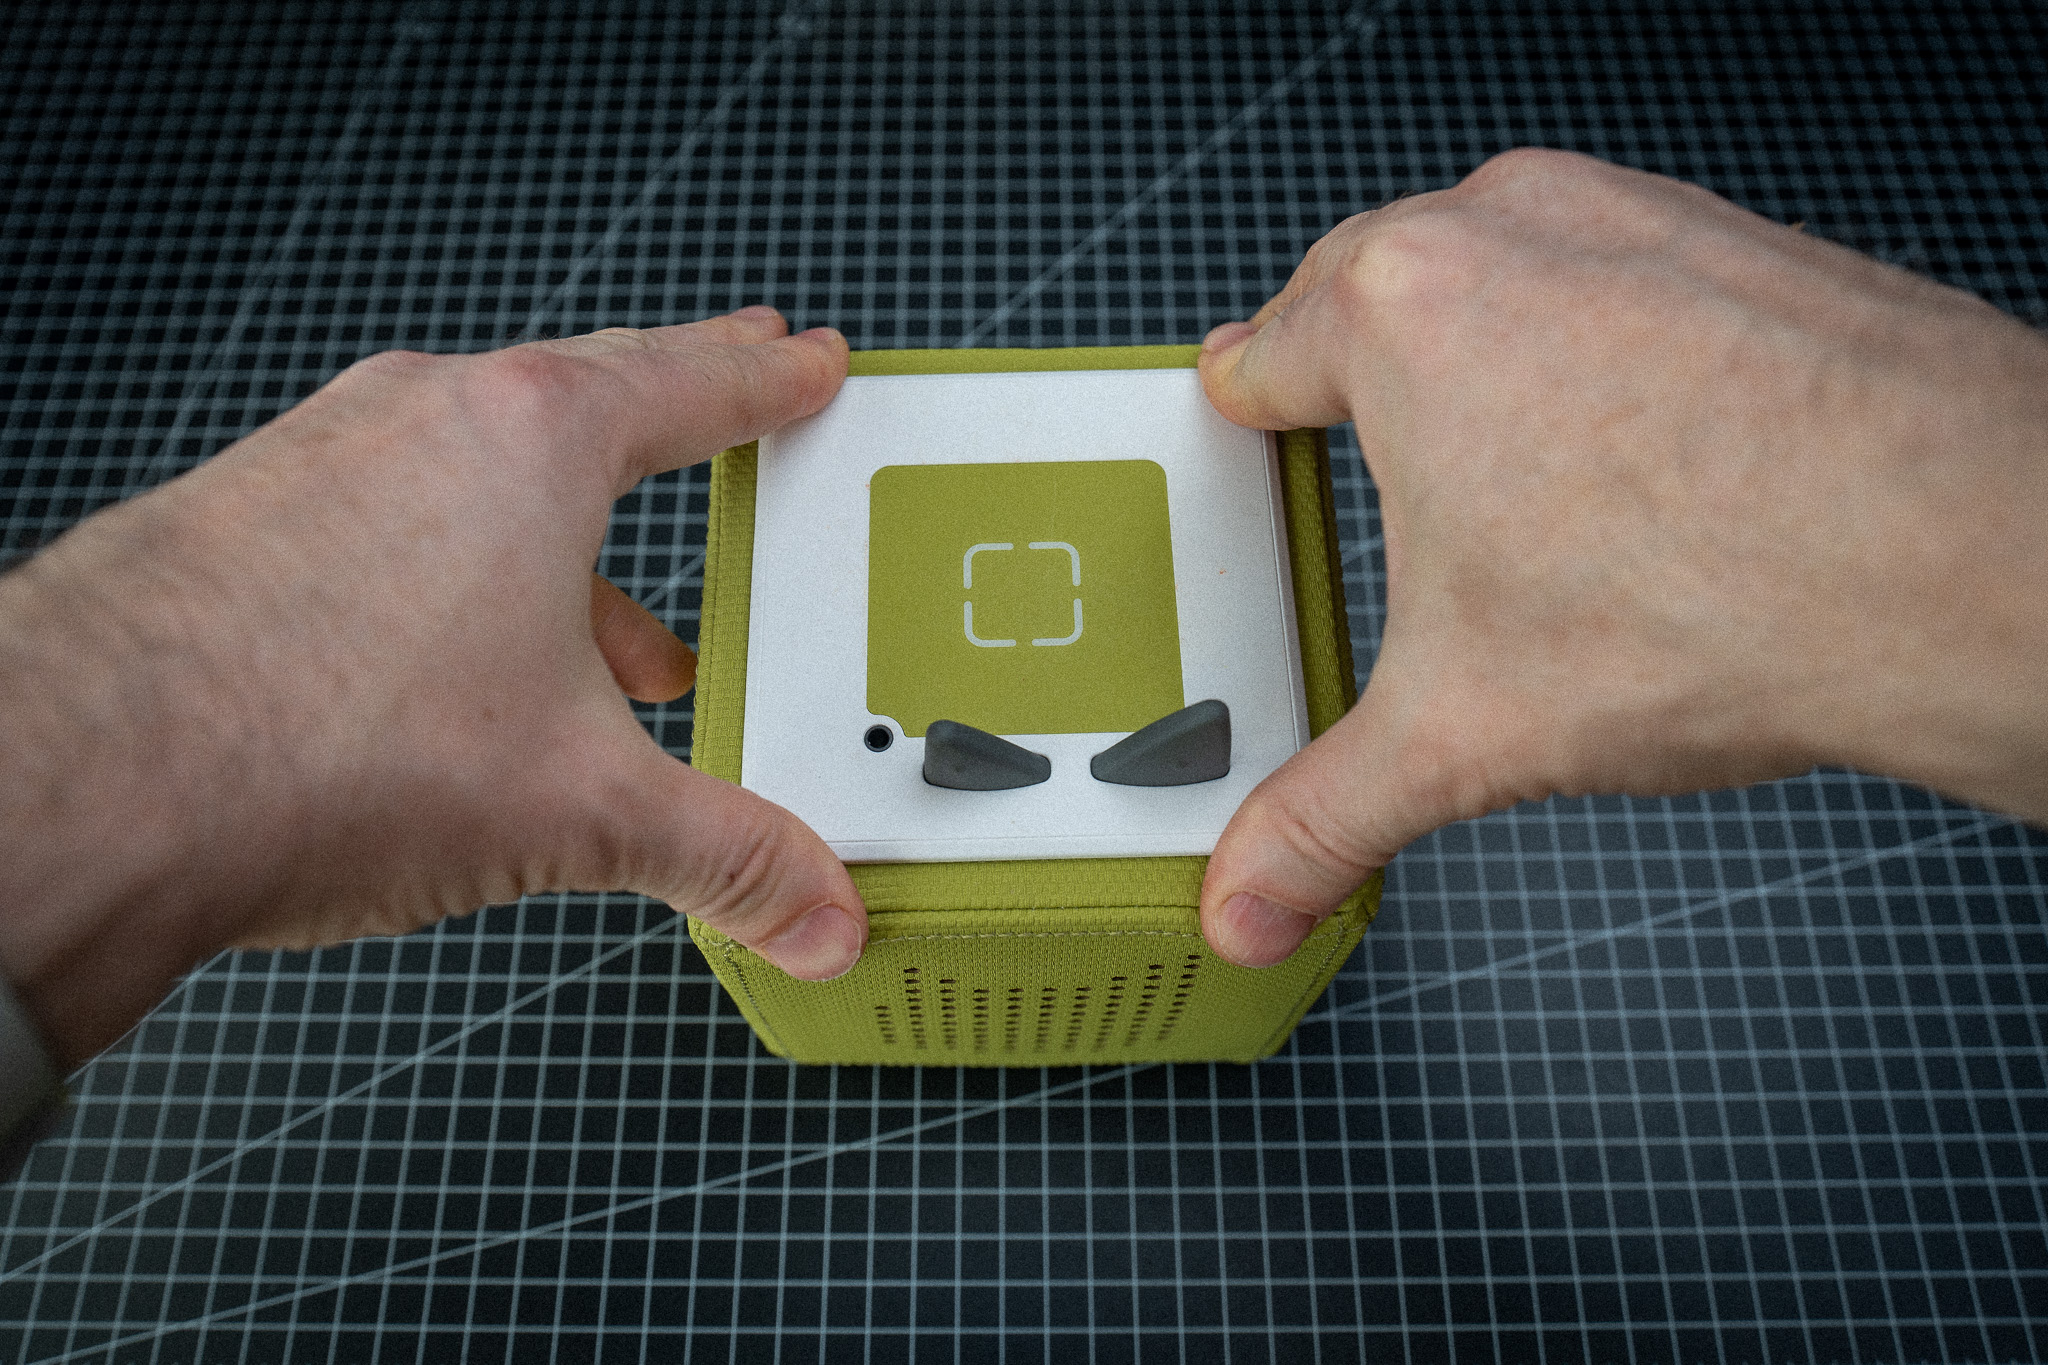
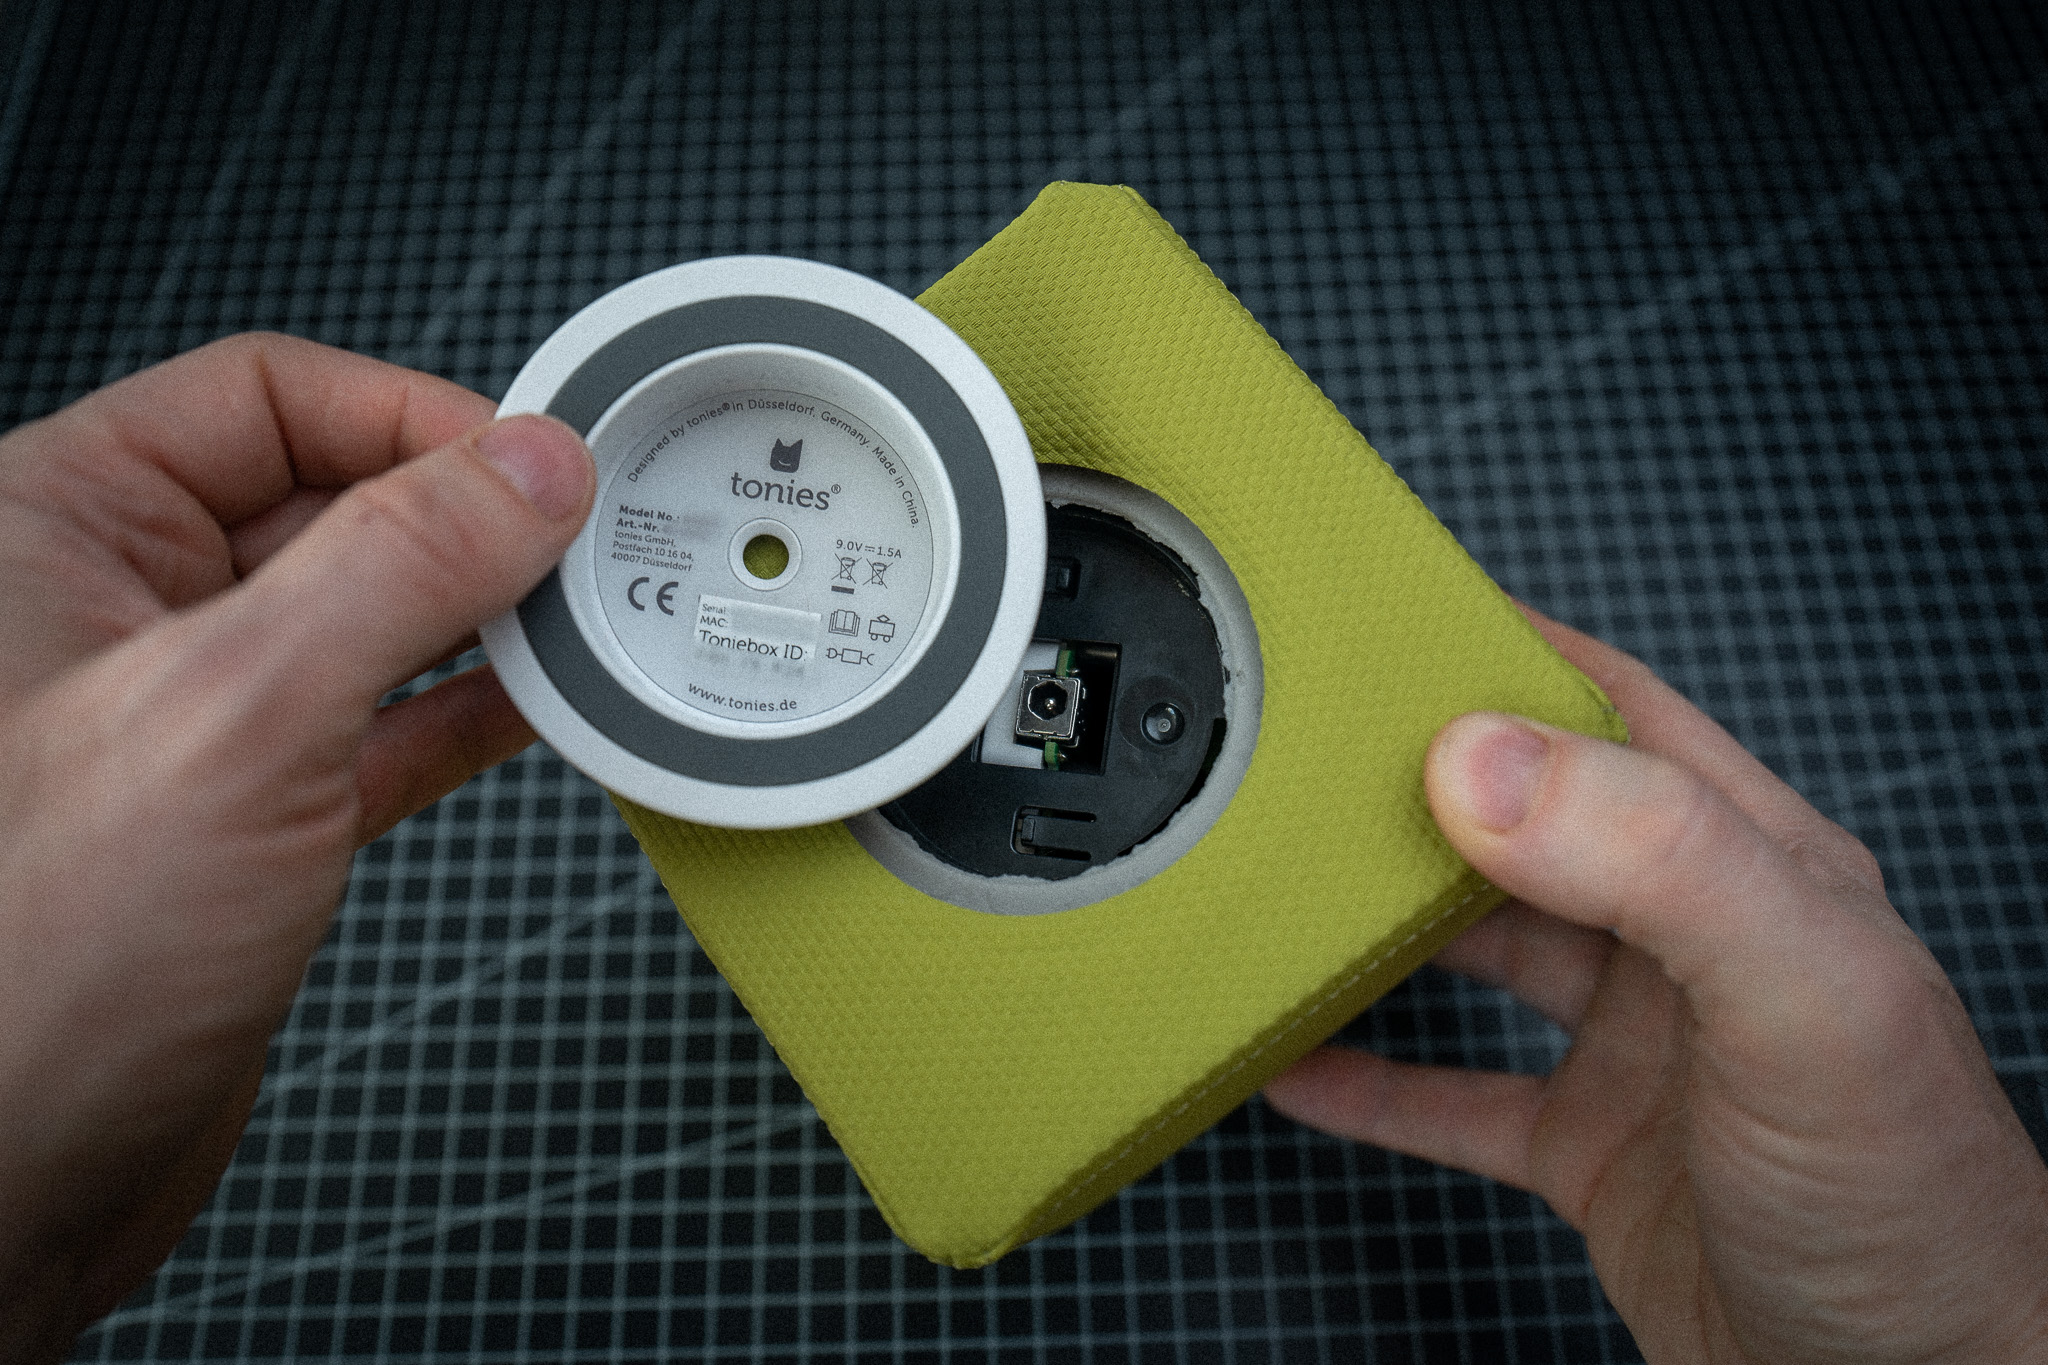
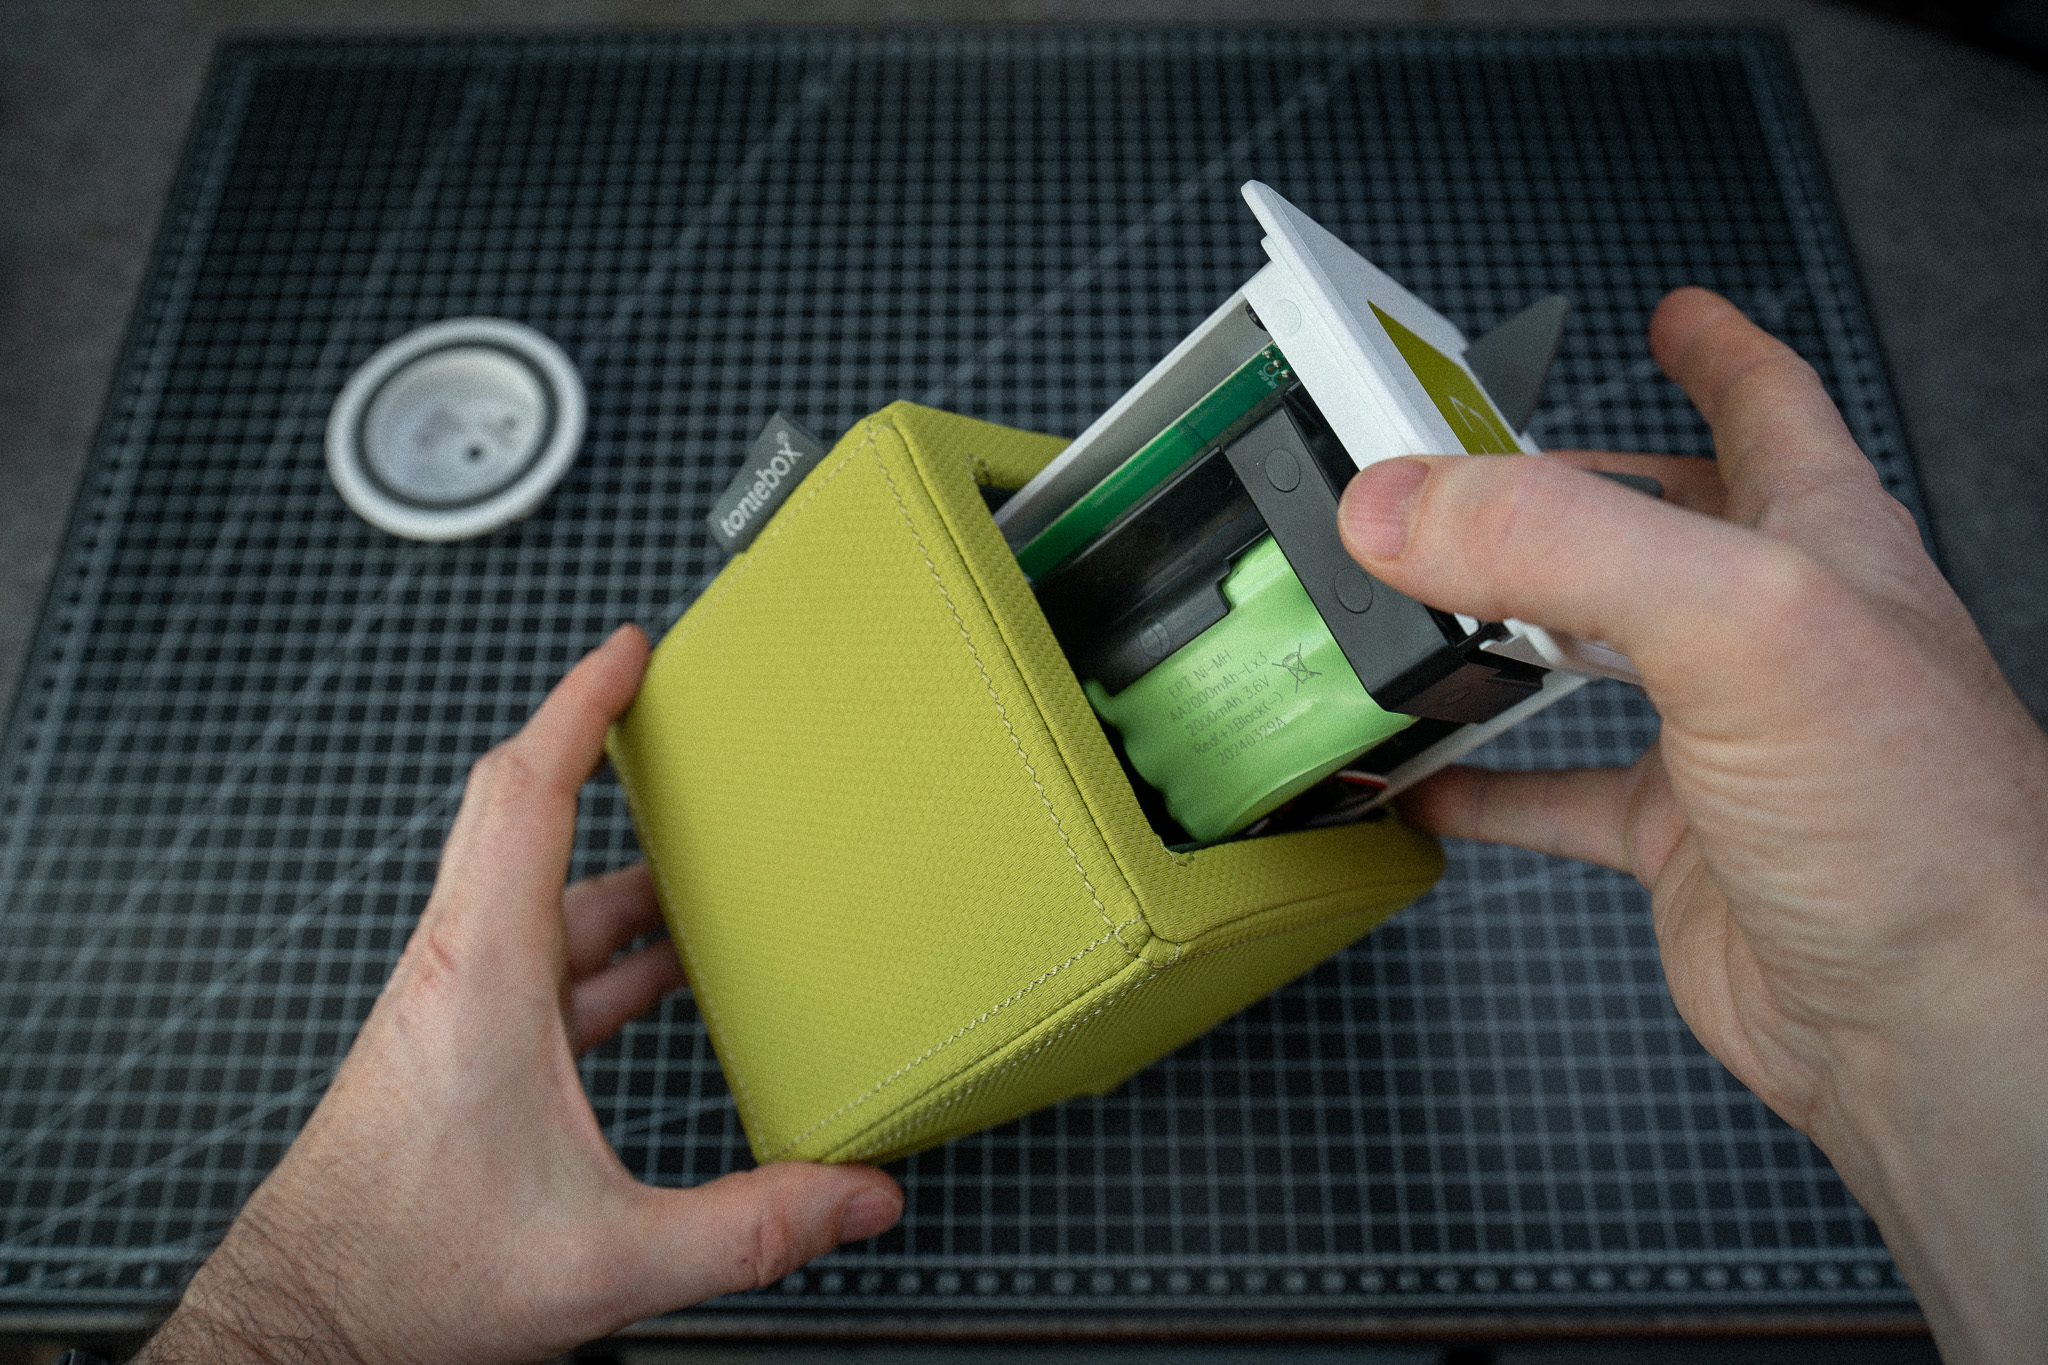
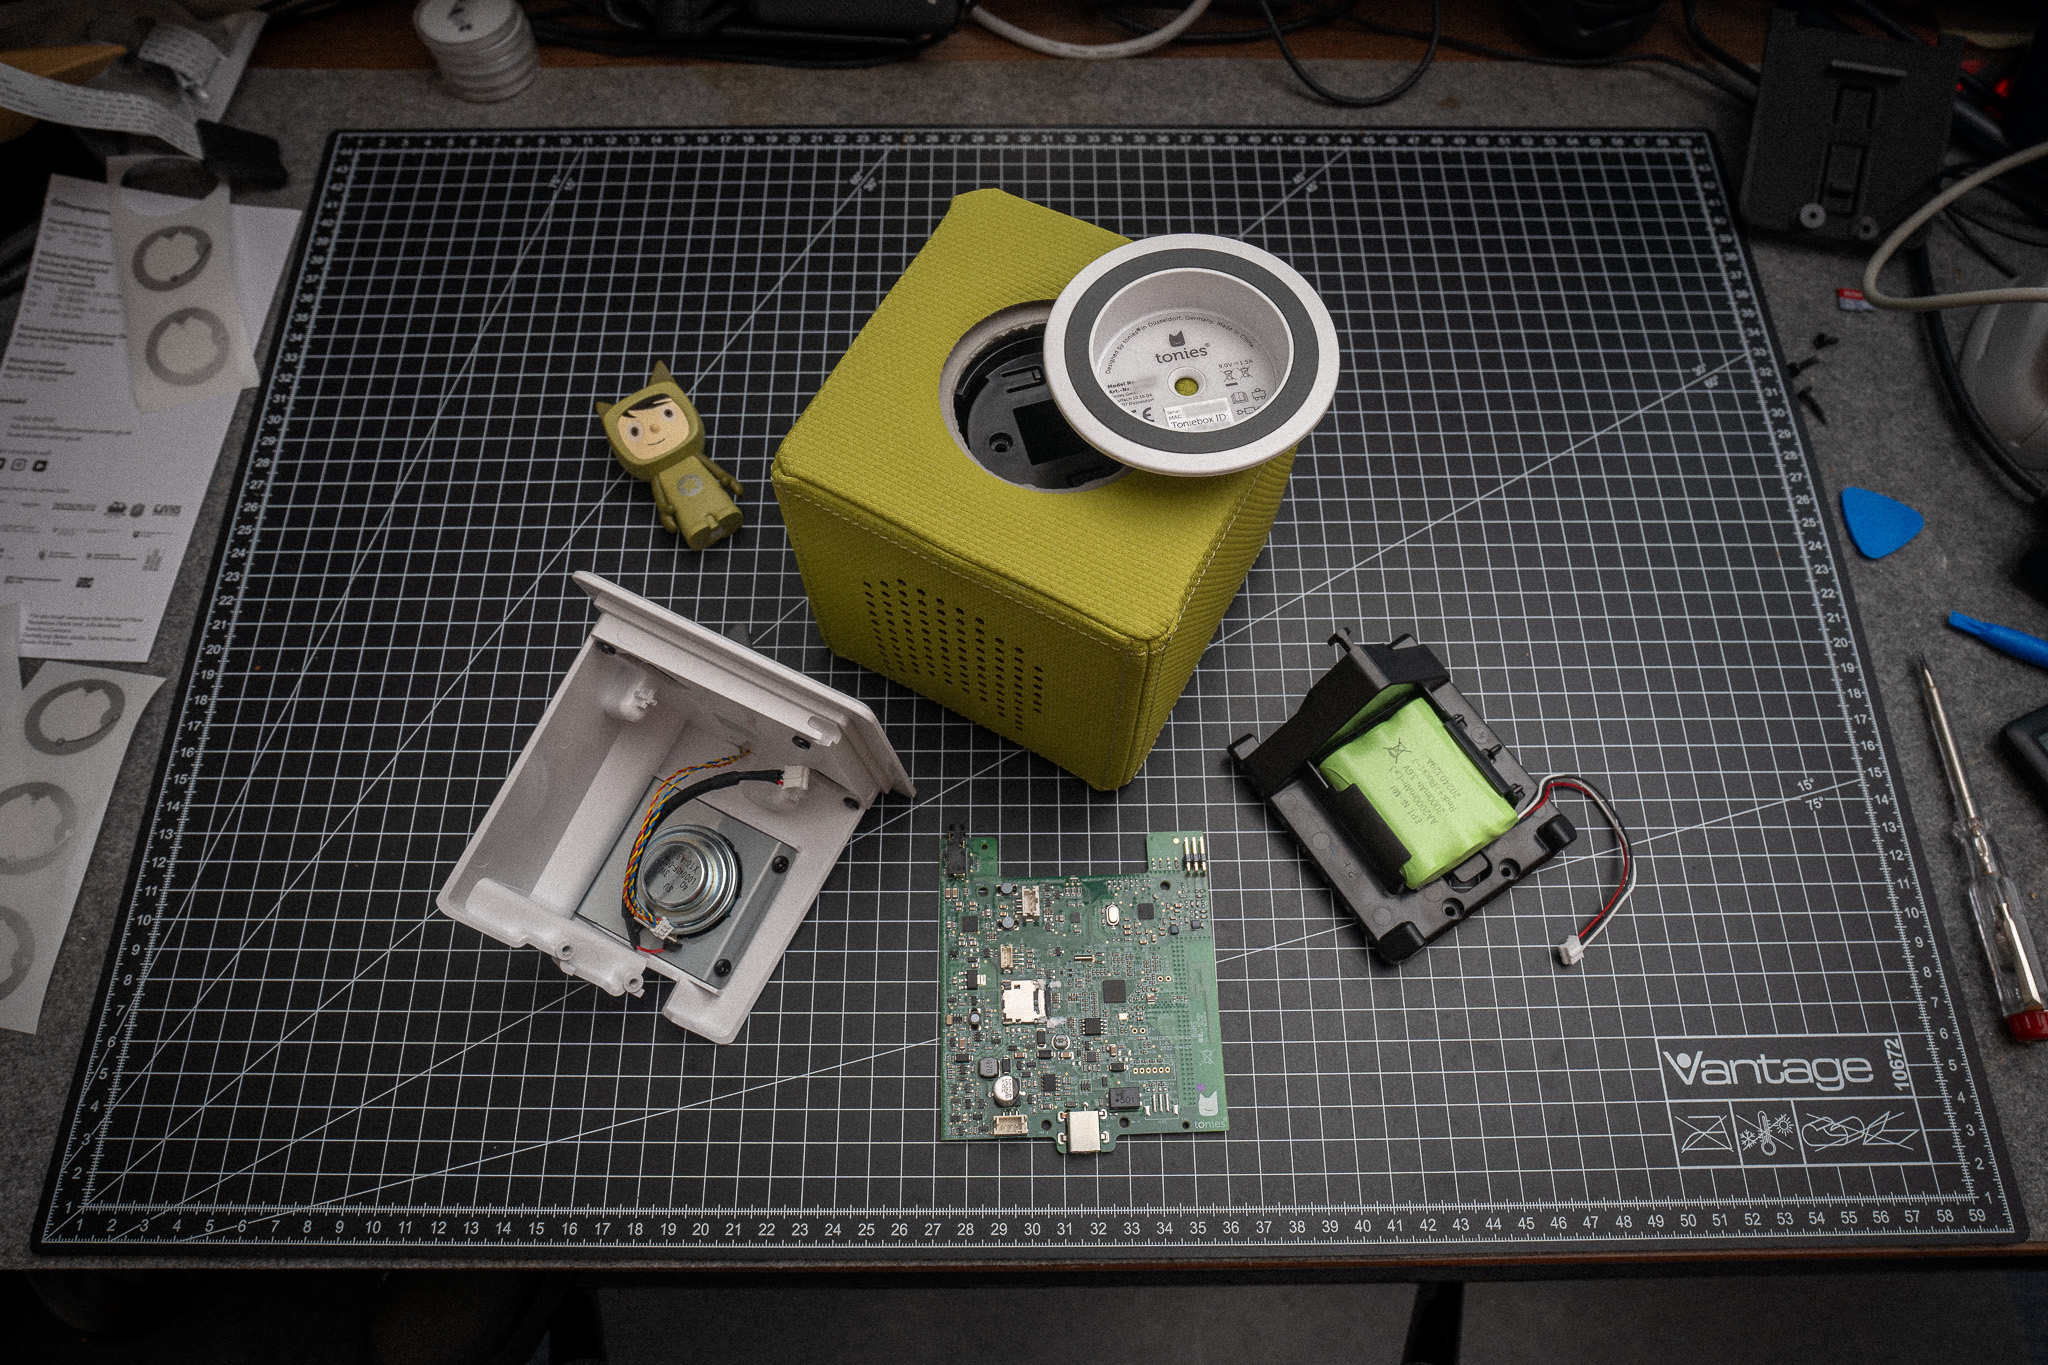
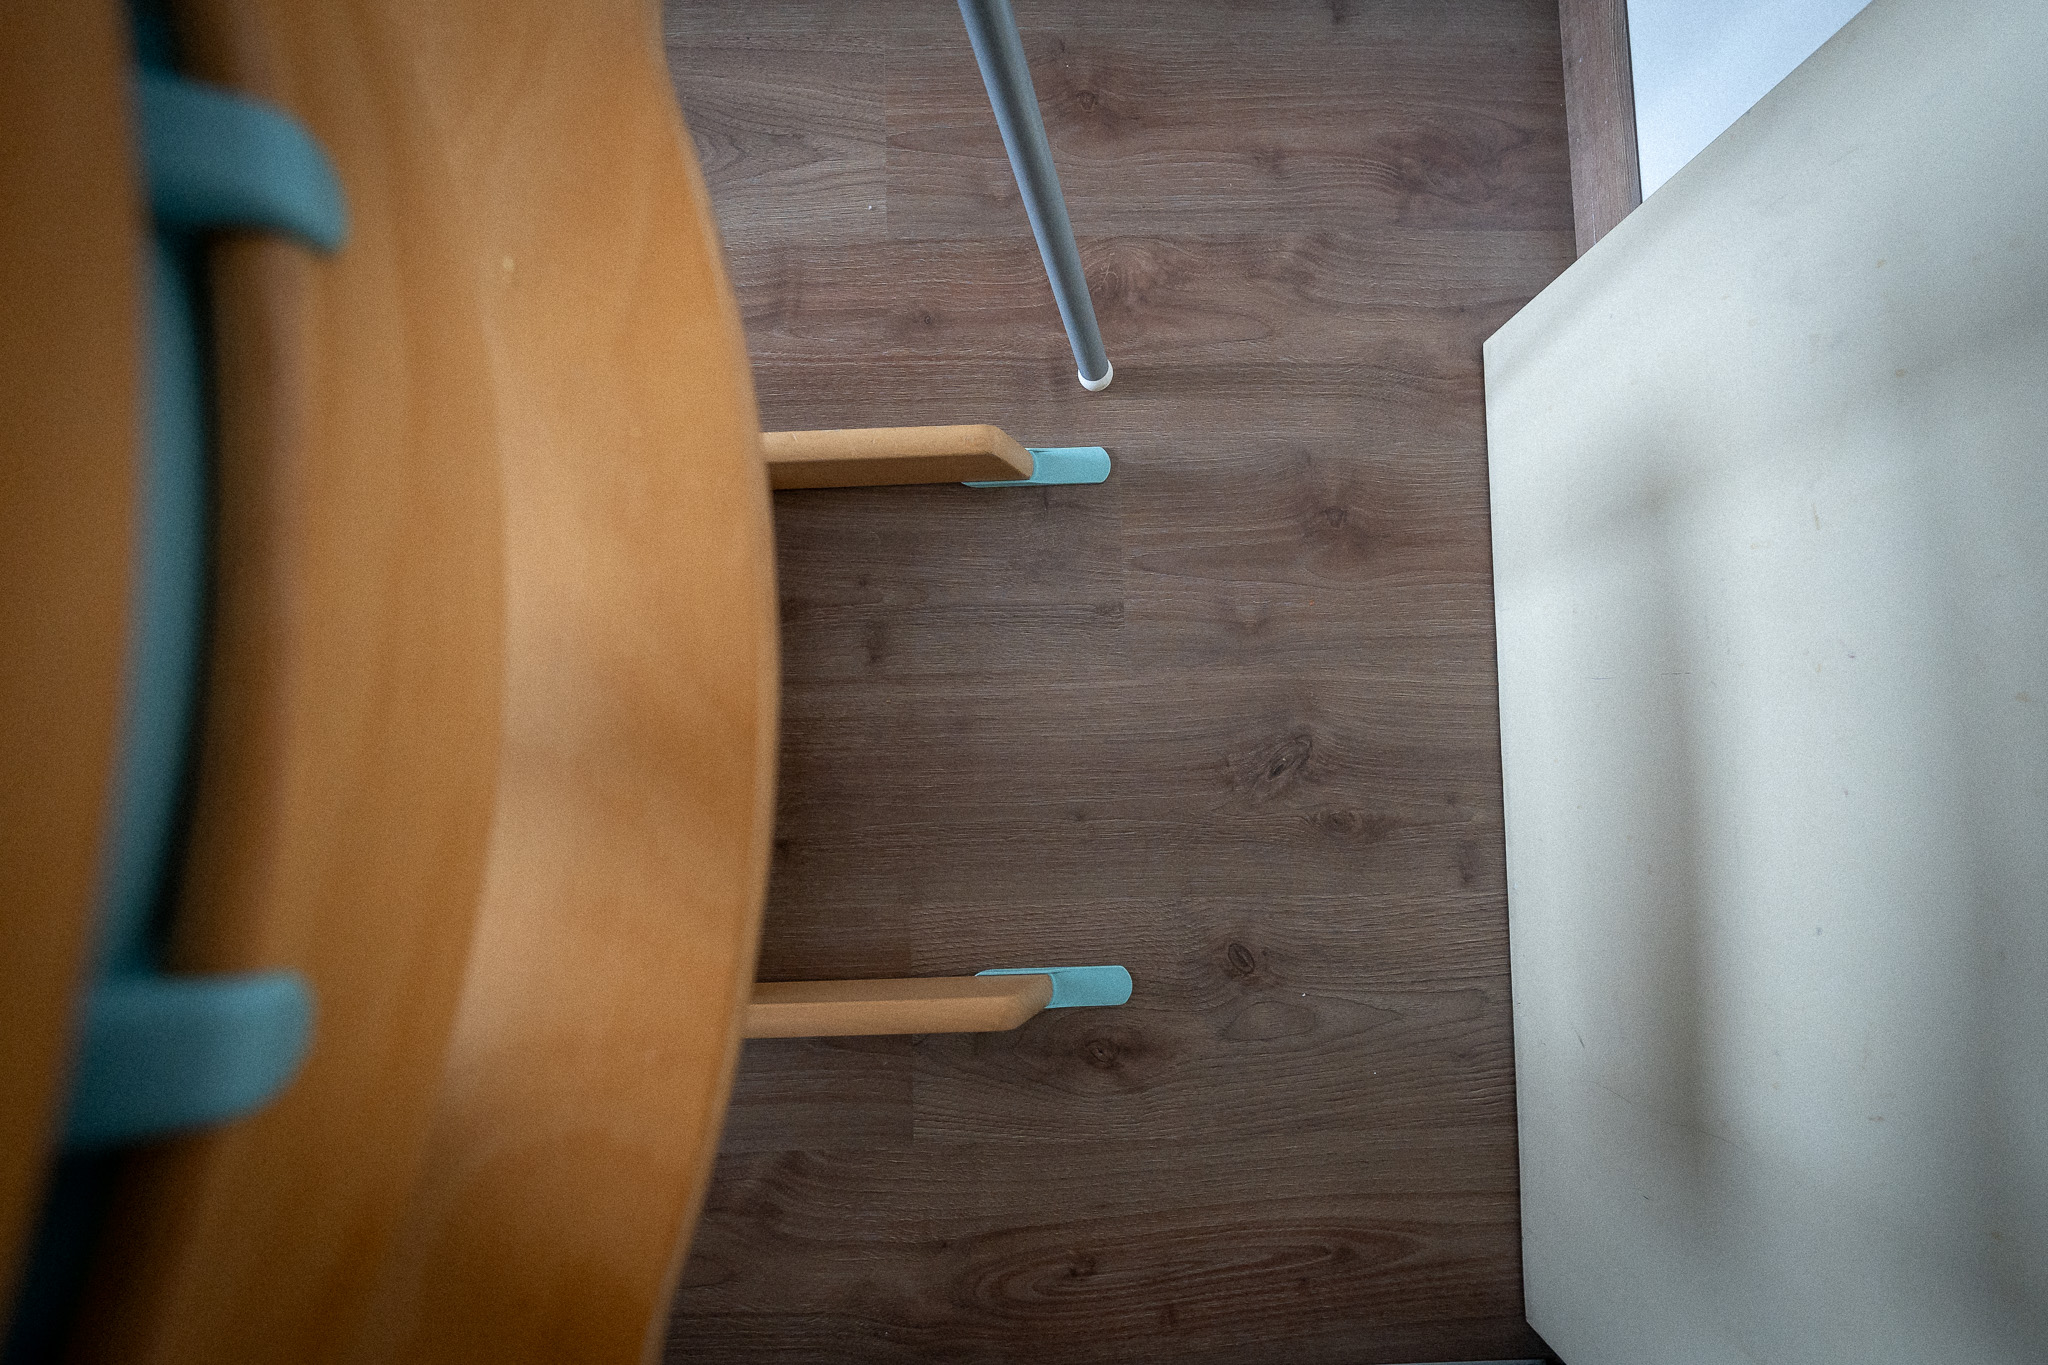
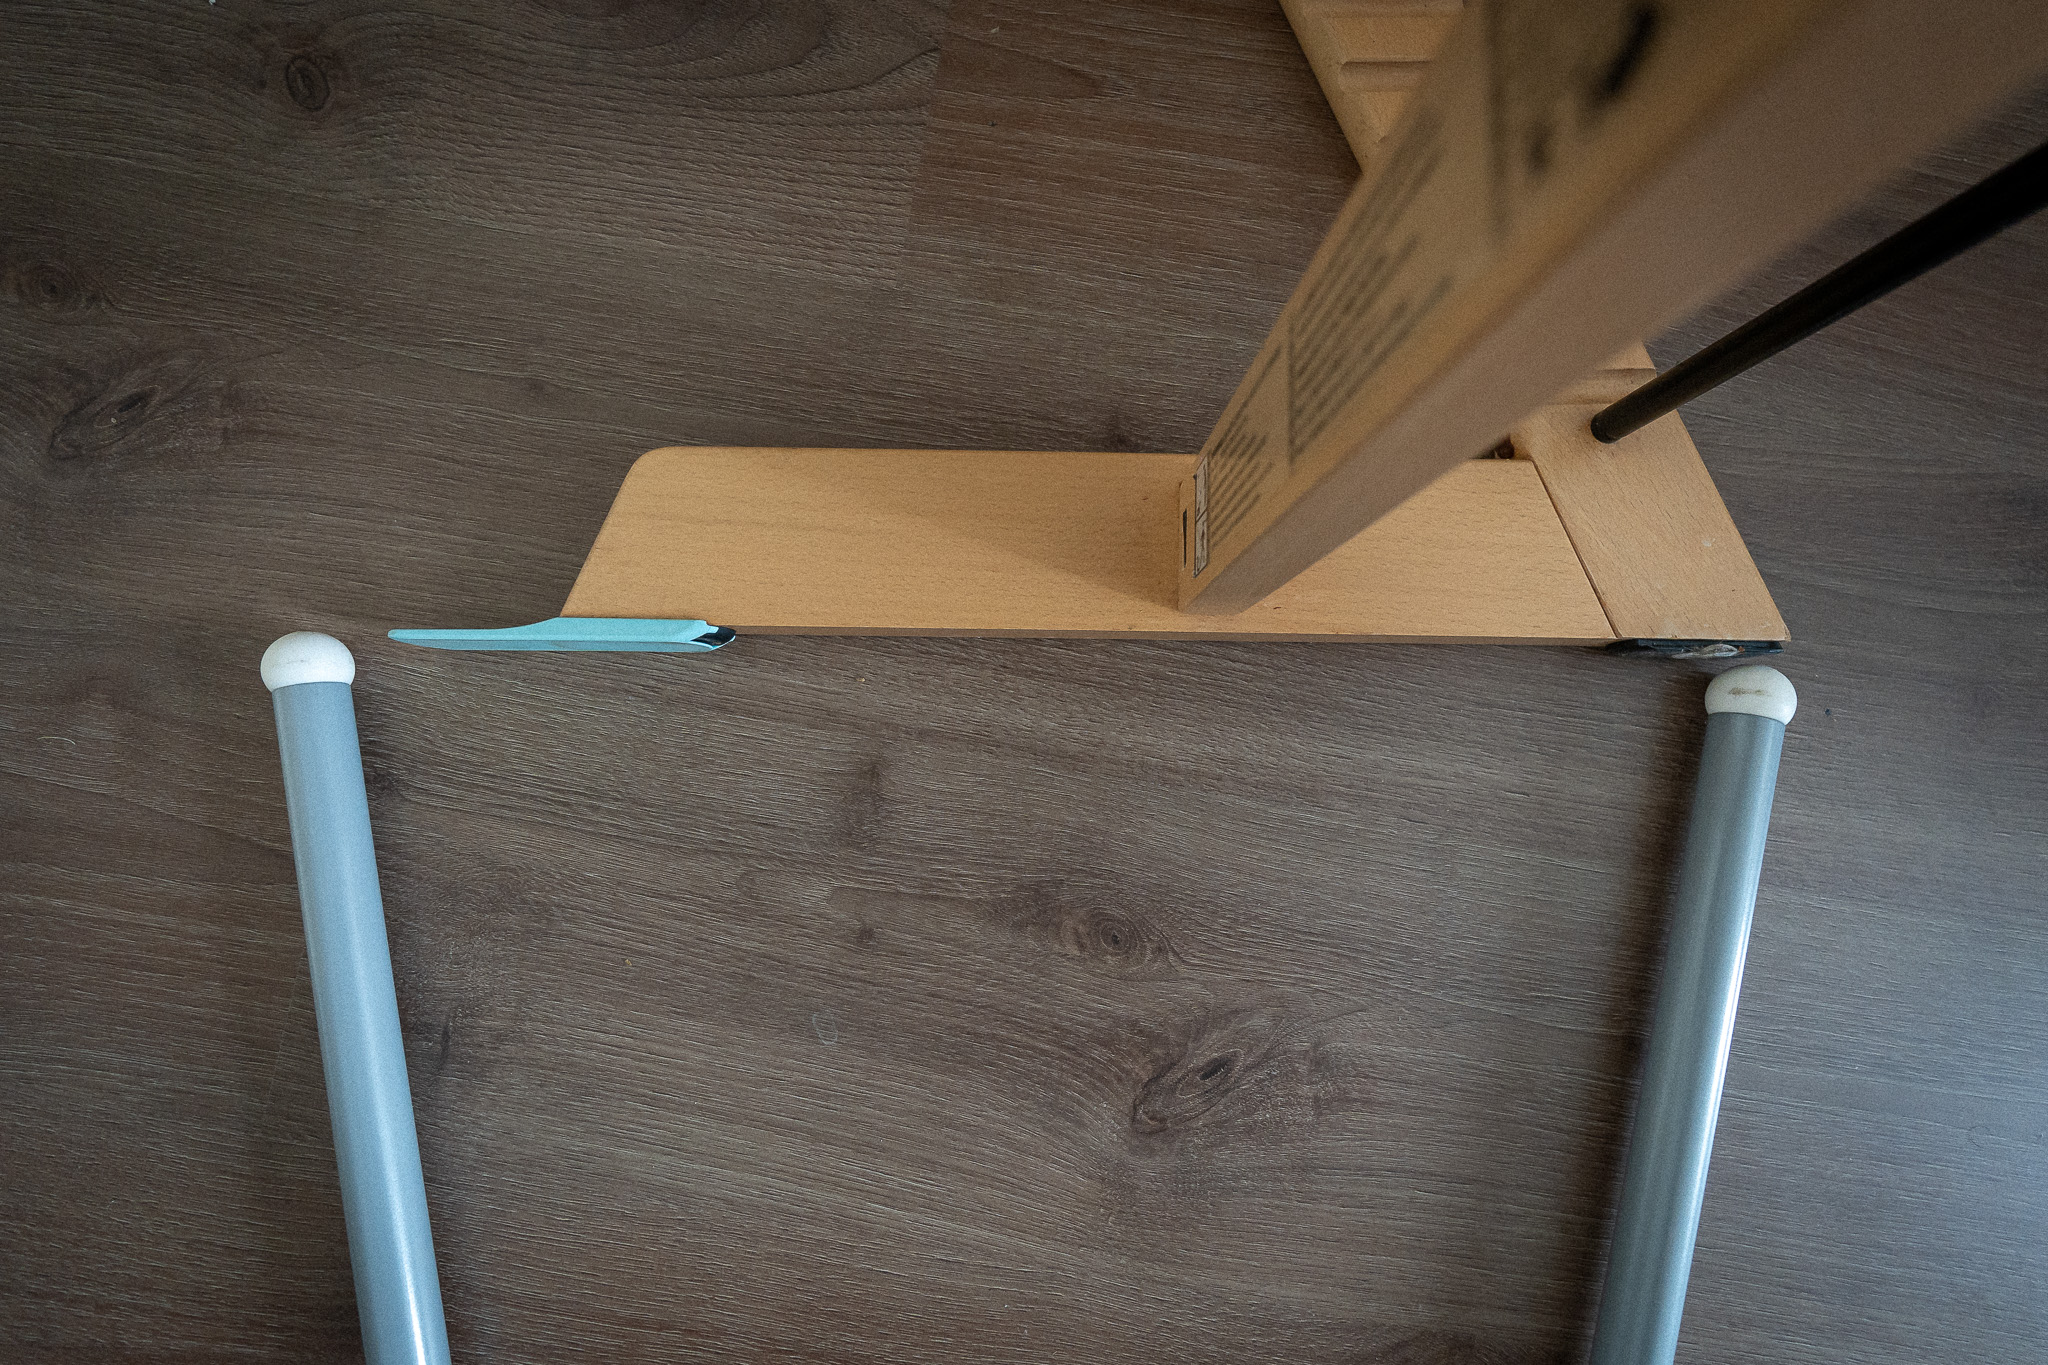
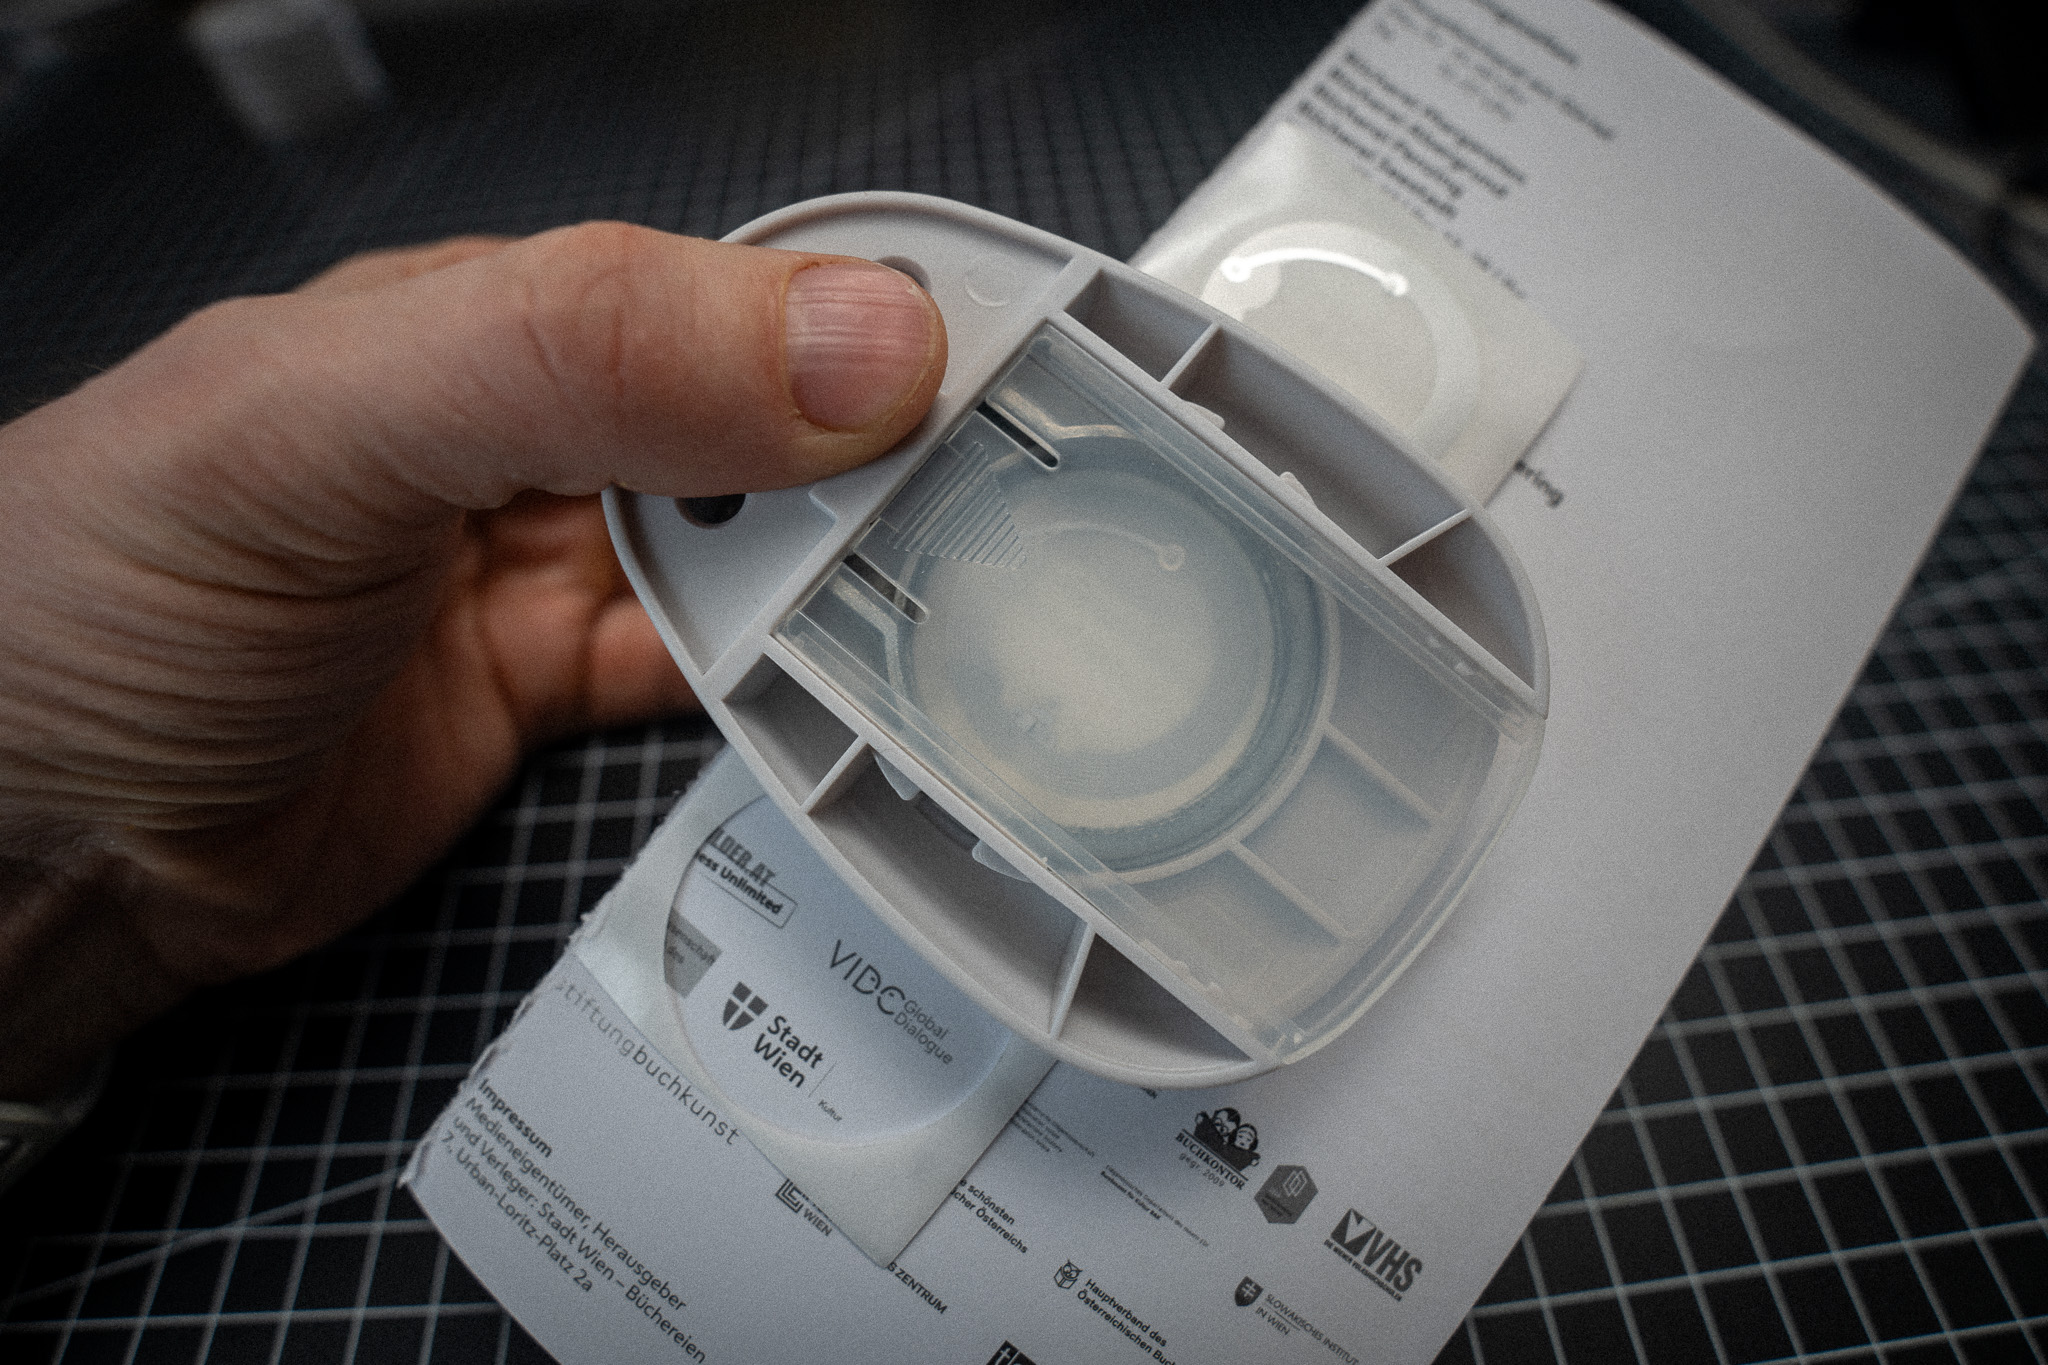
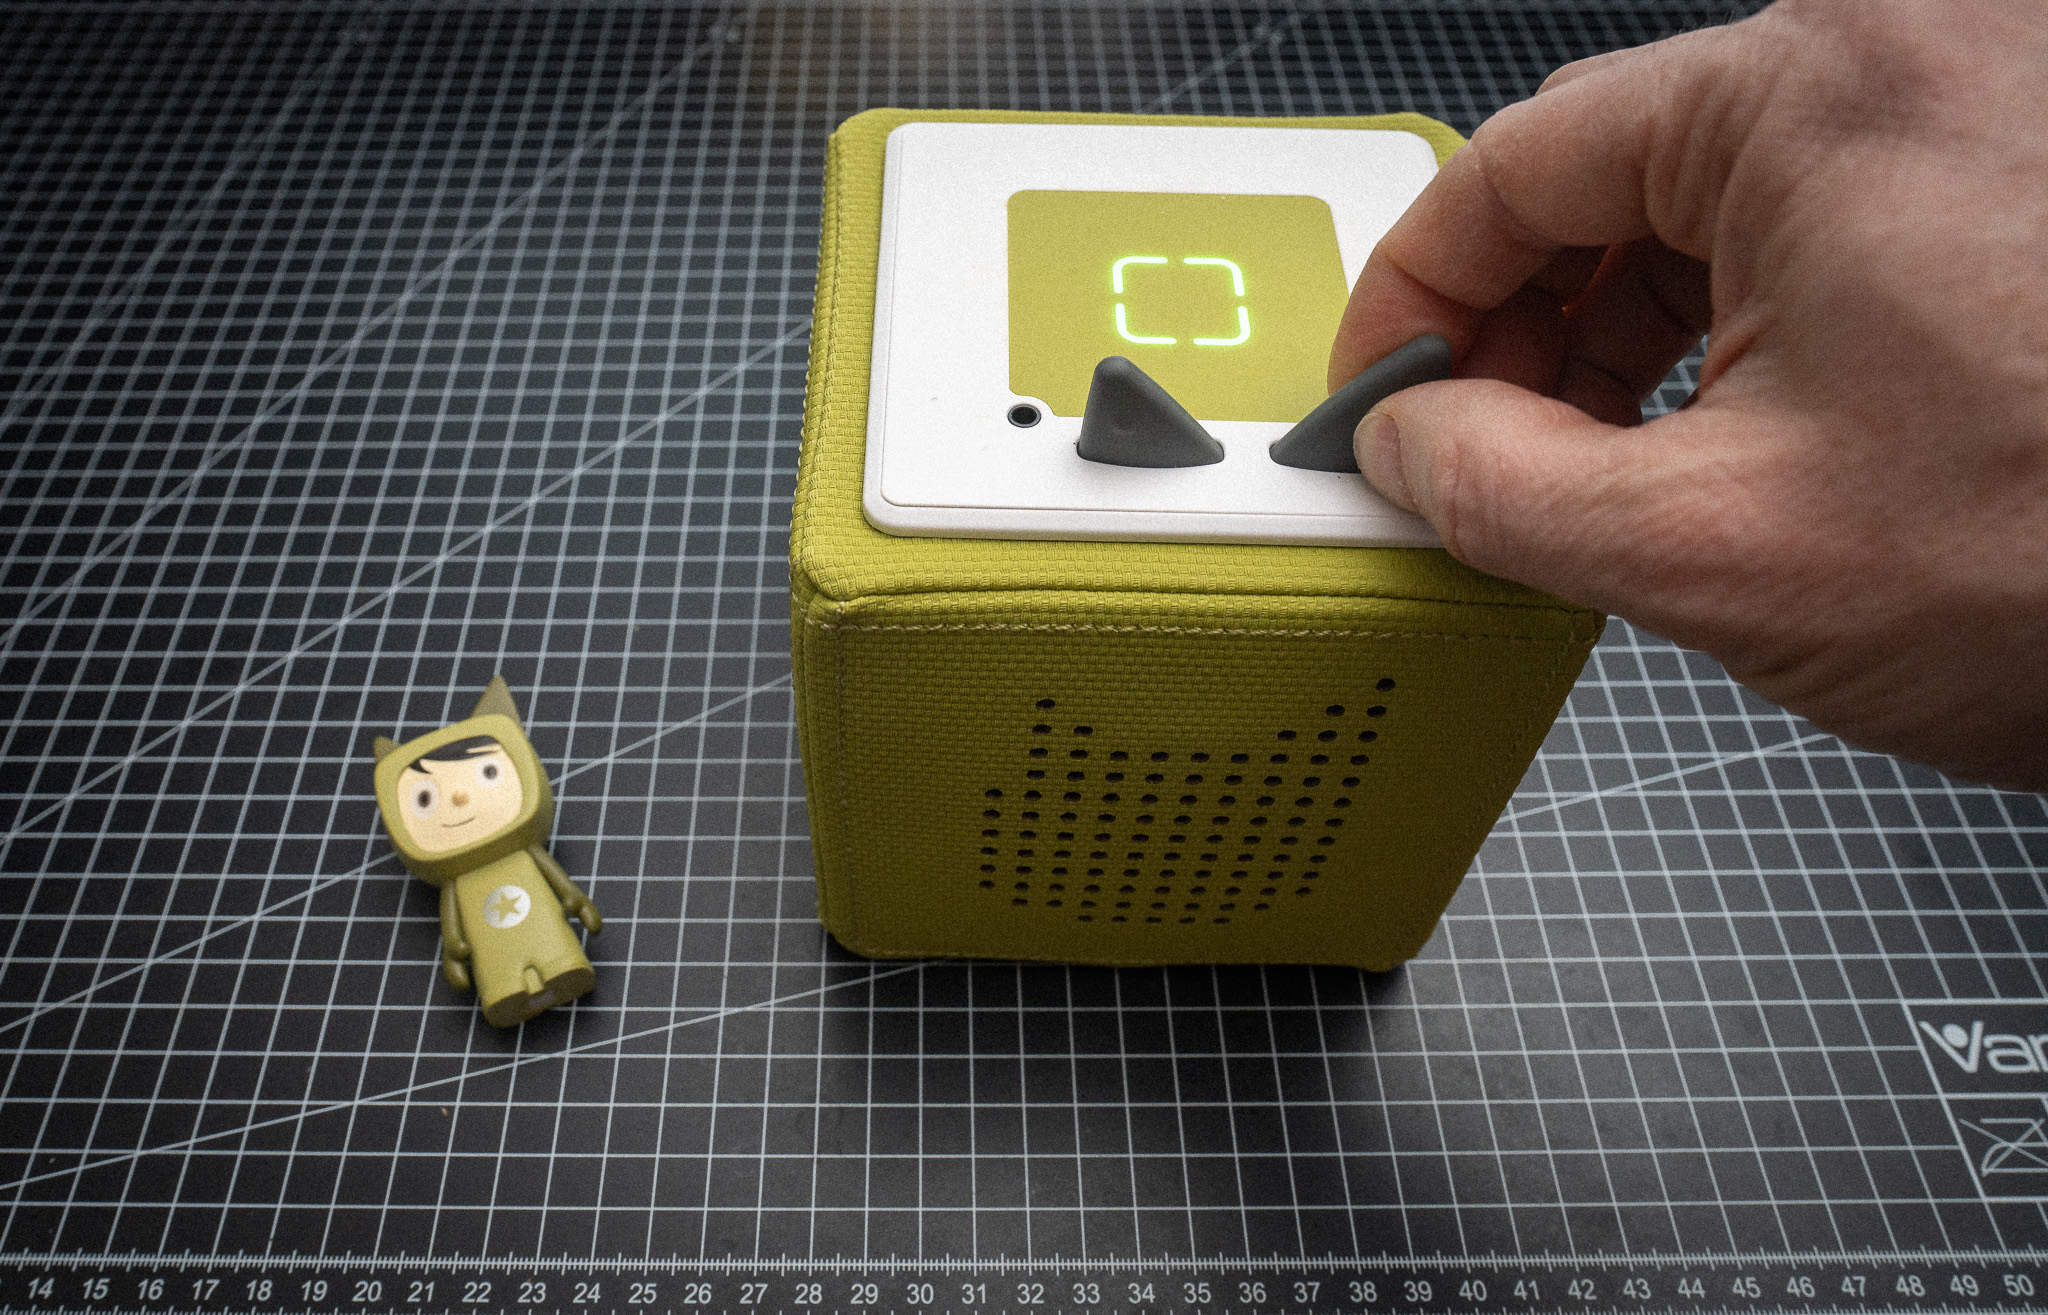
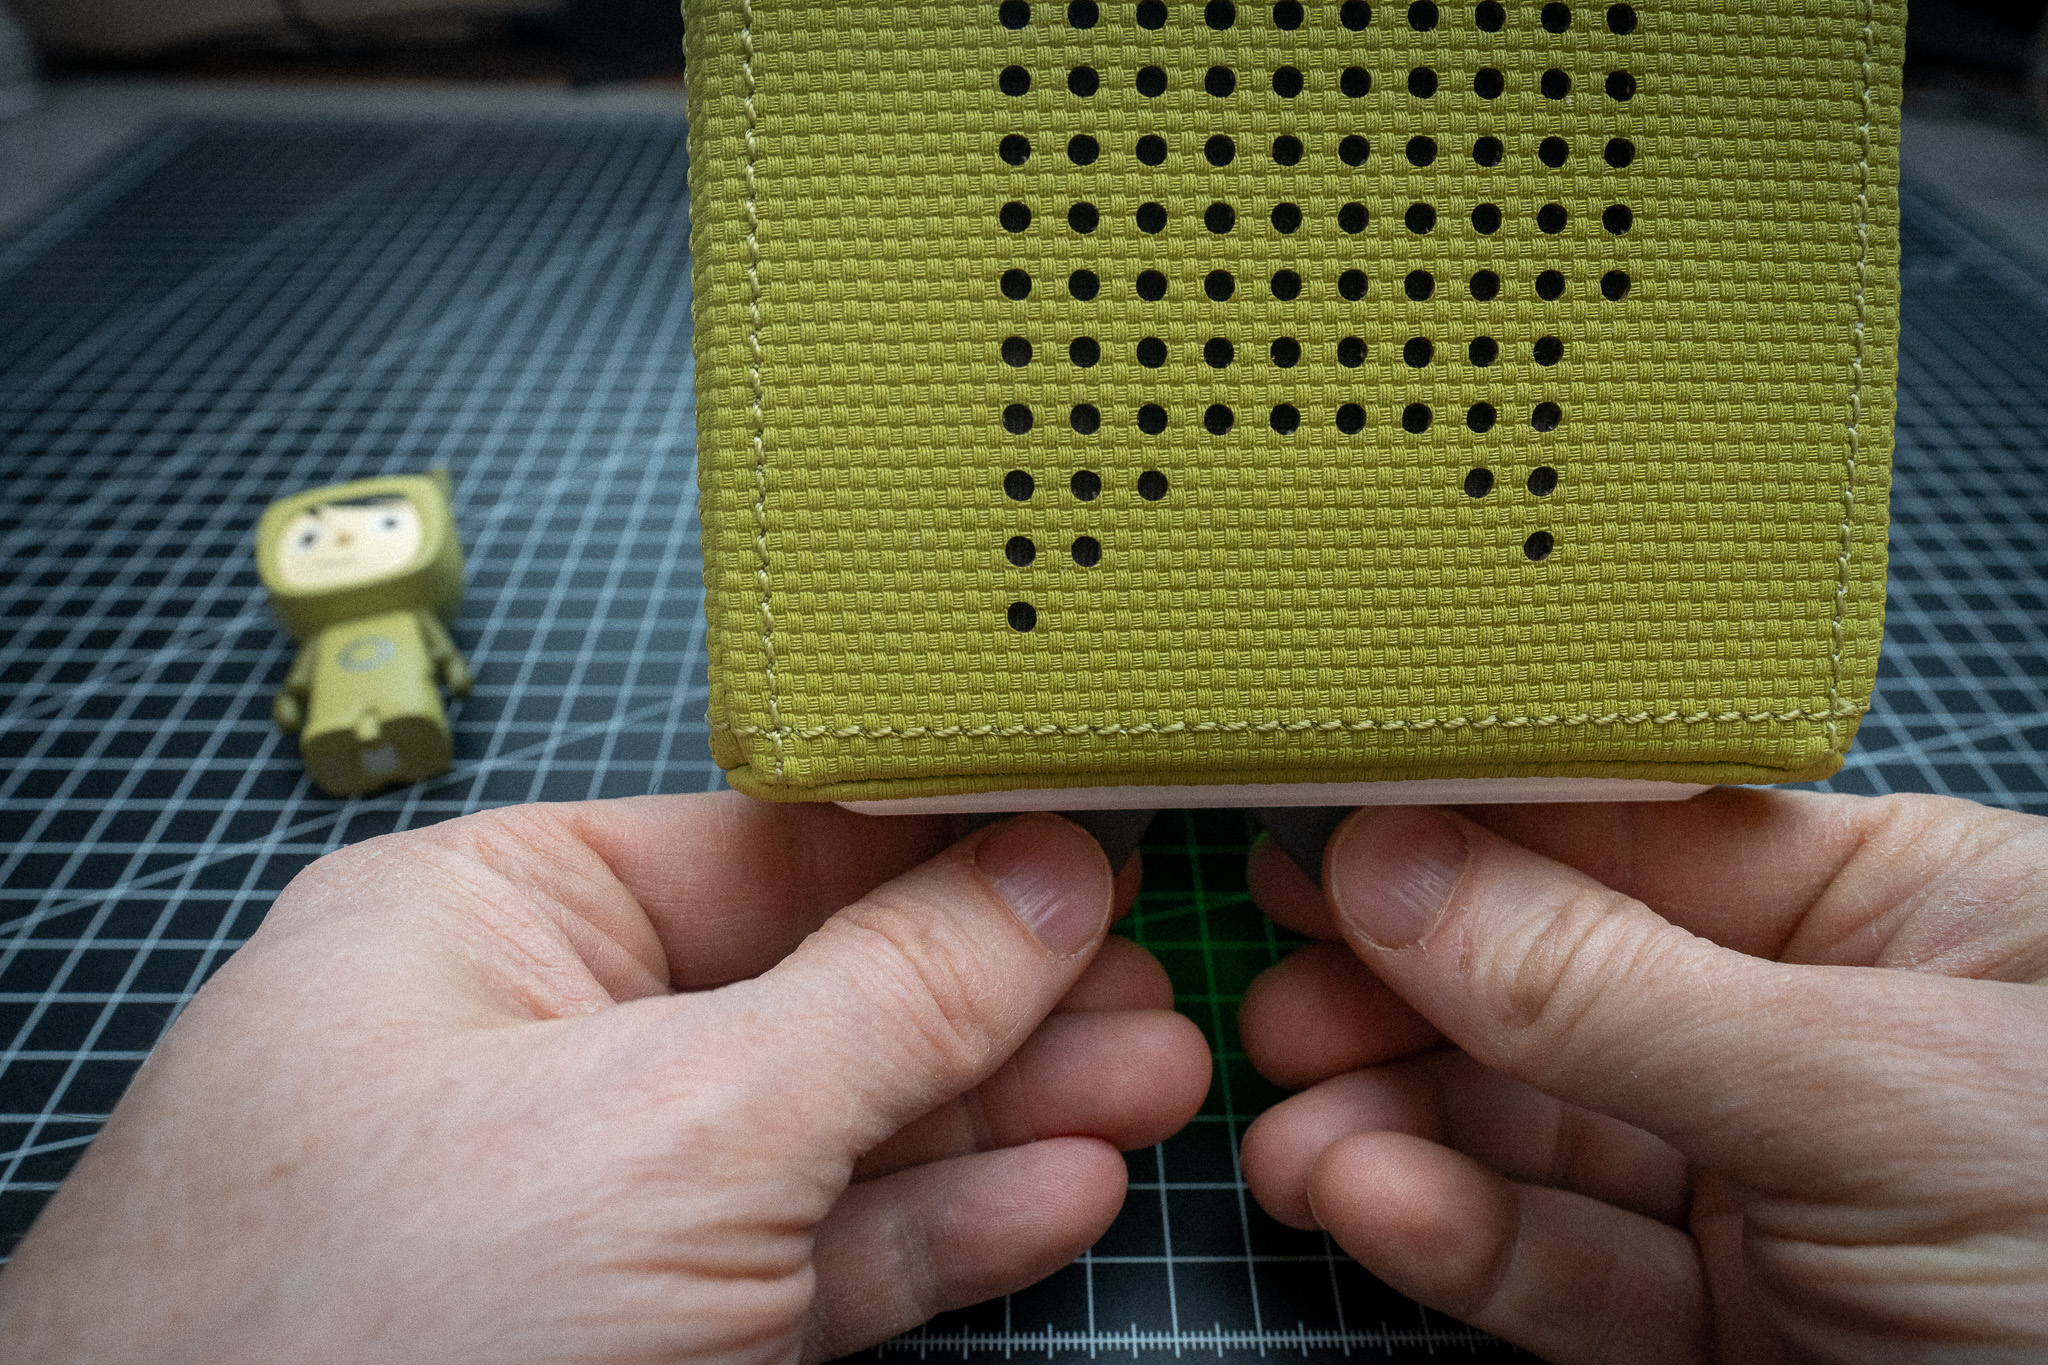
Step 1: Open the Toniebox

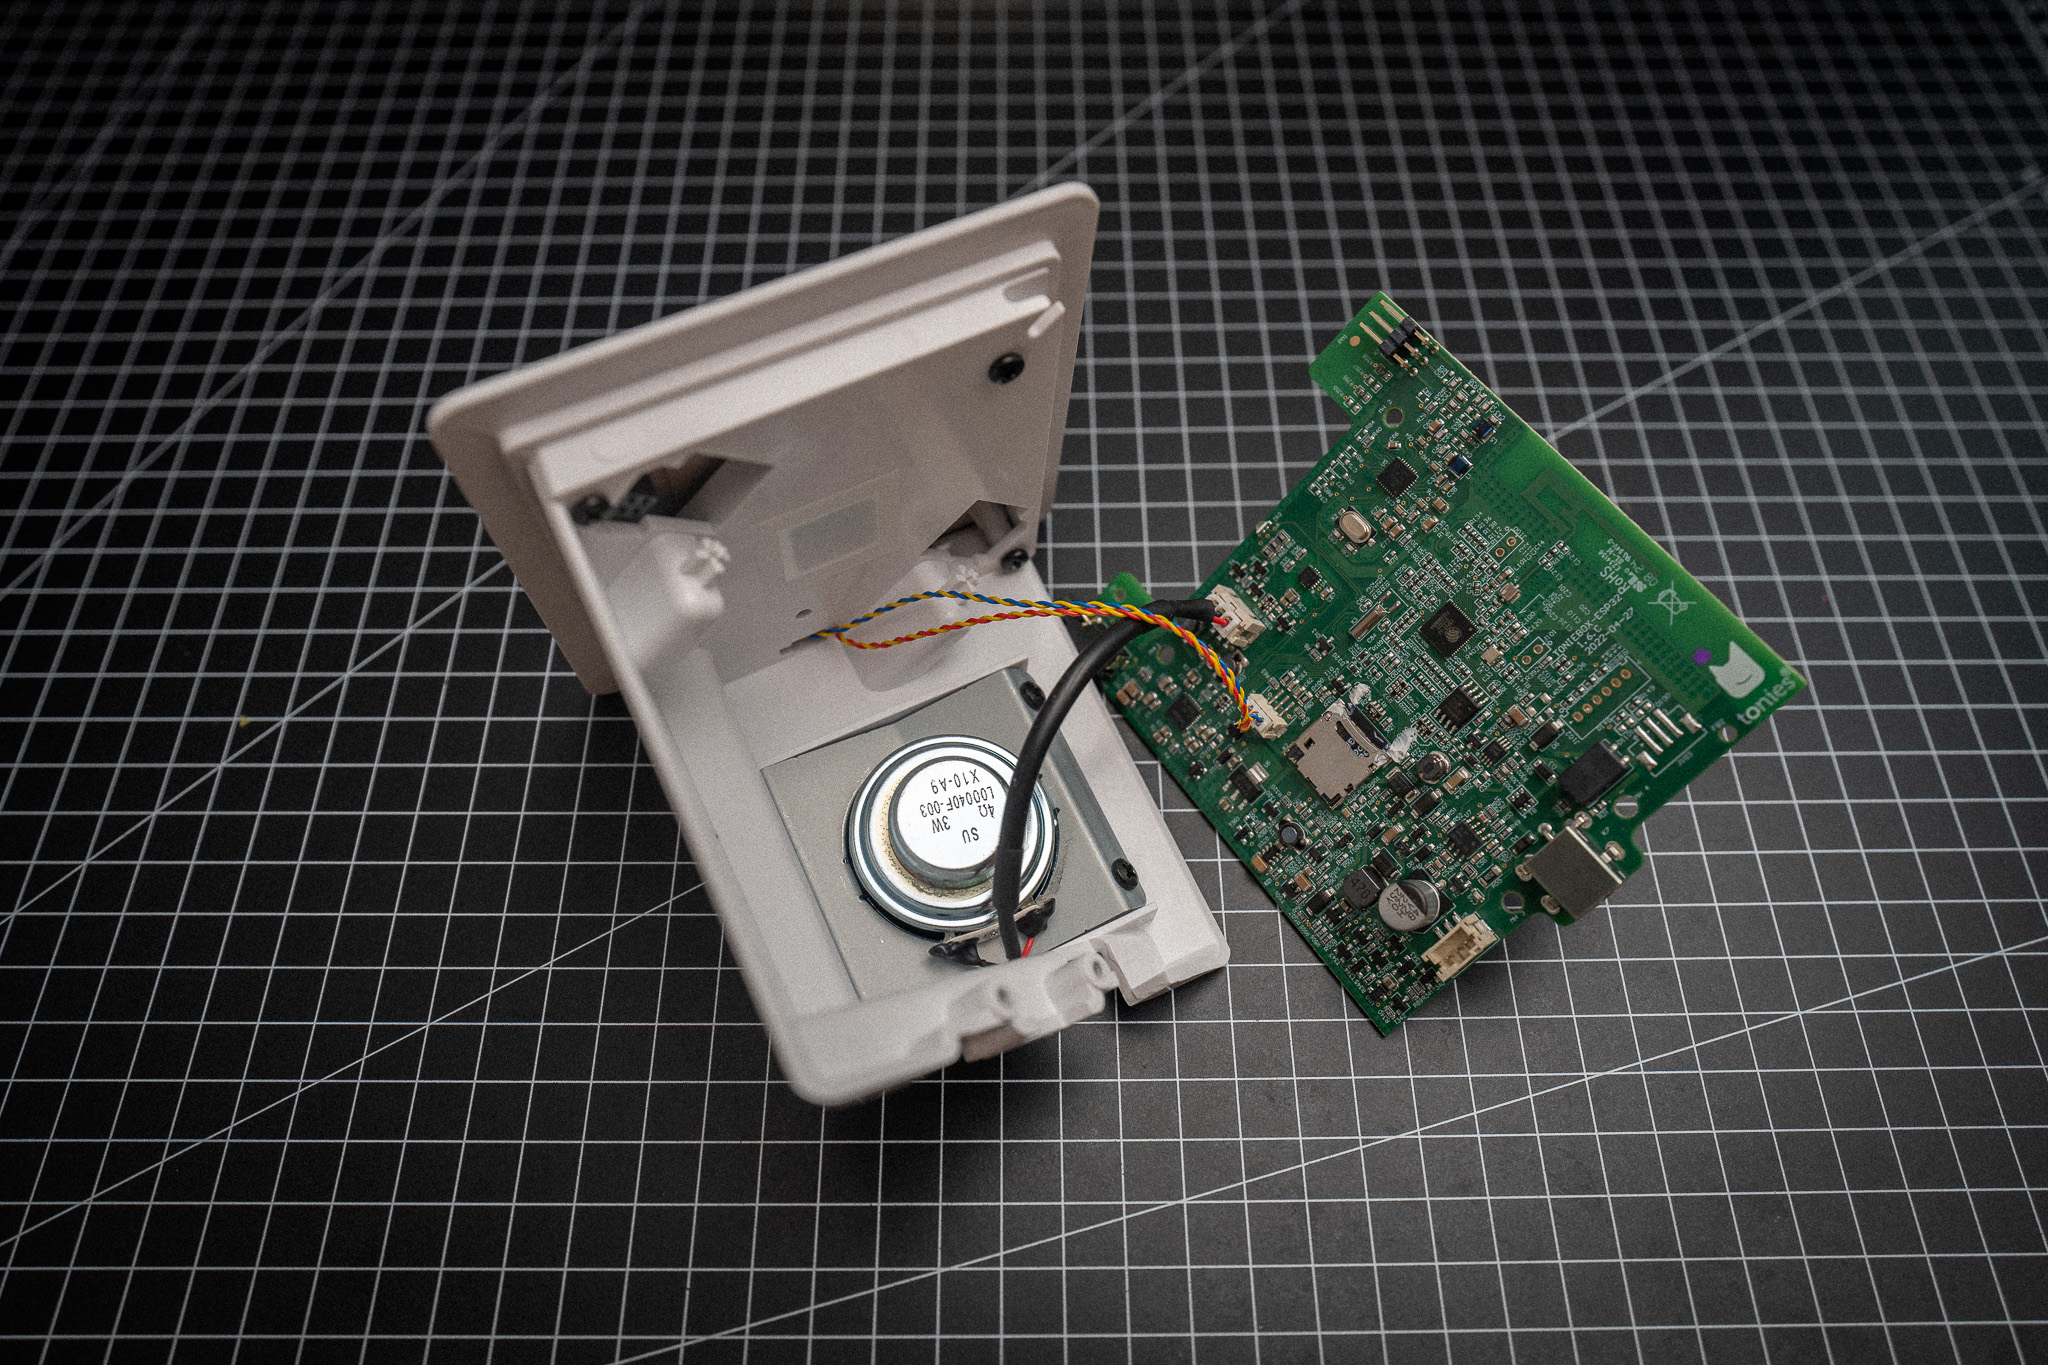
Step 2: Connect the extension cable
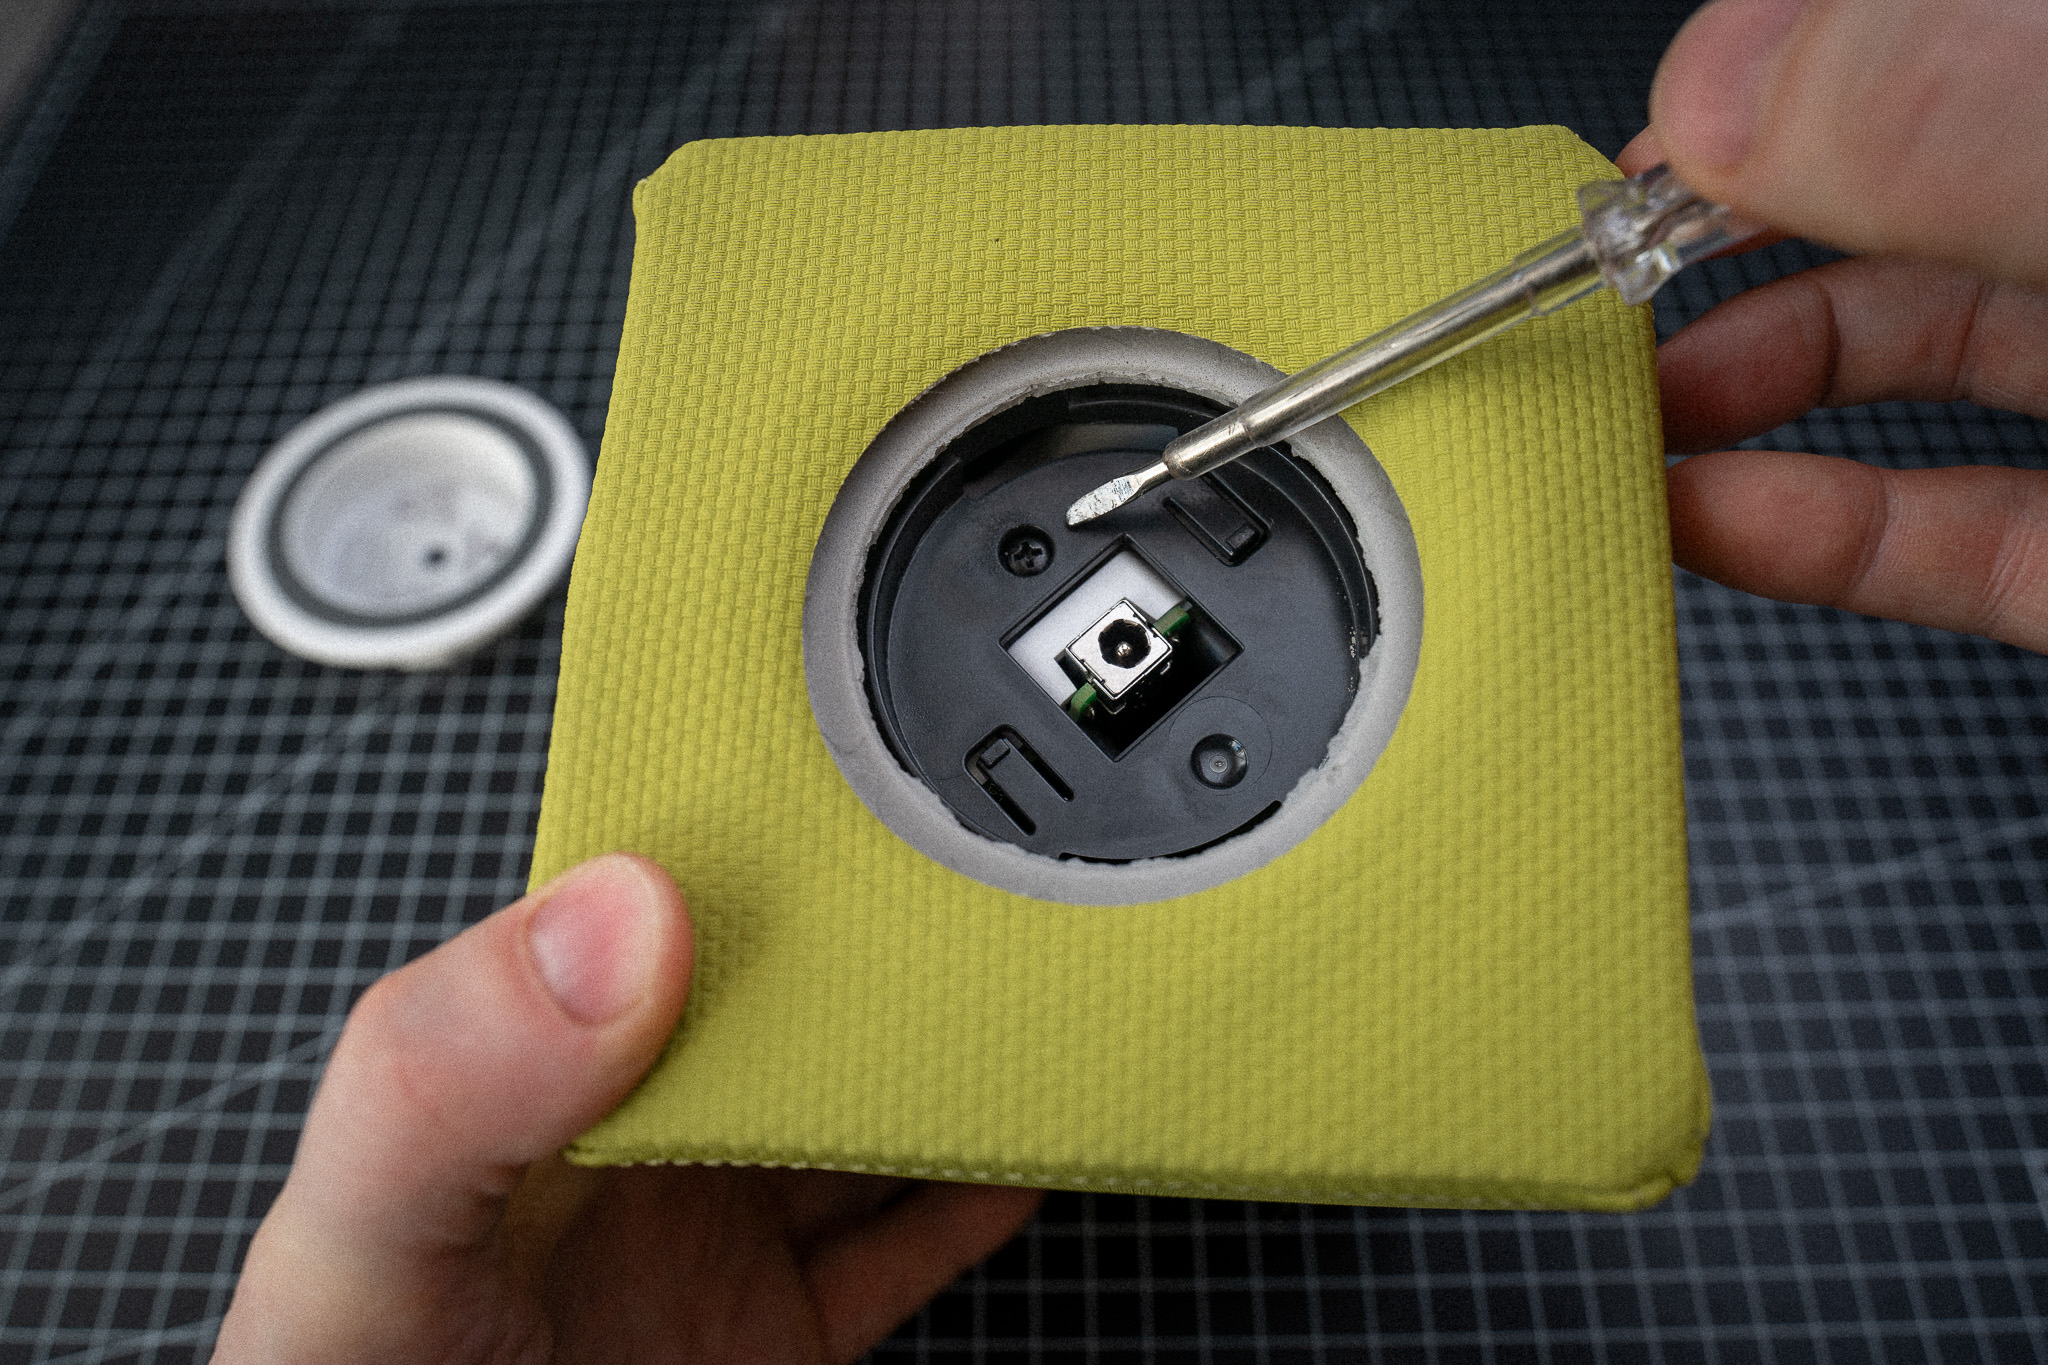
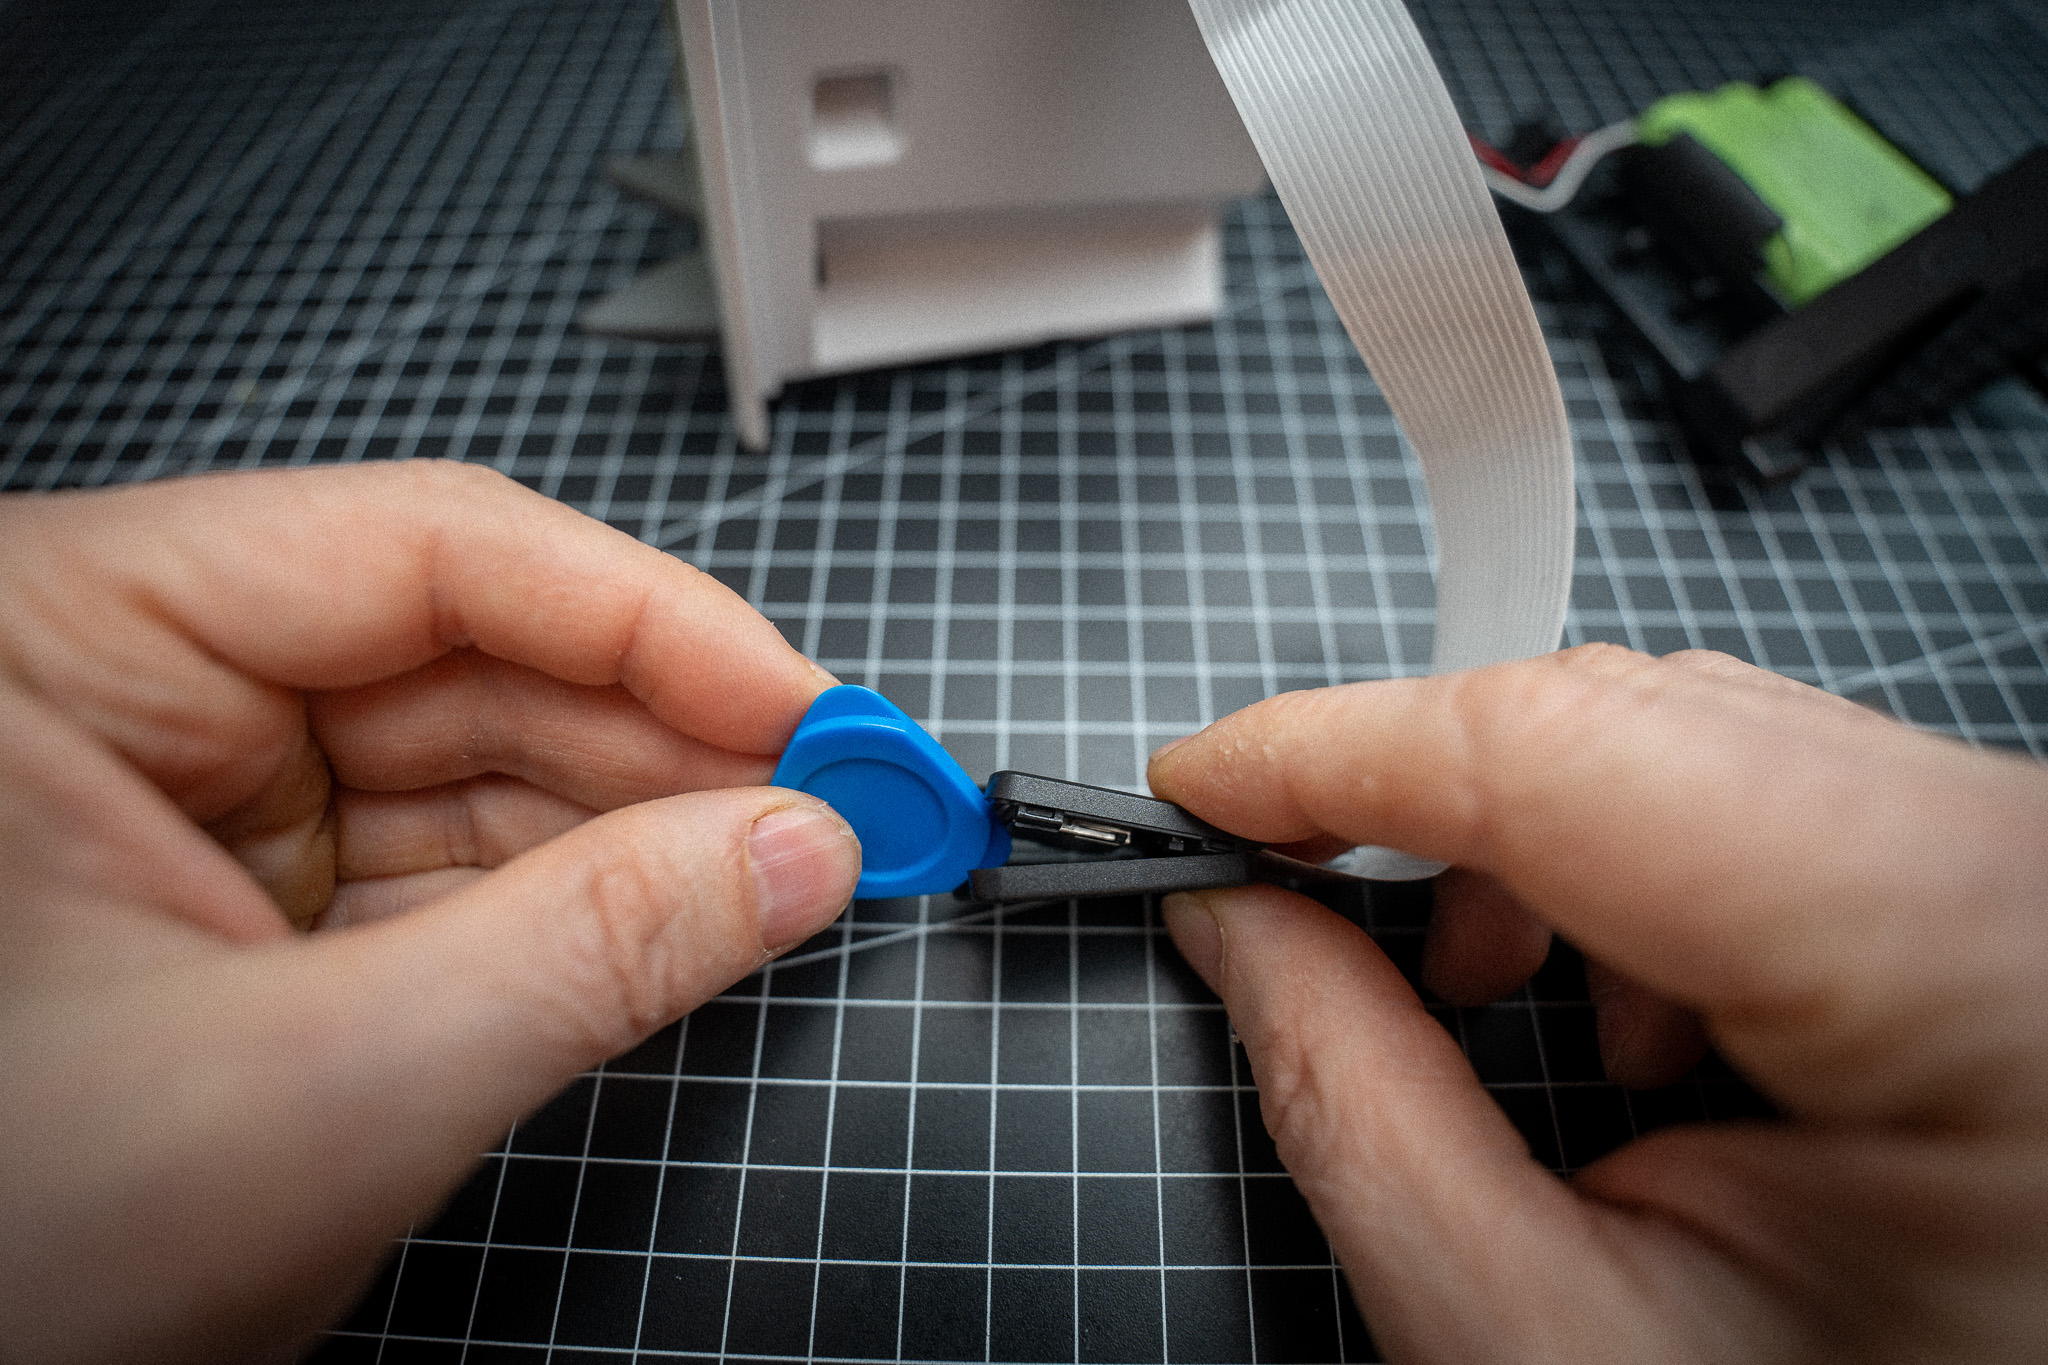
The SD card slot is fixed with hot glue:
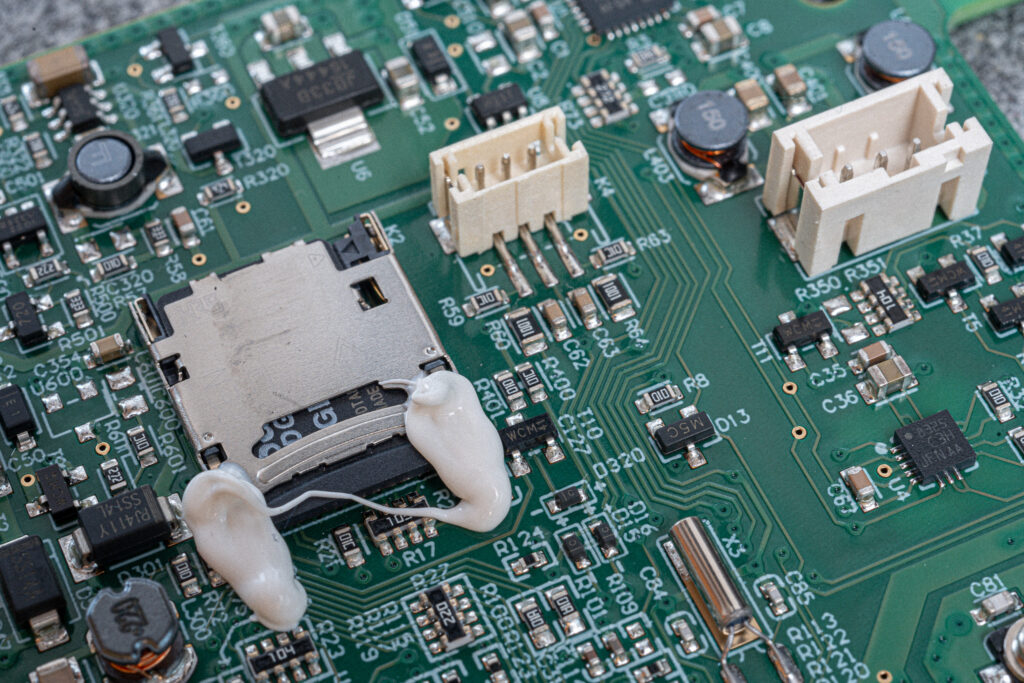
However, this can be carefully scraped off with the fingernail.
To open the slot, press lightly against the mechanism from behind, which should open it. The SD card can then be replaced with the extension cable plug. Then simply close the slot again so that it clicks into place.
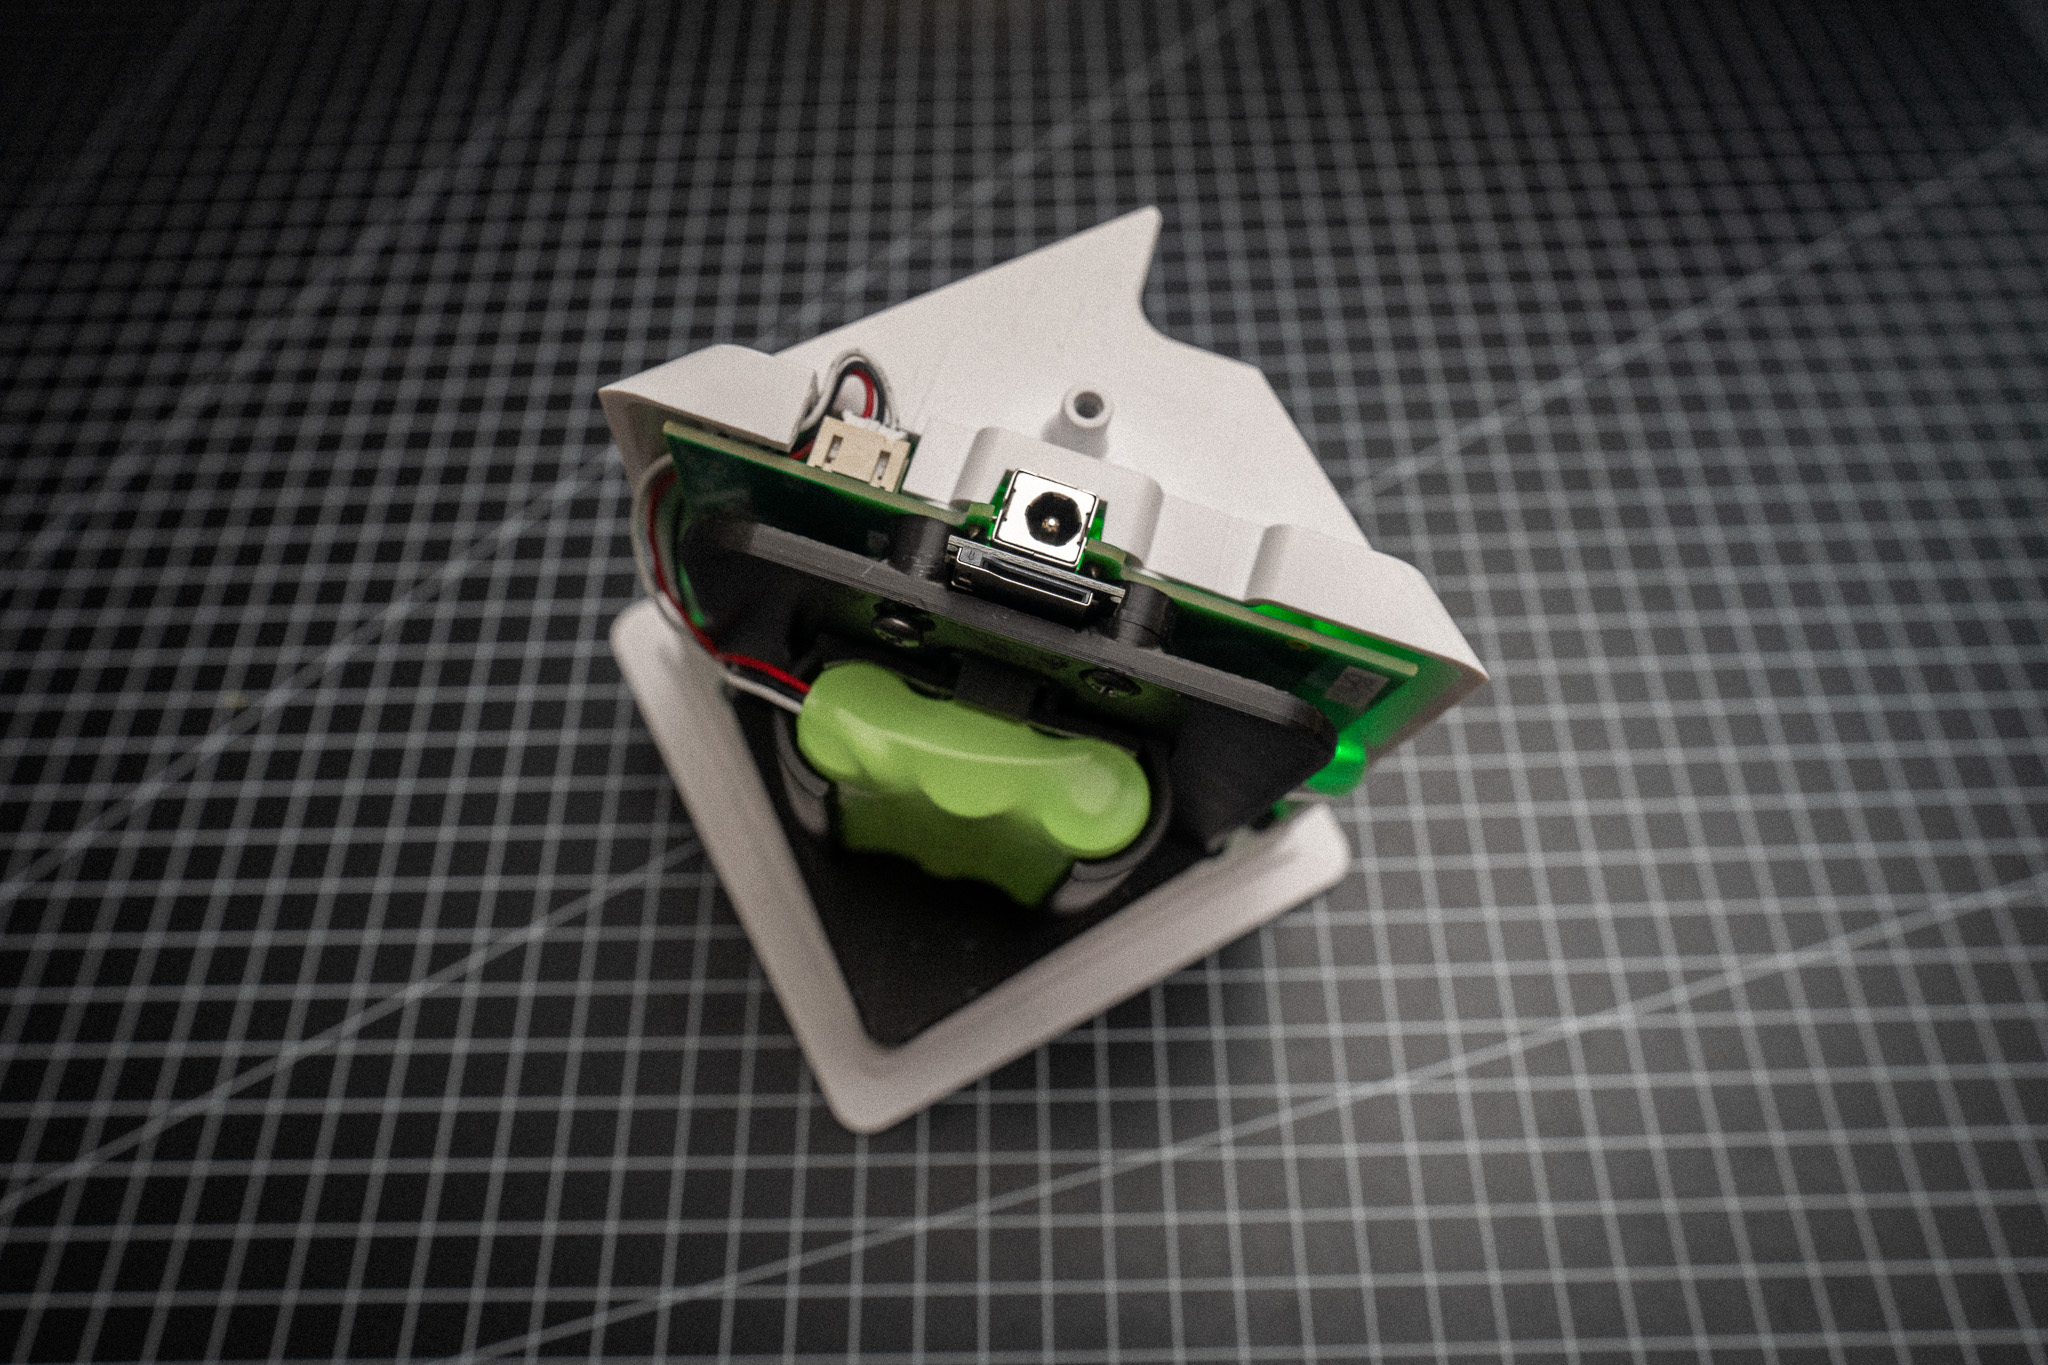
Now it is recommended to temporarily connect everything and insert the original SD card to ensure that the Toniebox still works properly:
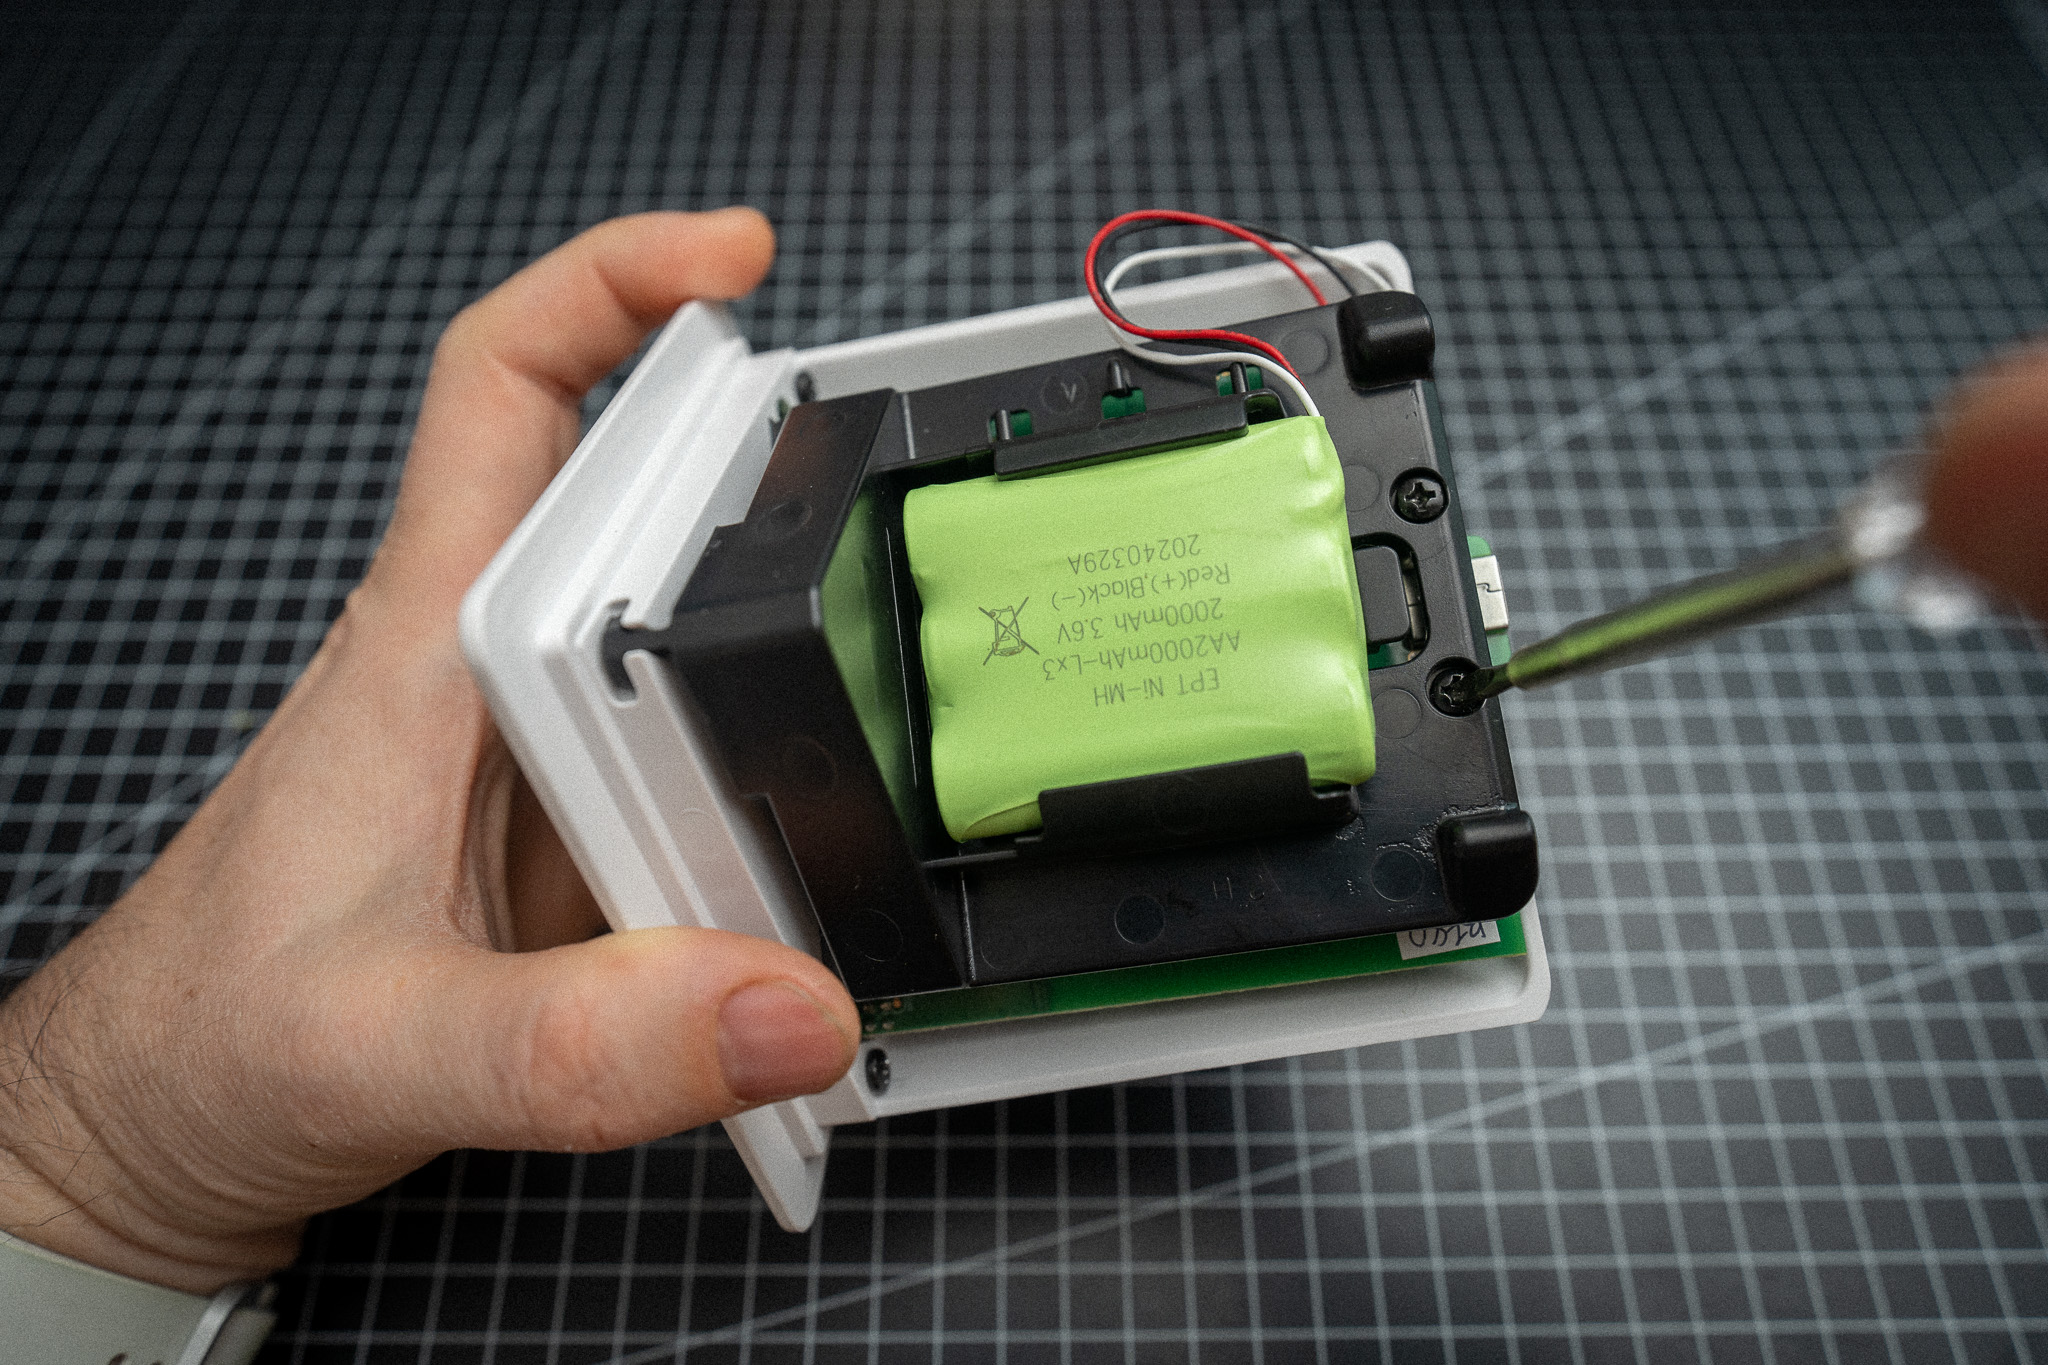
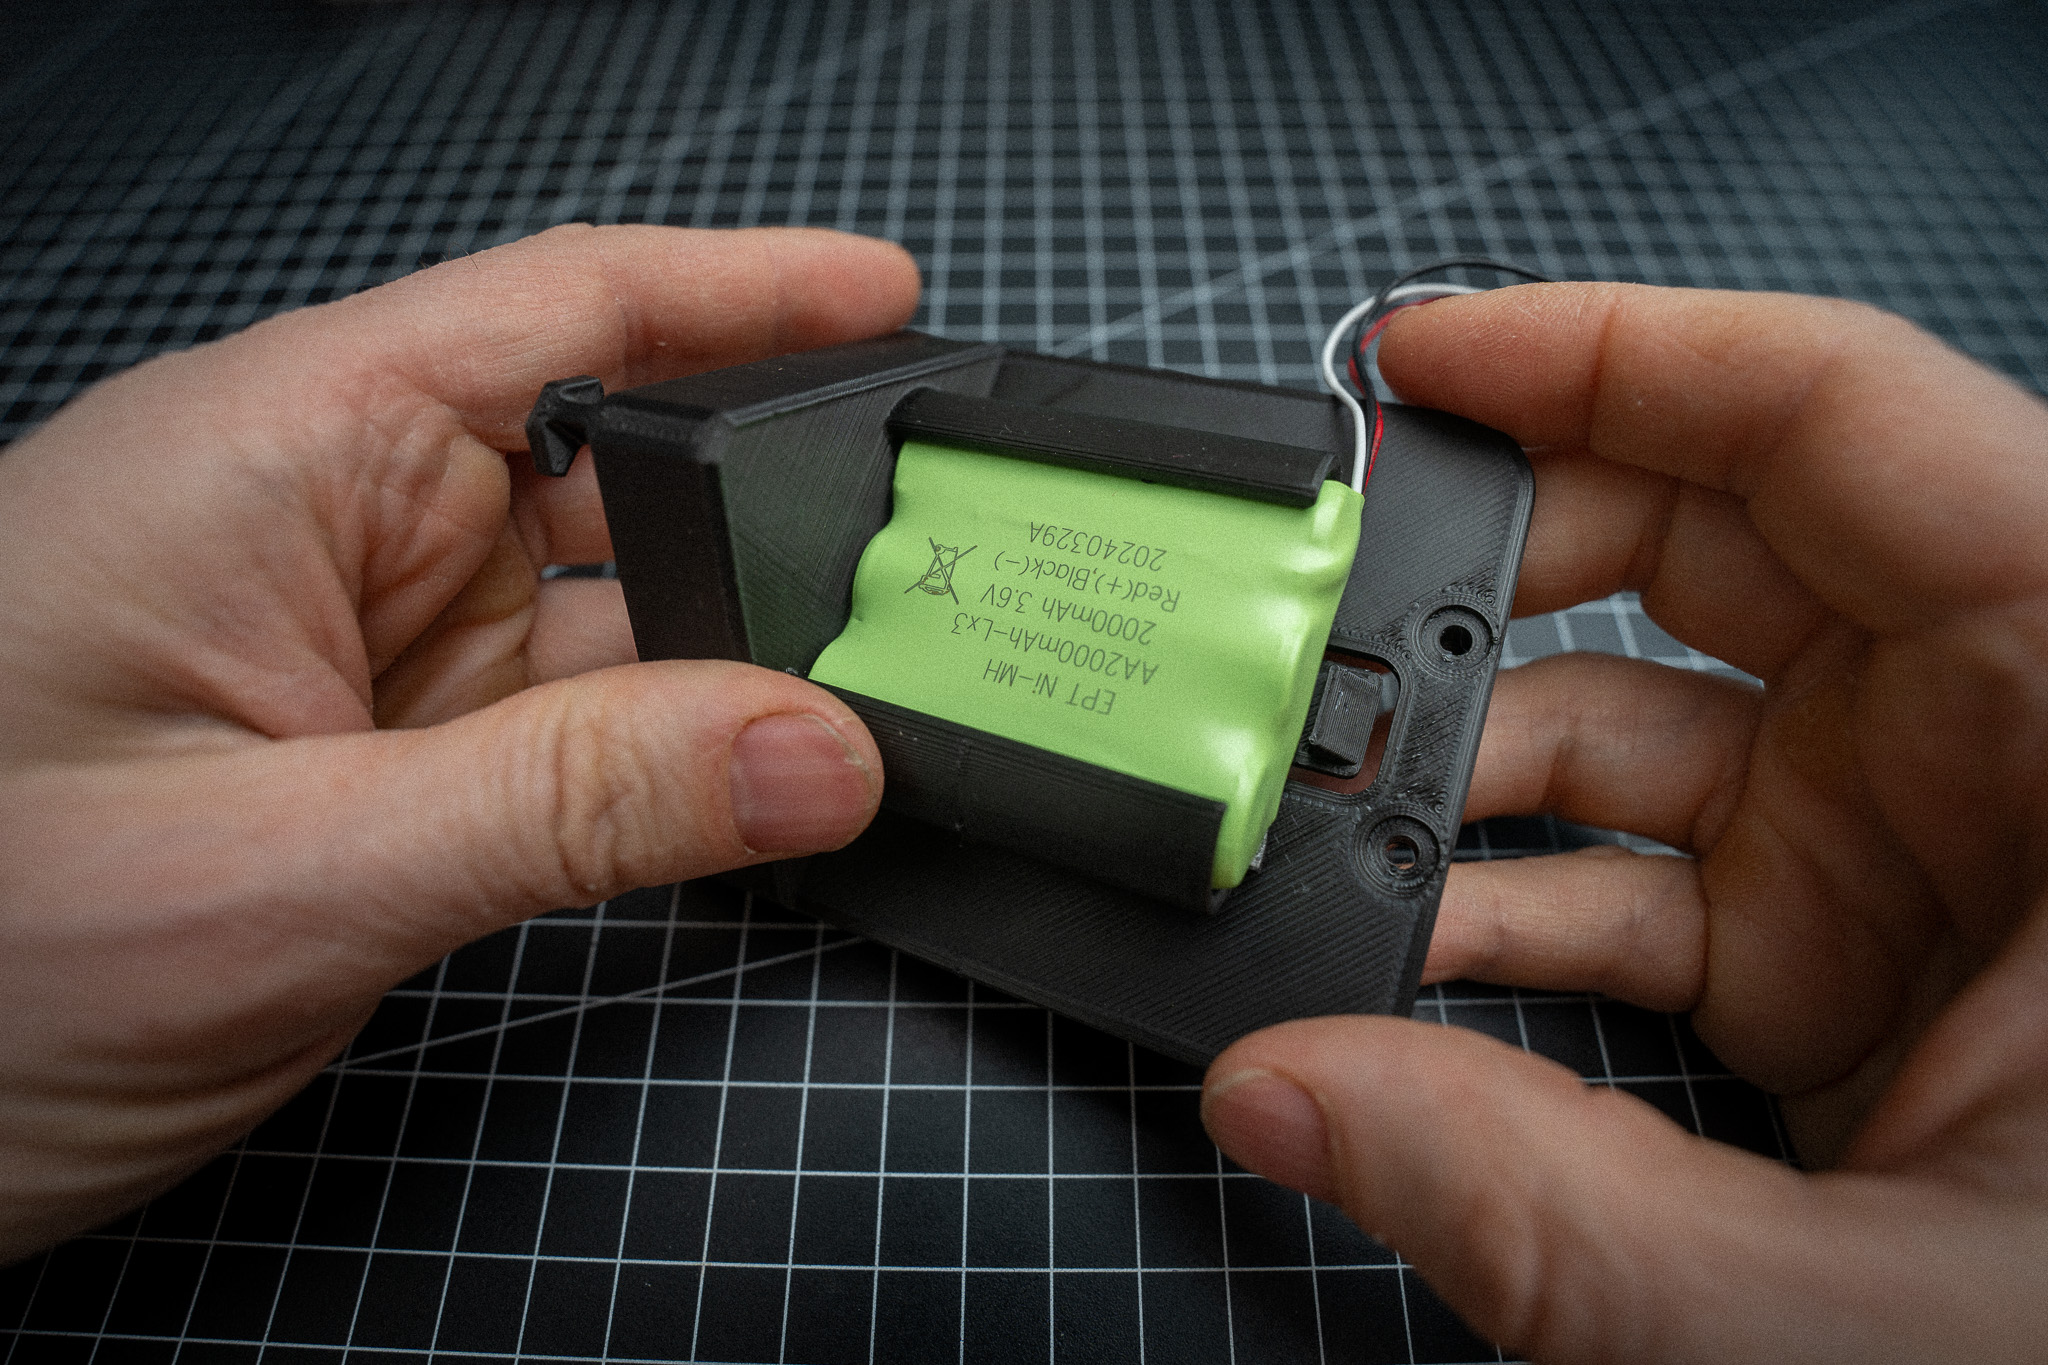
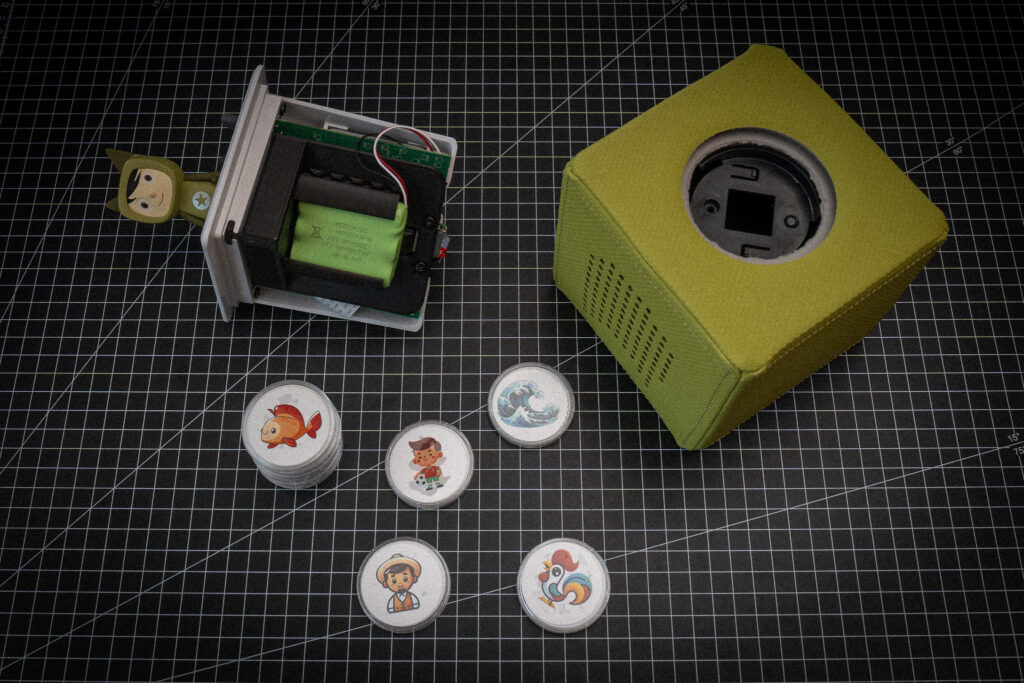
Step 3: Adjust the battery holder
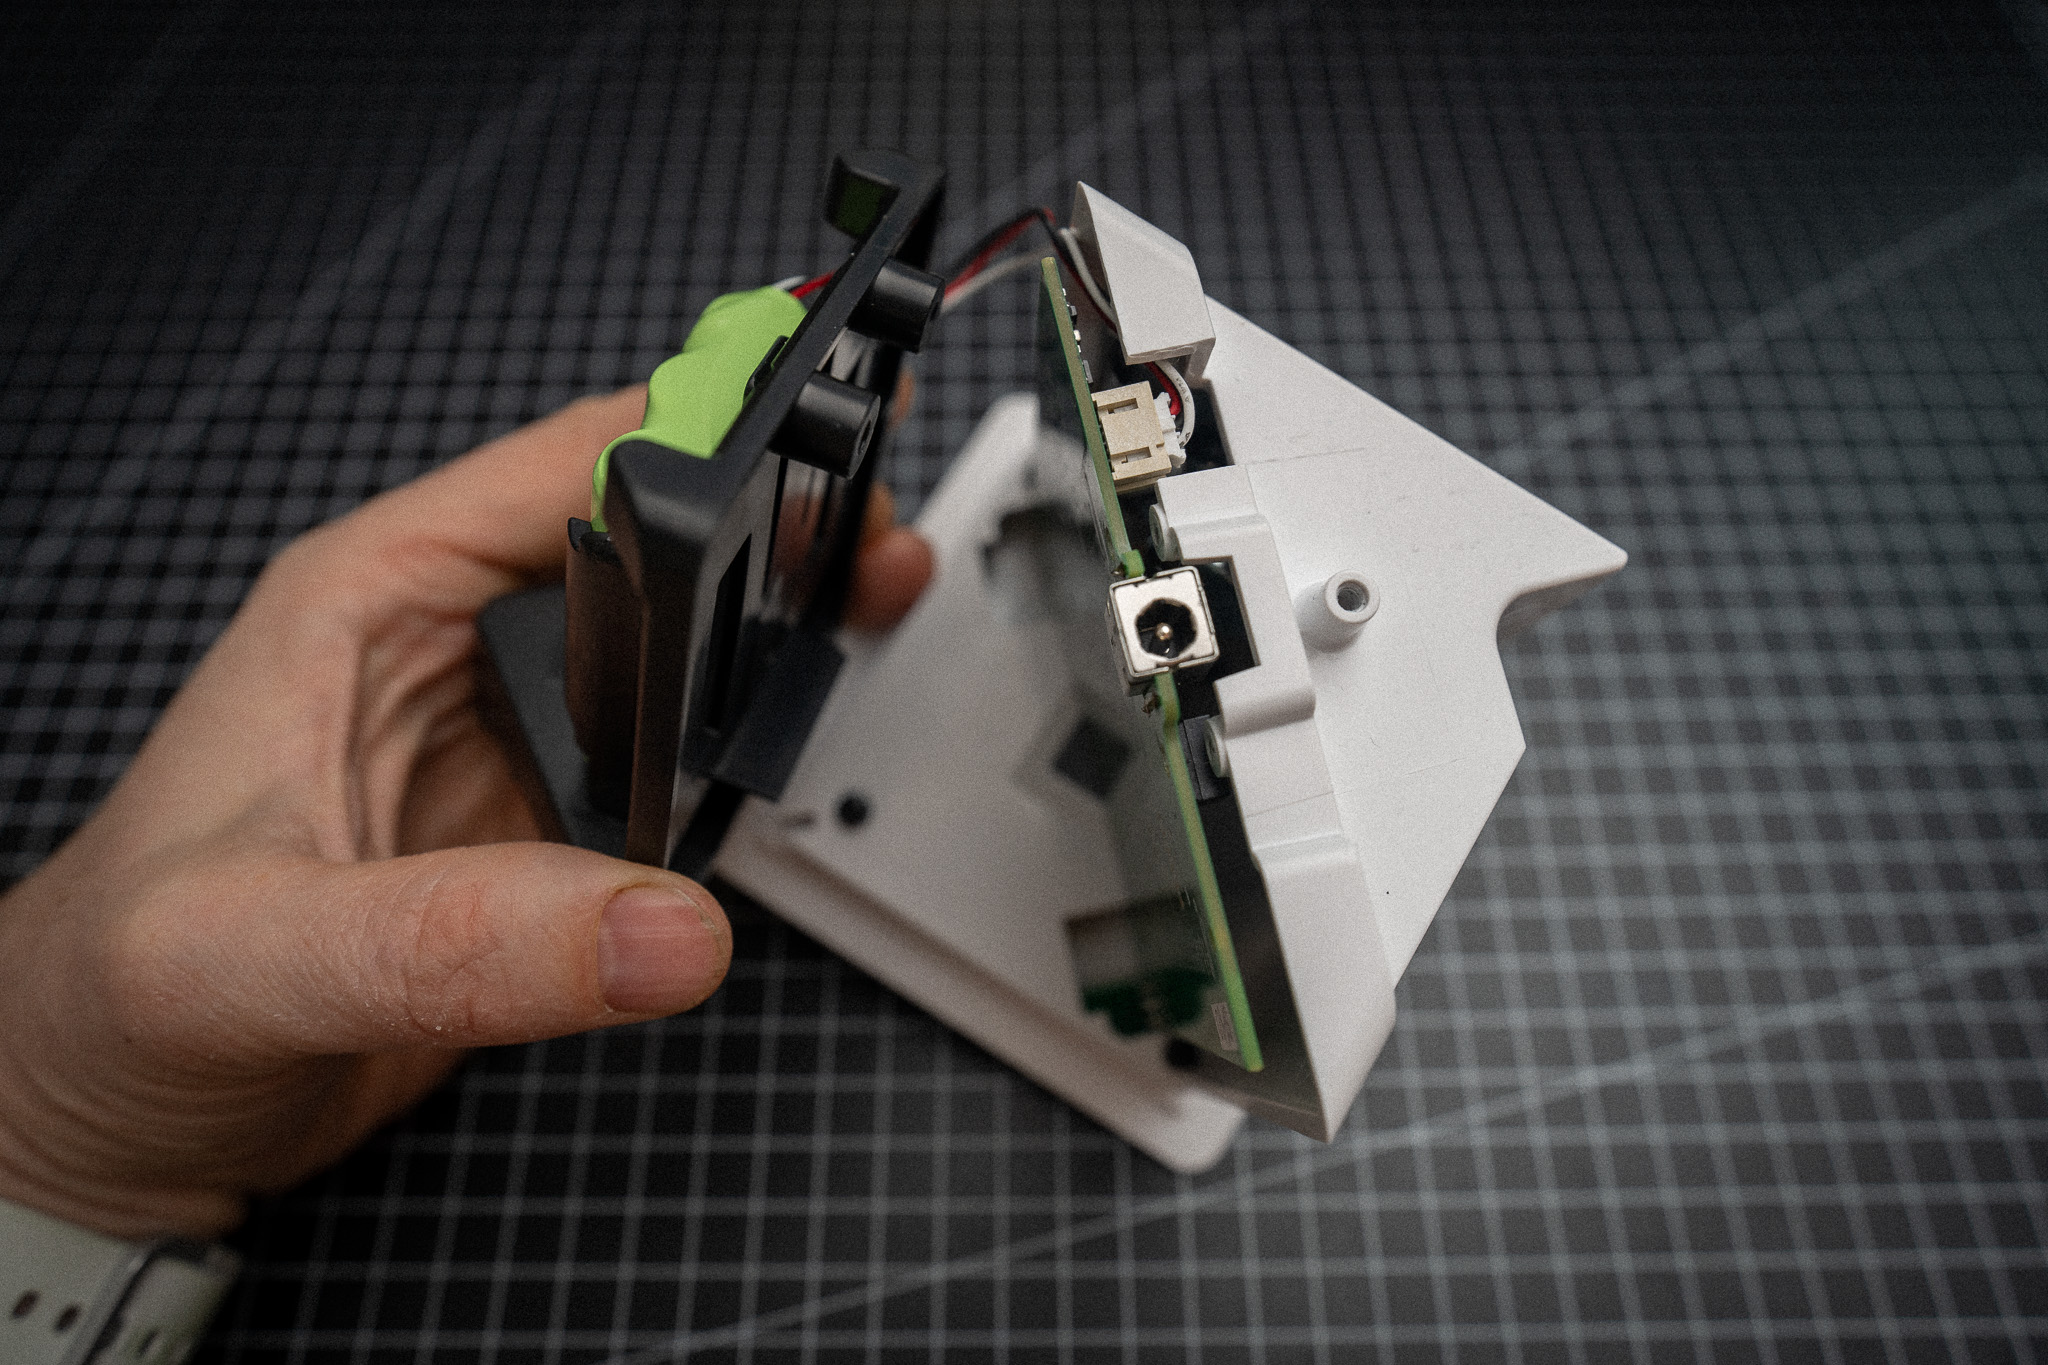
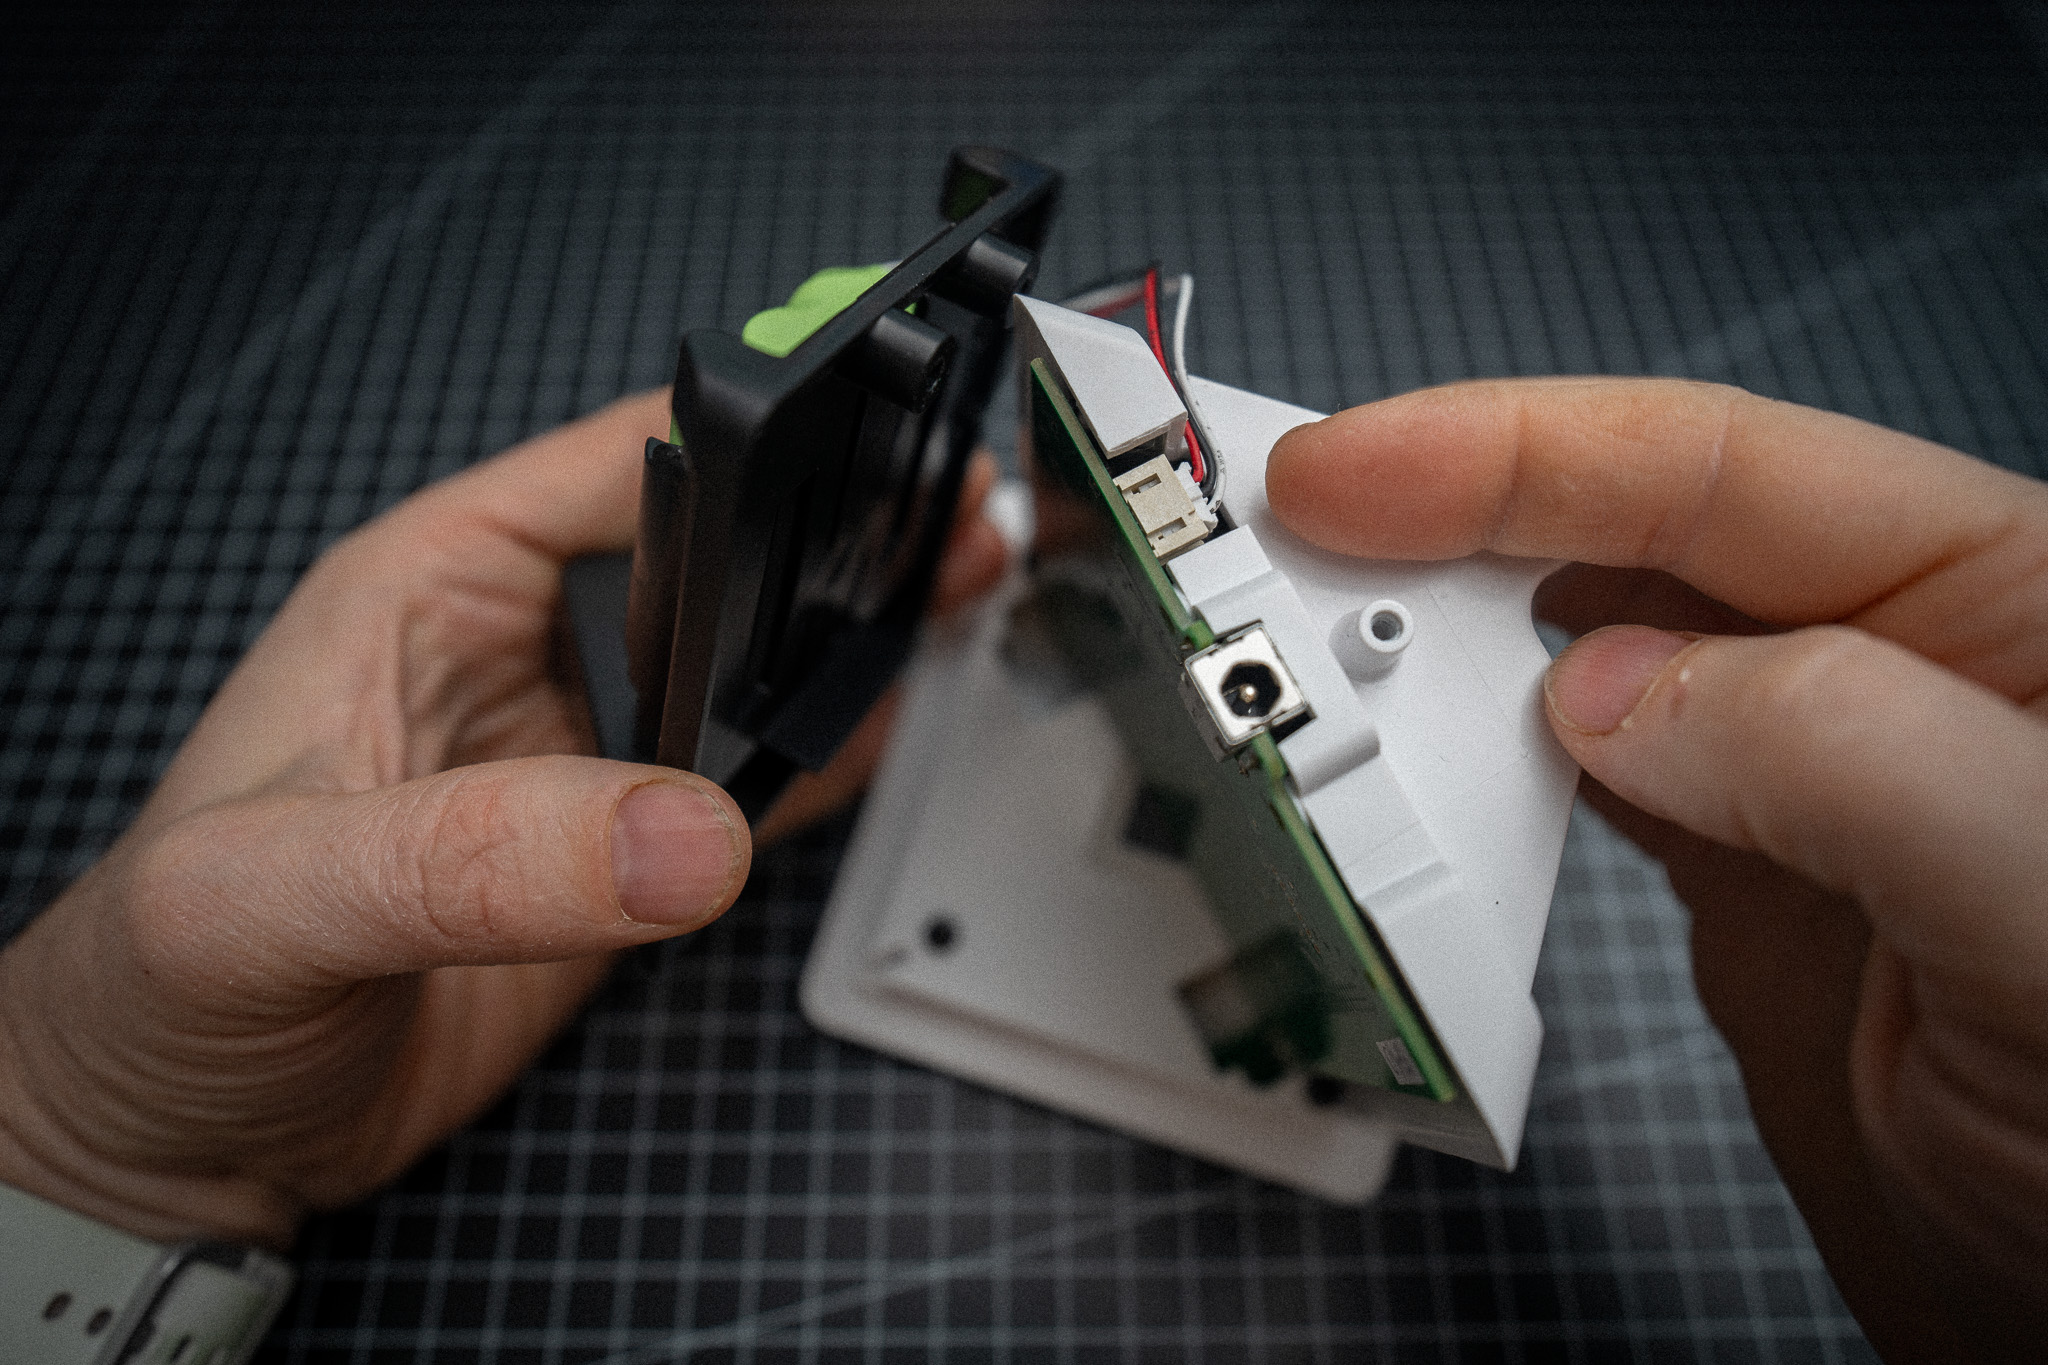
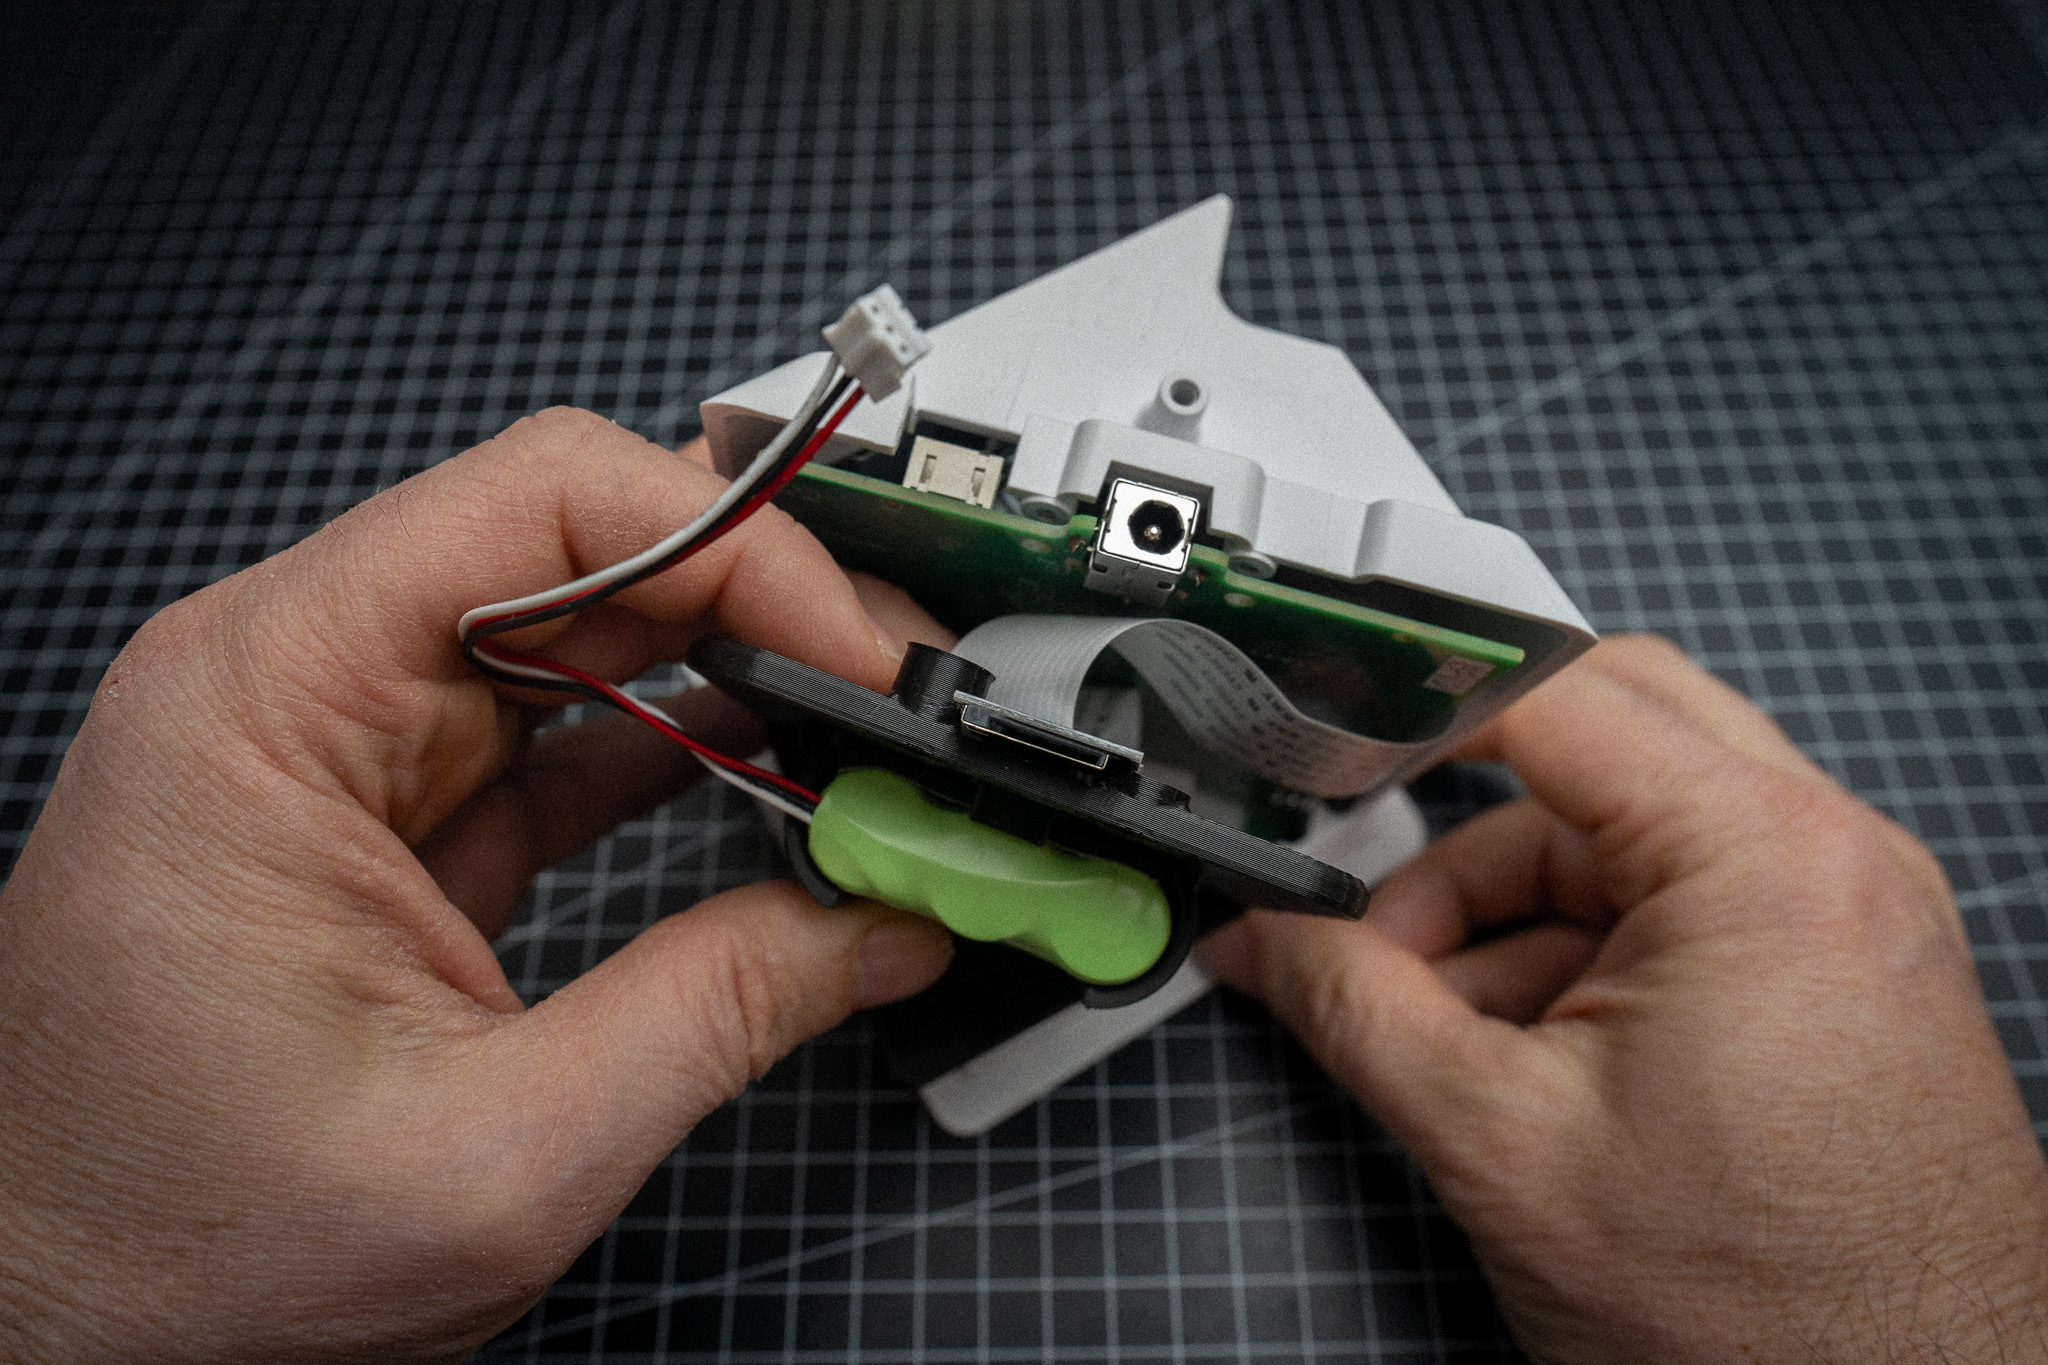
Now open the cable housing:
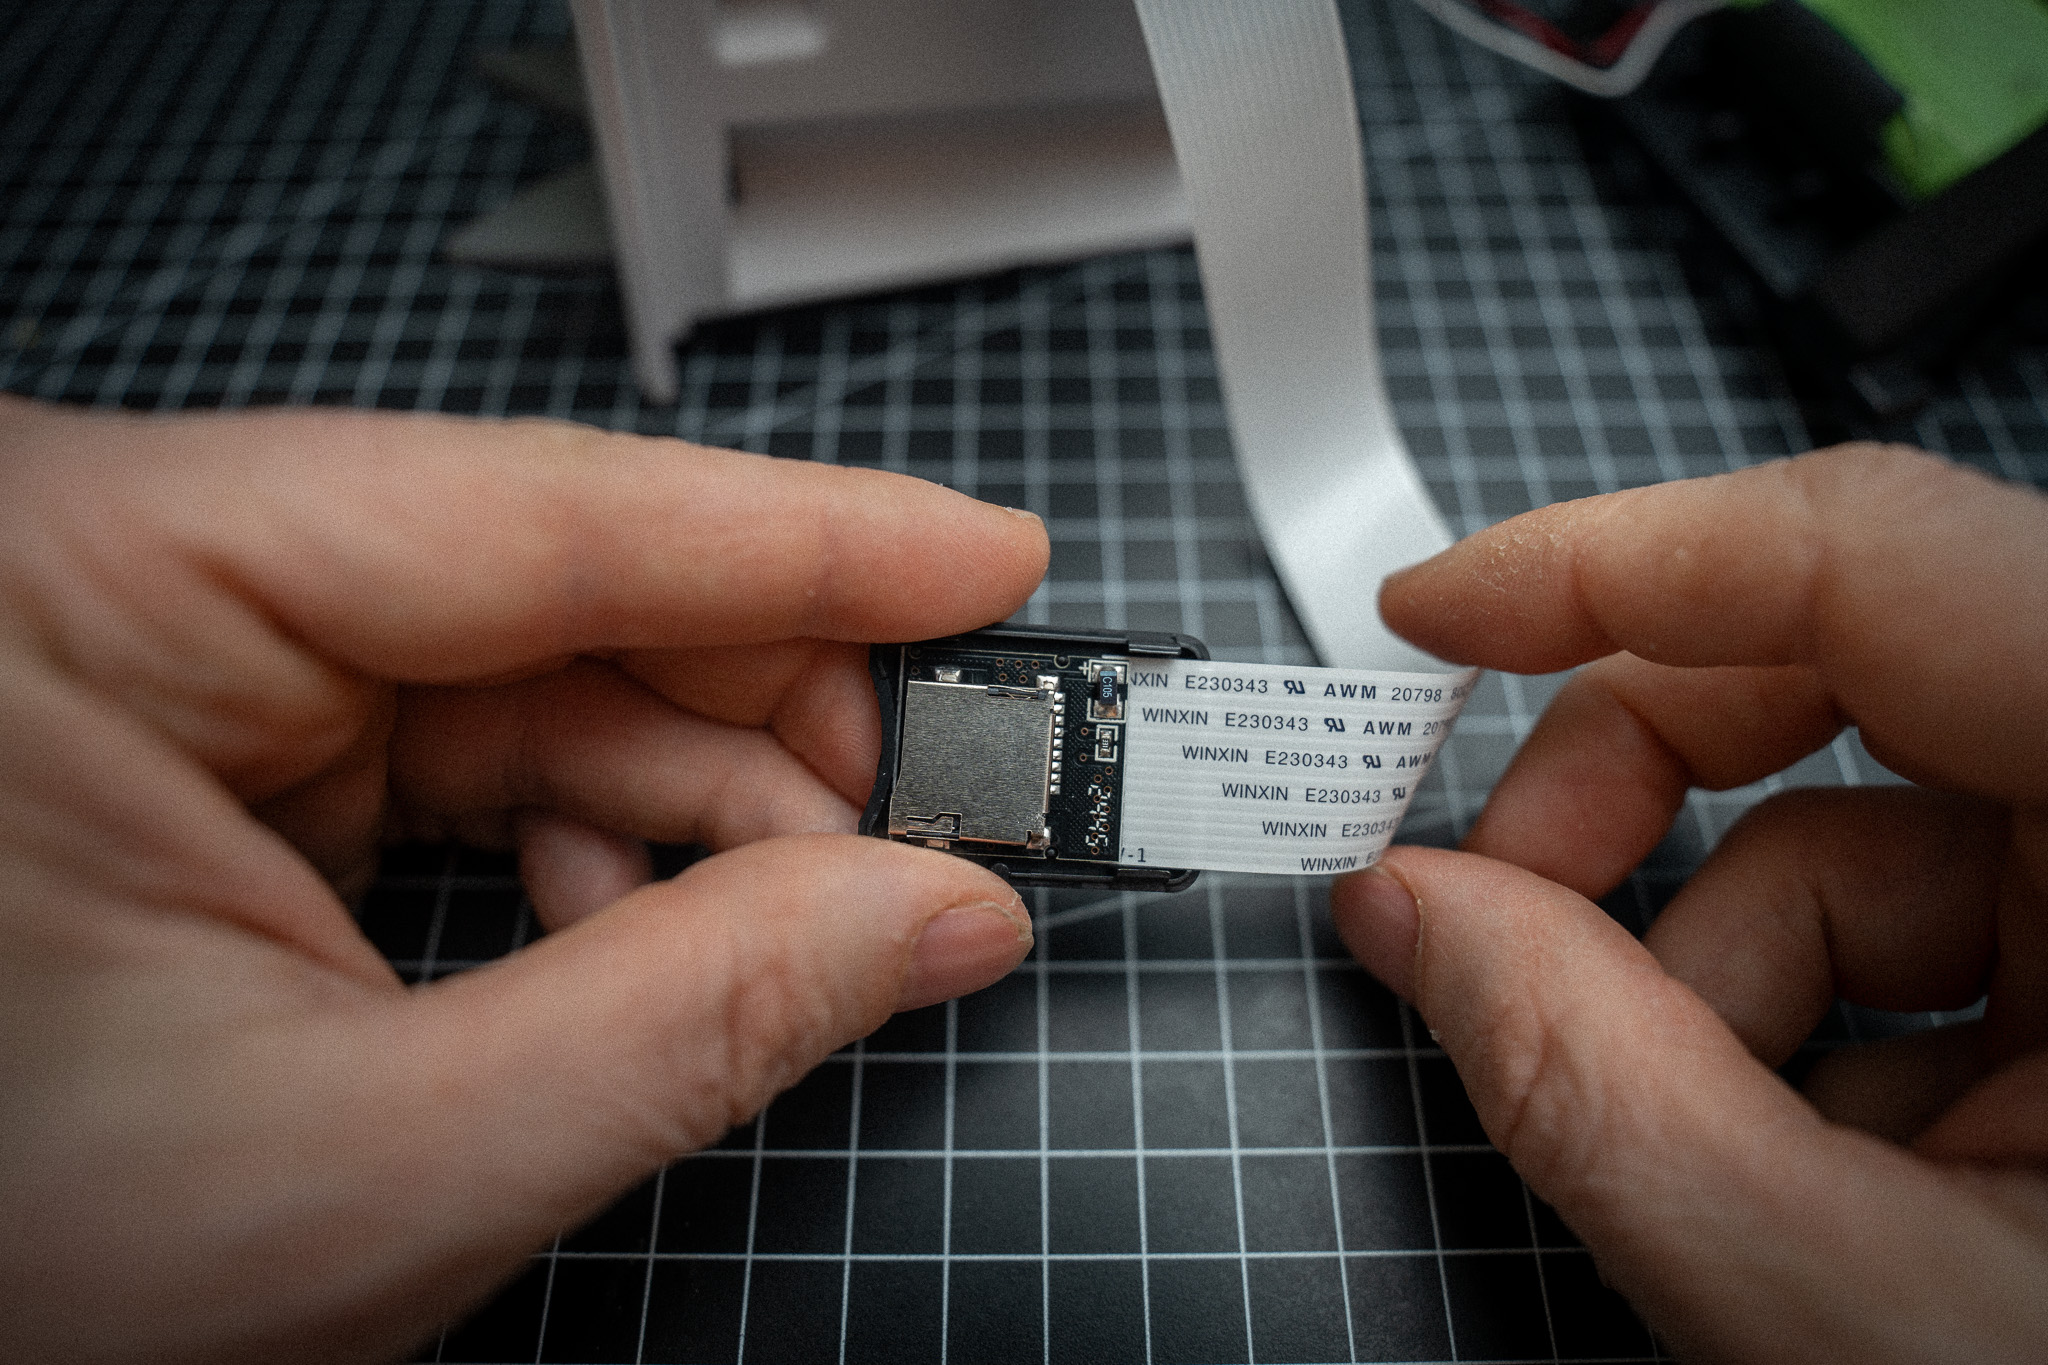
By the way, I didn’t have to remove the resistor on the extension cable’s circuit board because the card was recognized without any problems even without this measure.
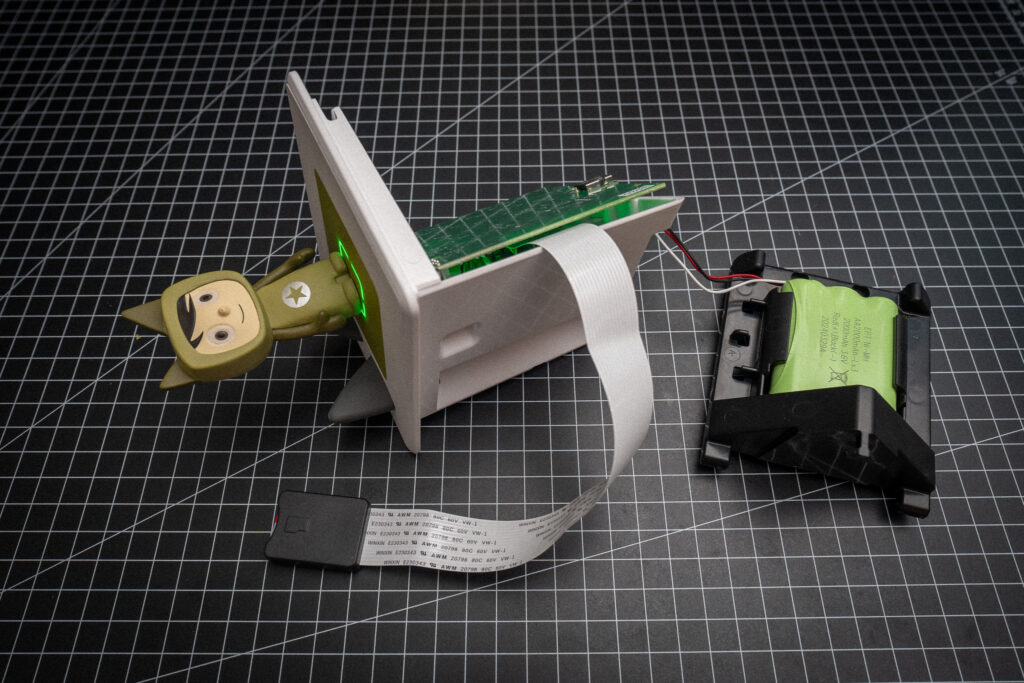
Our goal is to achieve the following result:
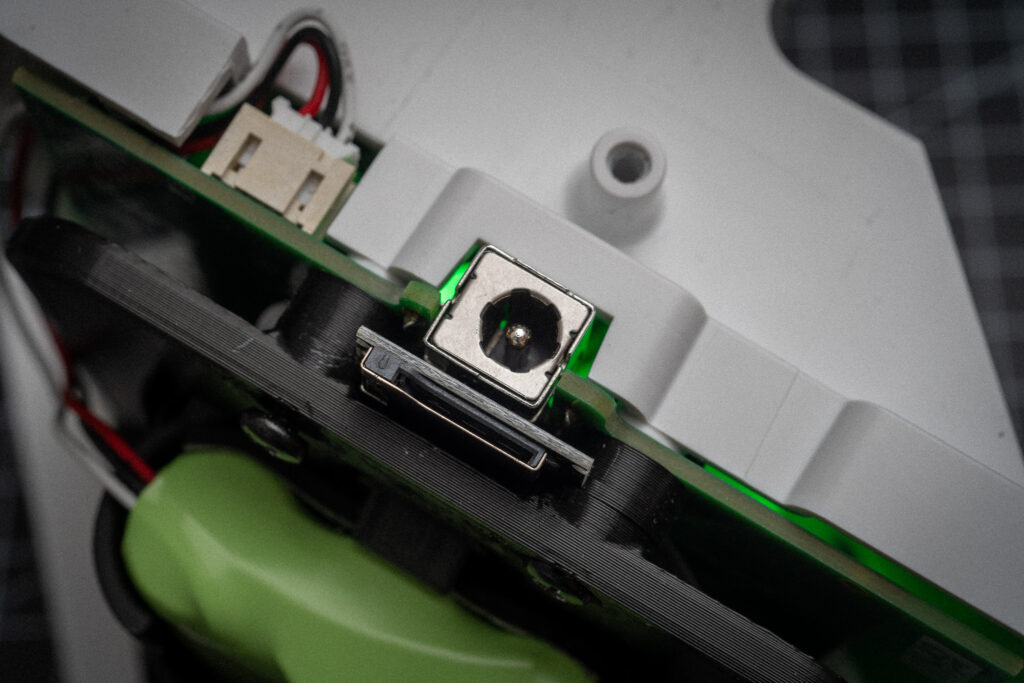
The original black battery bracket can be adjusted so that the card reader fits perfectly between the small feet. To do this, the inside of the bracket is worked with a file and the card reader is then fixed in place with hot glue.
Alternatively, I made the holder and the lid myself with a 3D printer (here is the link to the model):

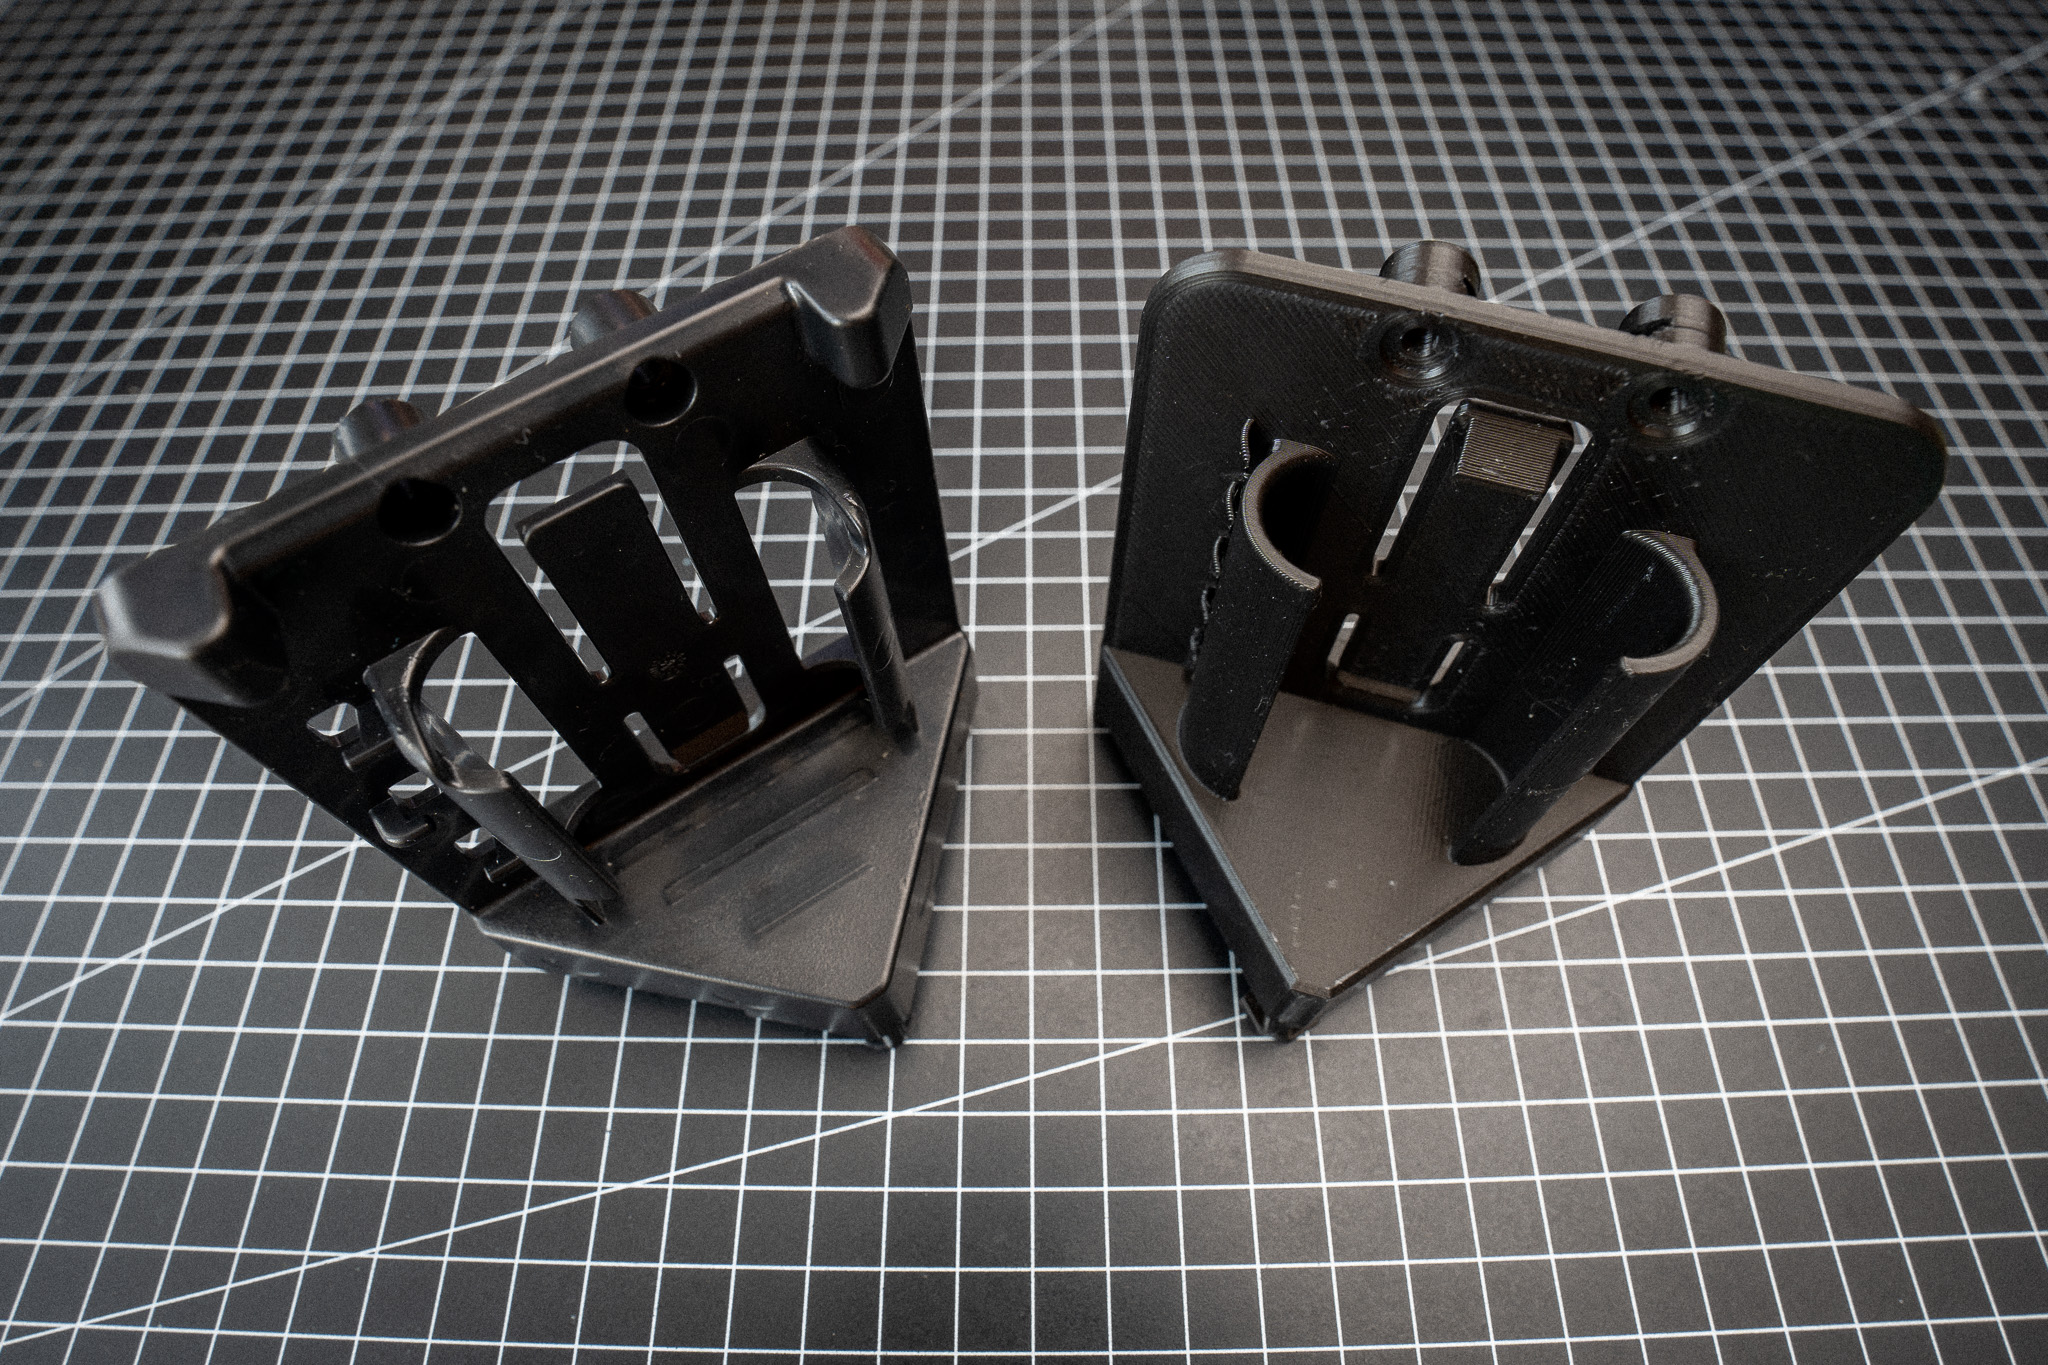
Unfortunately, one of the feet on the holder broke off when I was printing. In retrospect, however, this turned out to be an advantage, as it made it easier to insert the card reader. The screws keep everything stable.
This is what the result looks like after inserting it into the case:
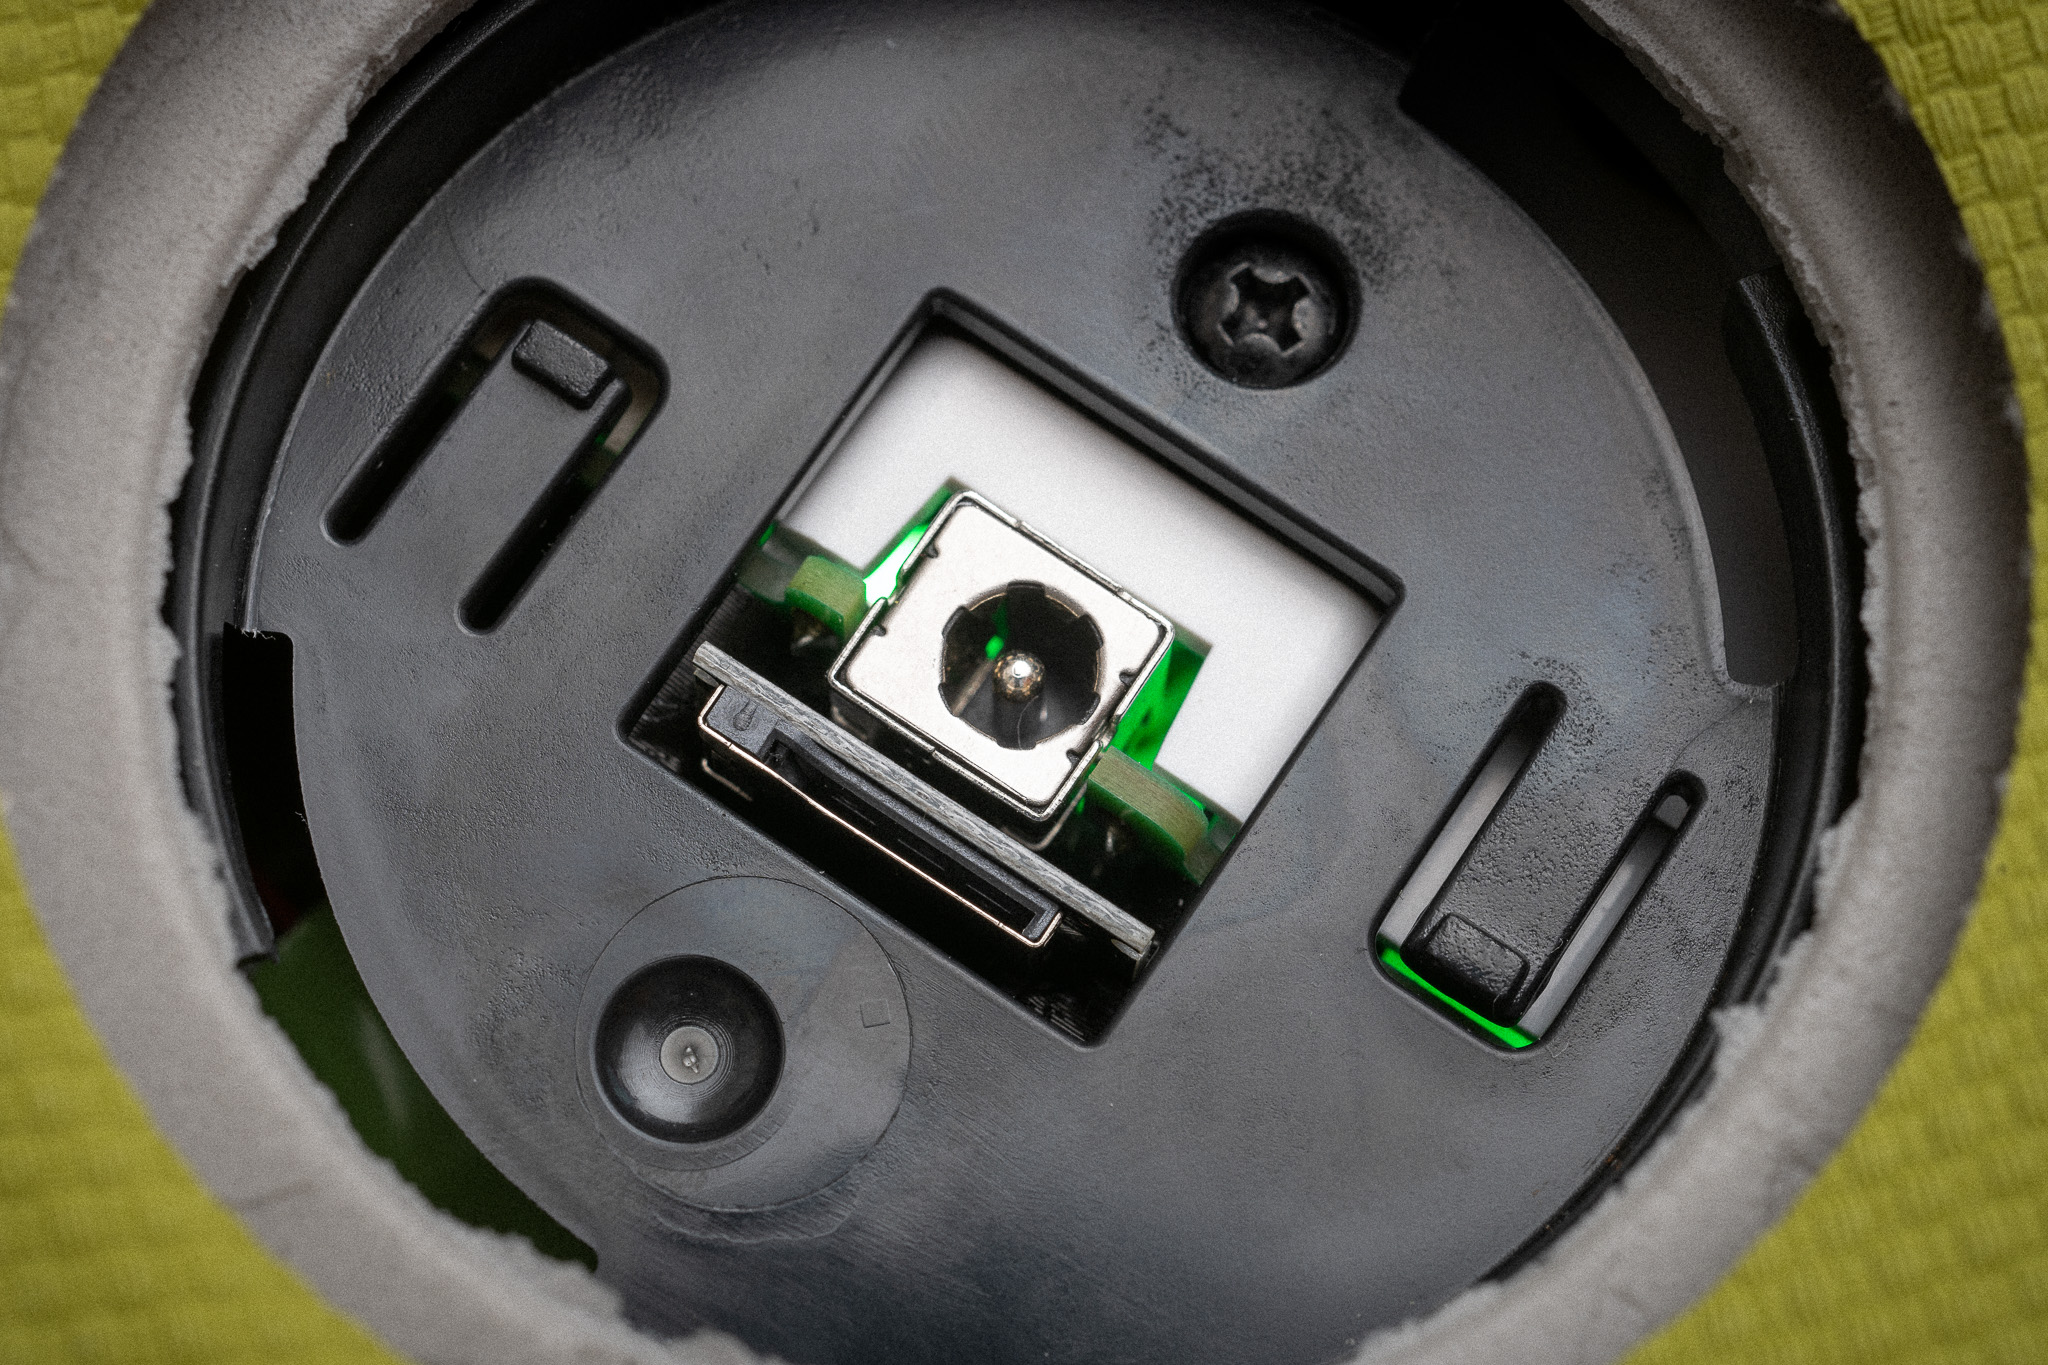
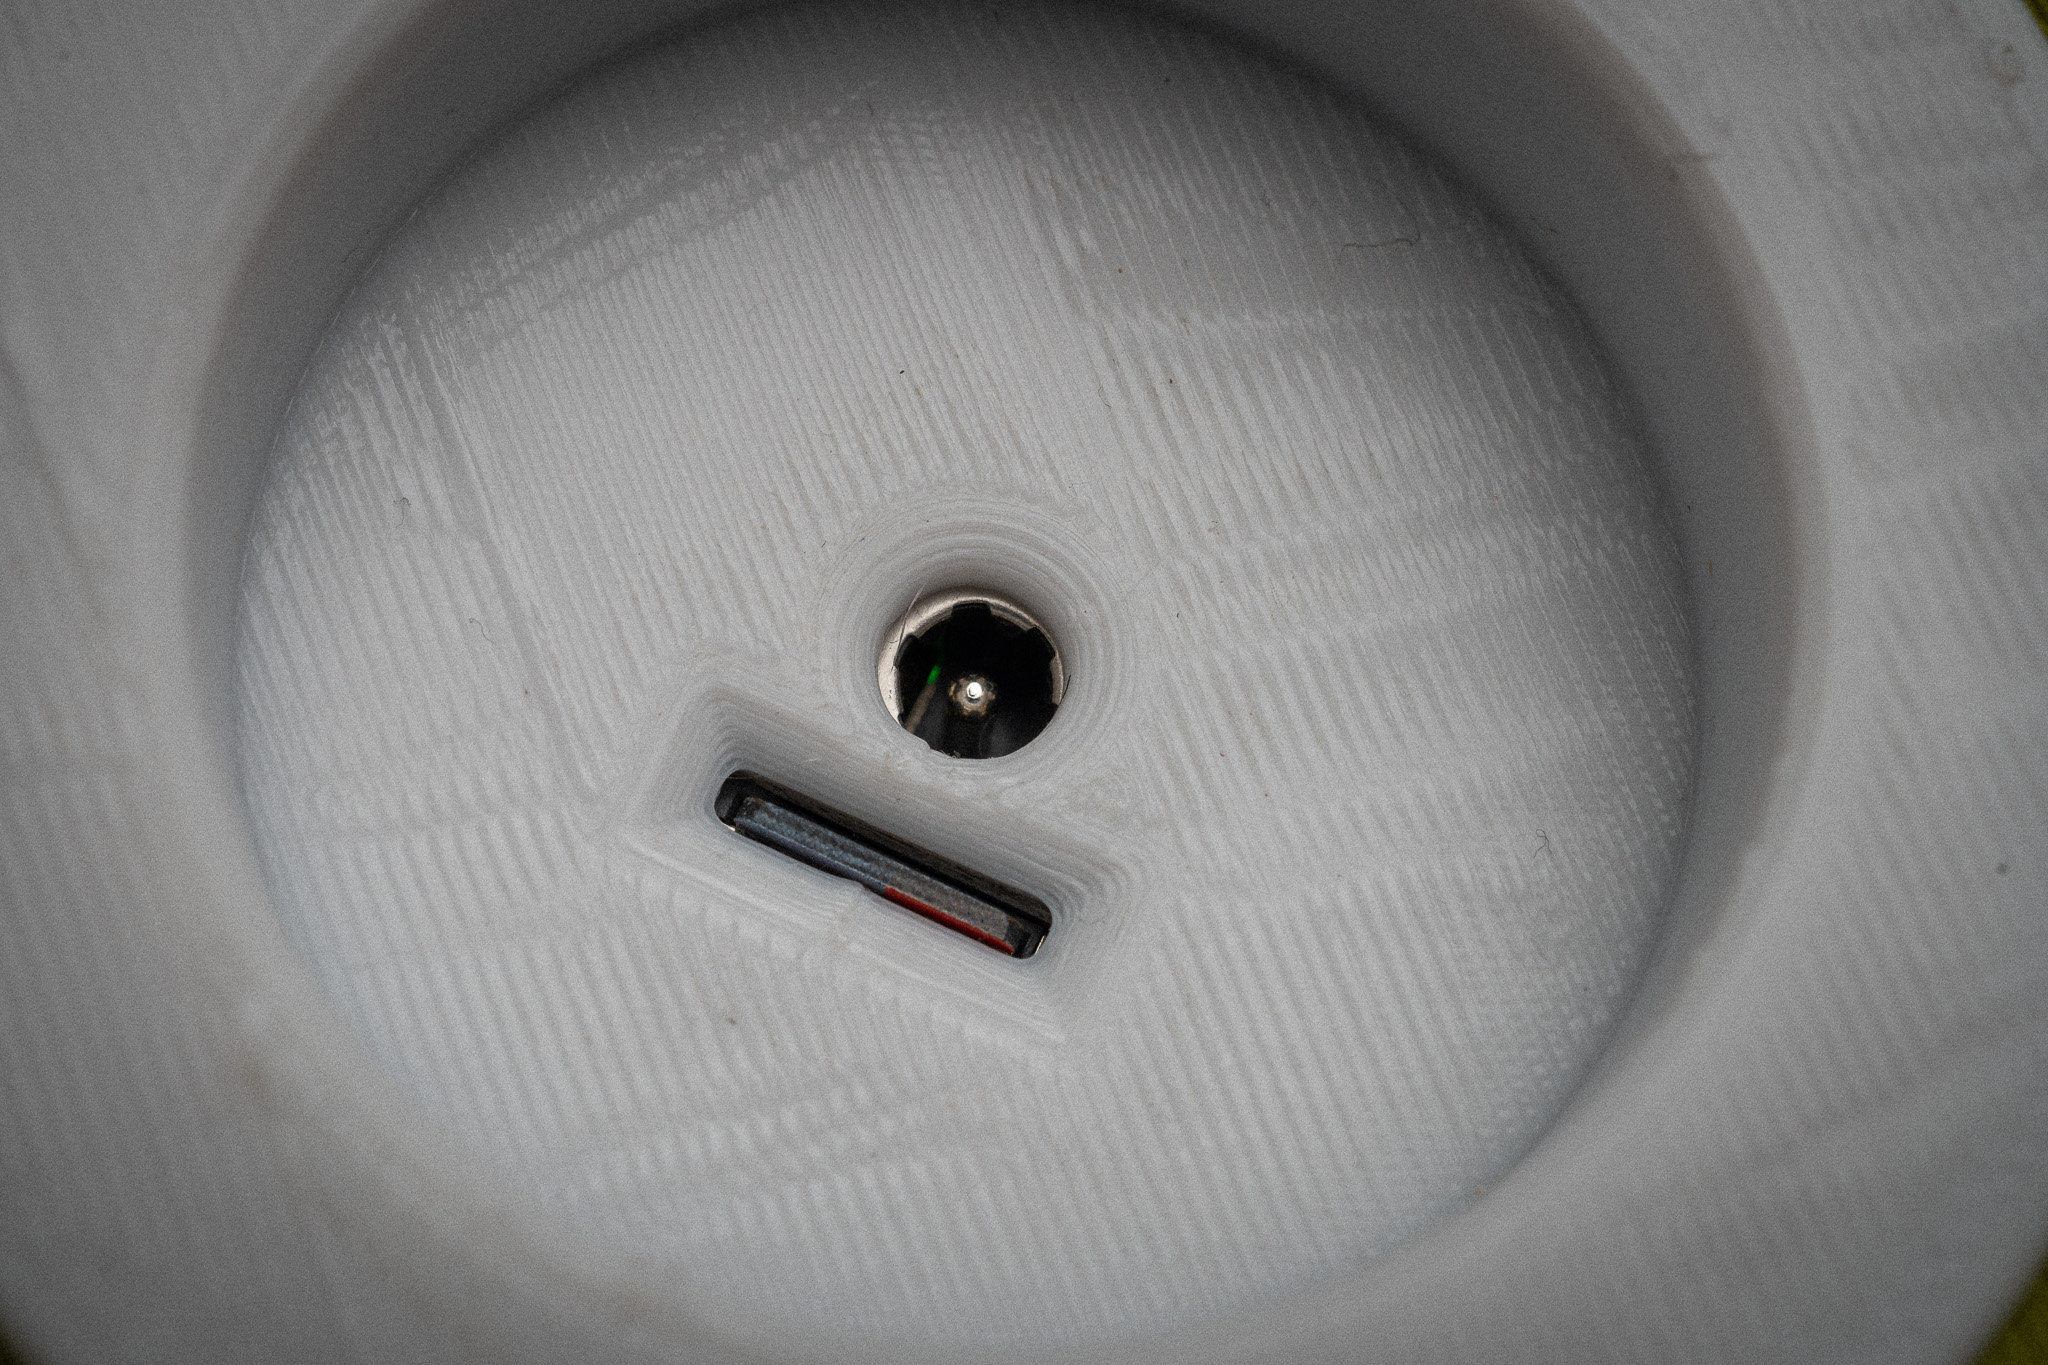
With the 3D printed version, the card must be removed before the printed lid can be inserted. However, the card is accessible from the outside (which can also be a disadvantage for some children 😉).
Create your own NFC tags
Another advantage of this hack is that you don’t have to rely on the expensive, pre-made Tonie figurines. Instead, you can use your own NFC tags.
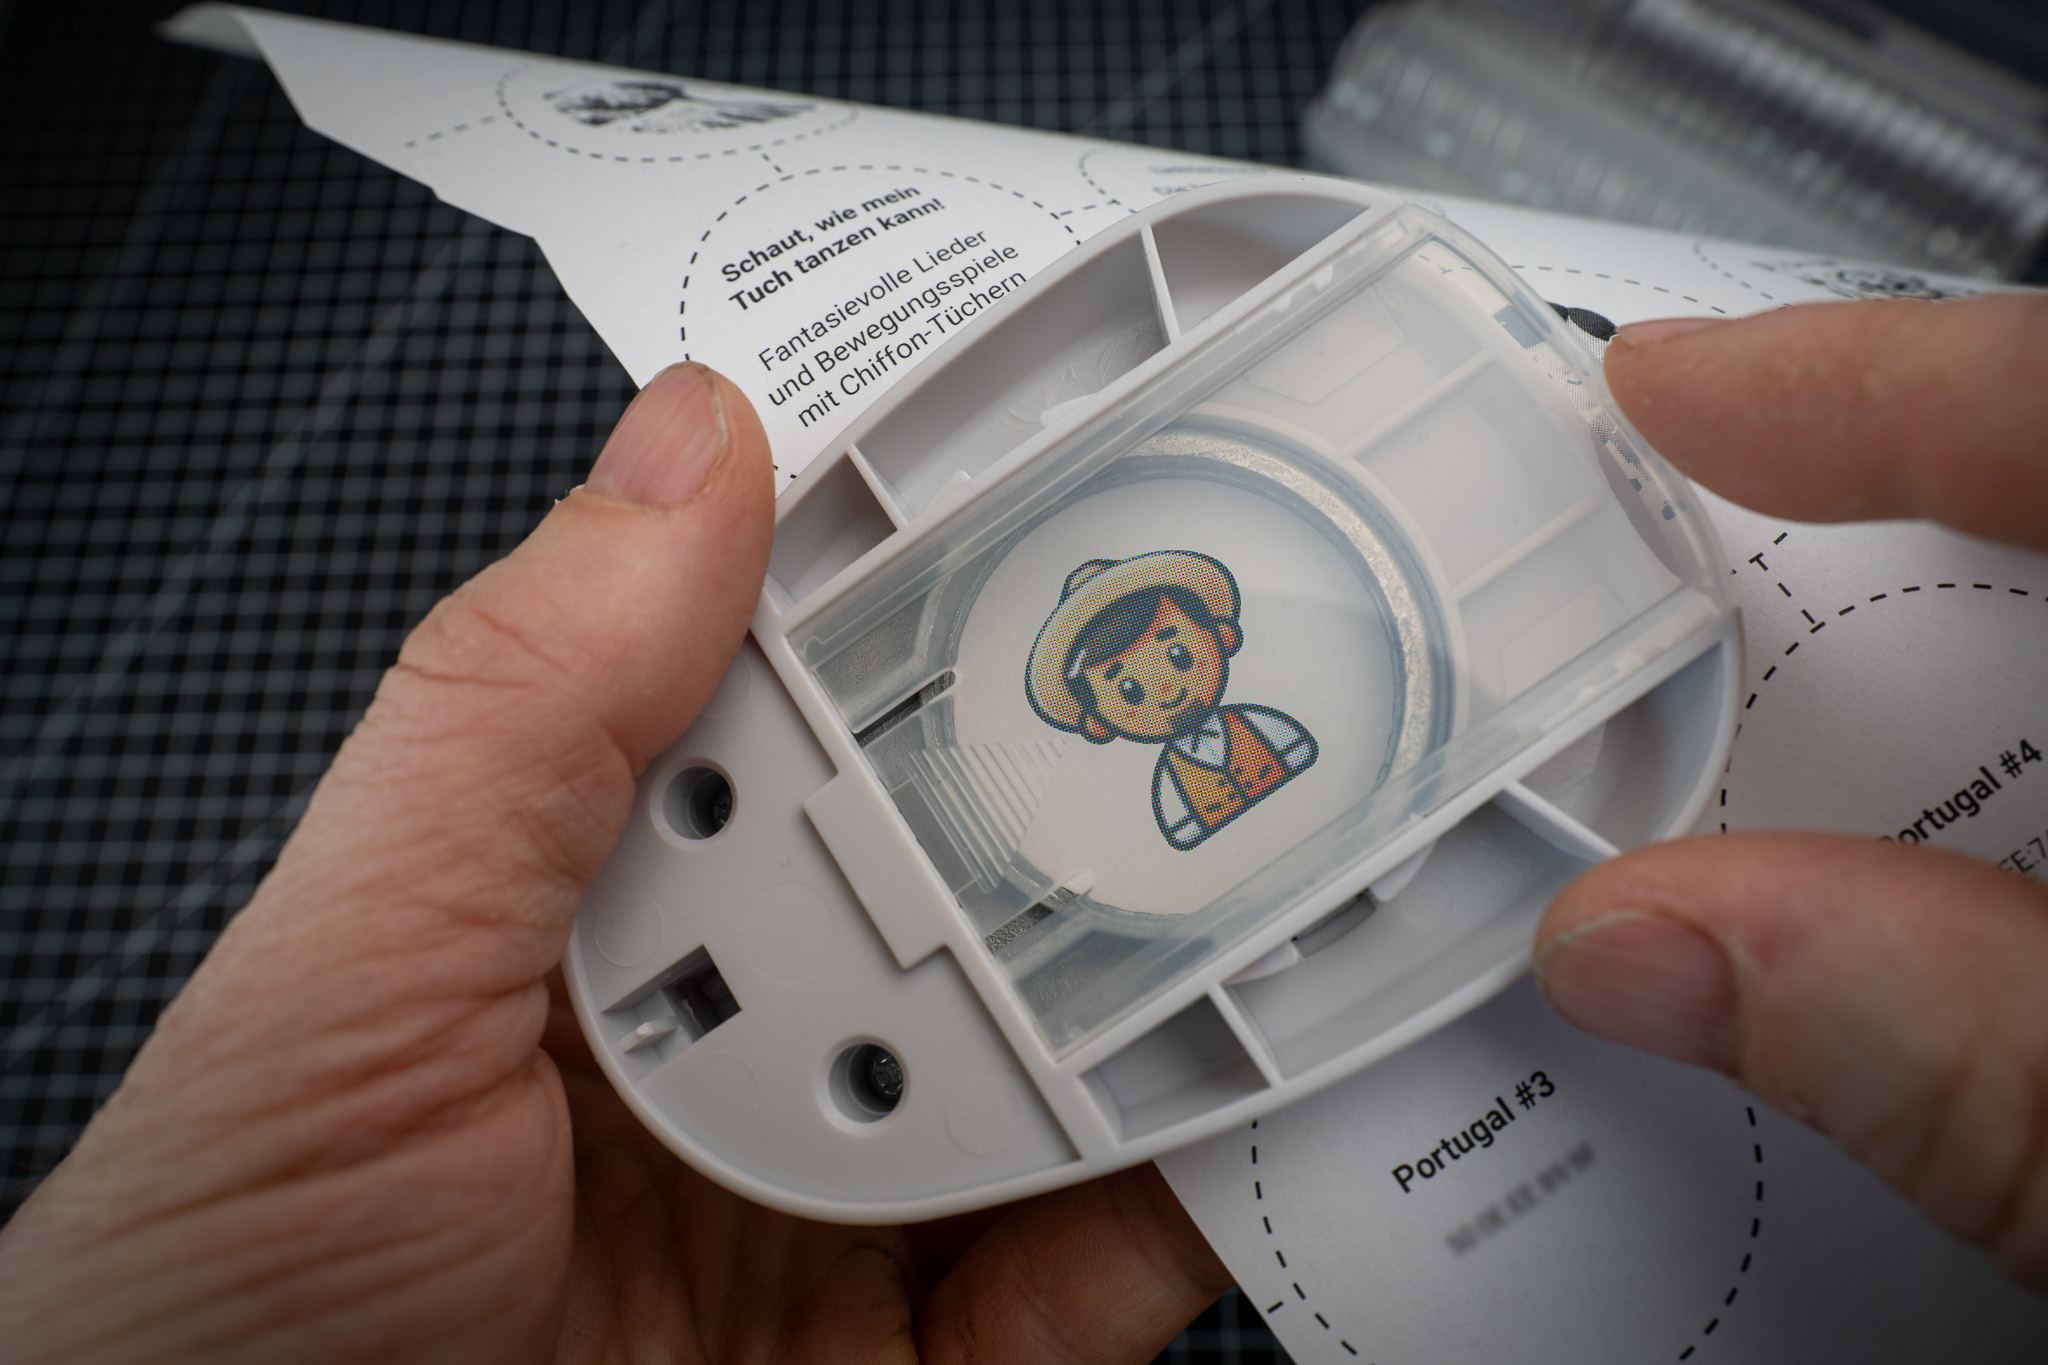
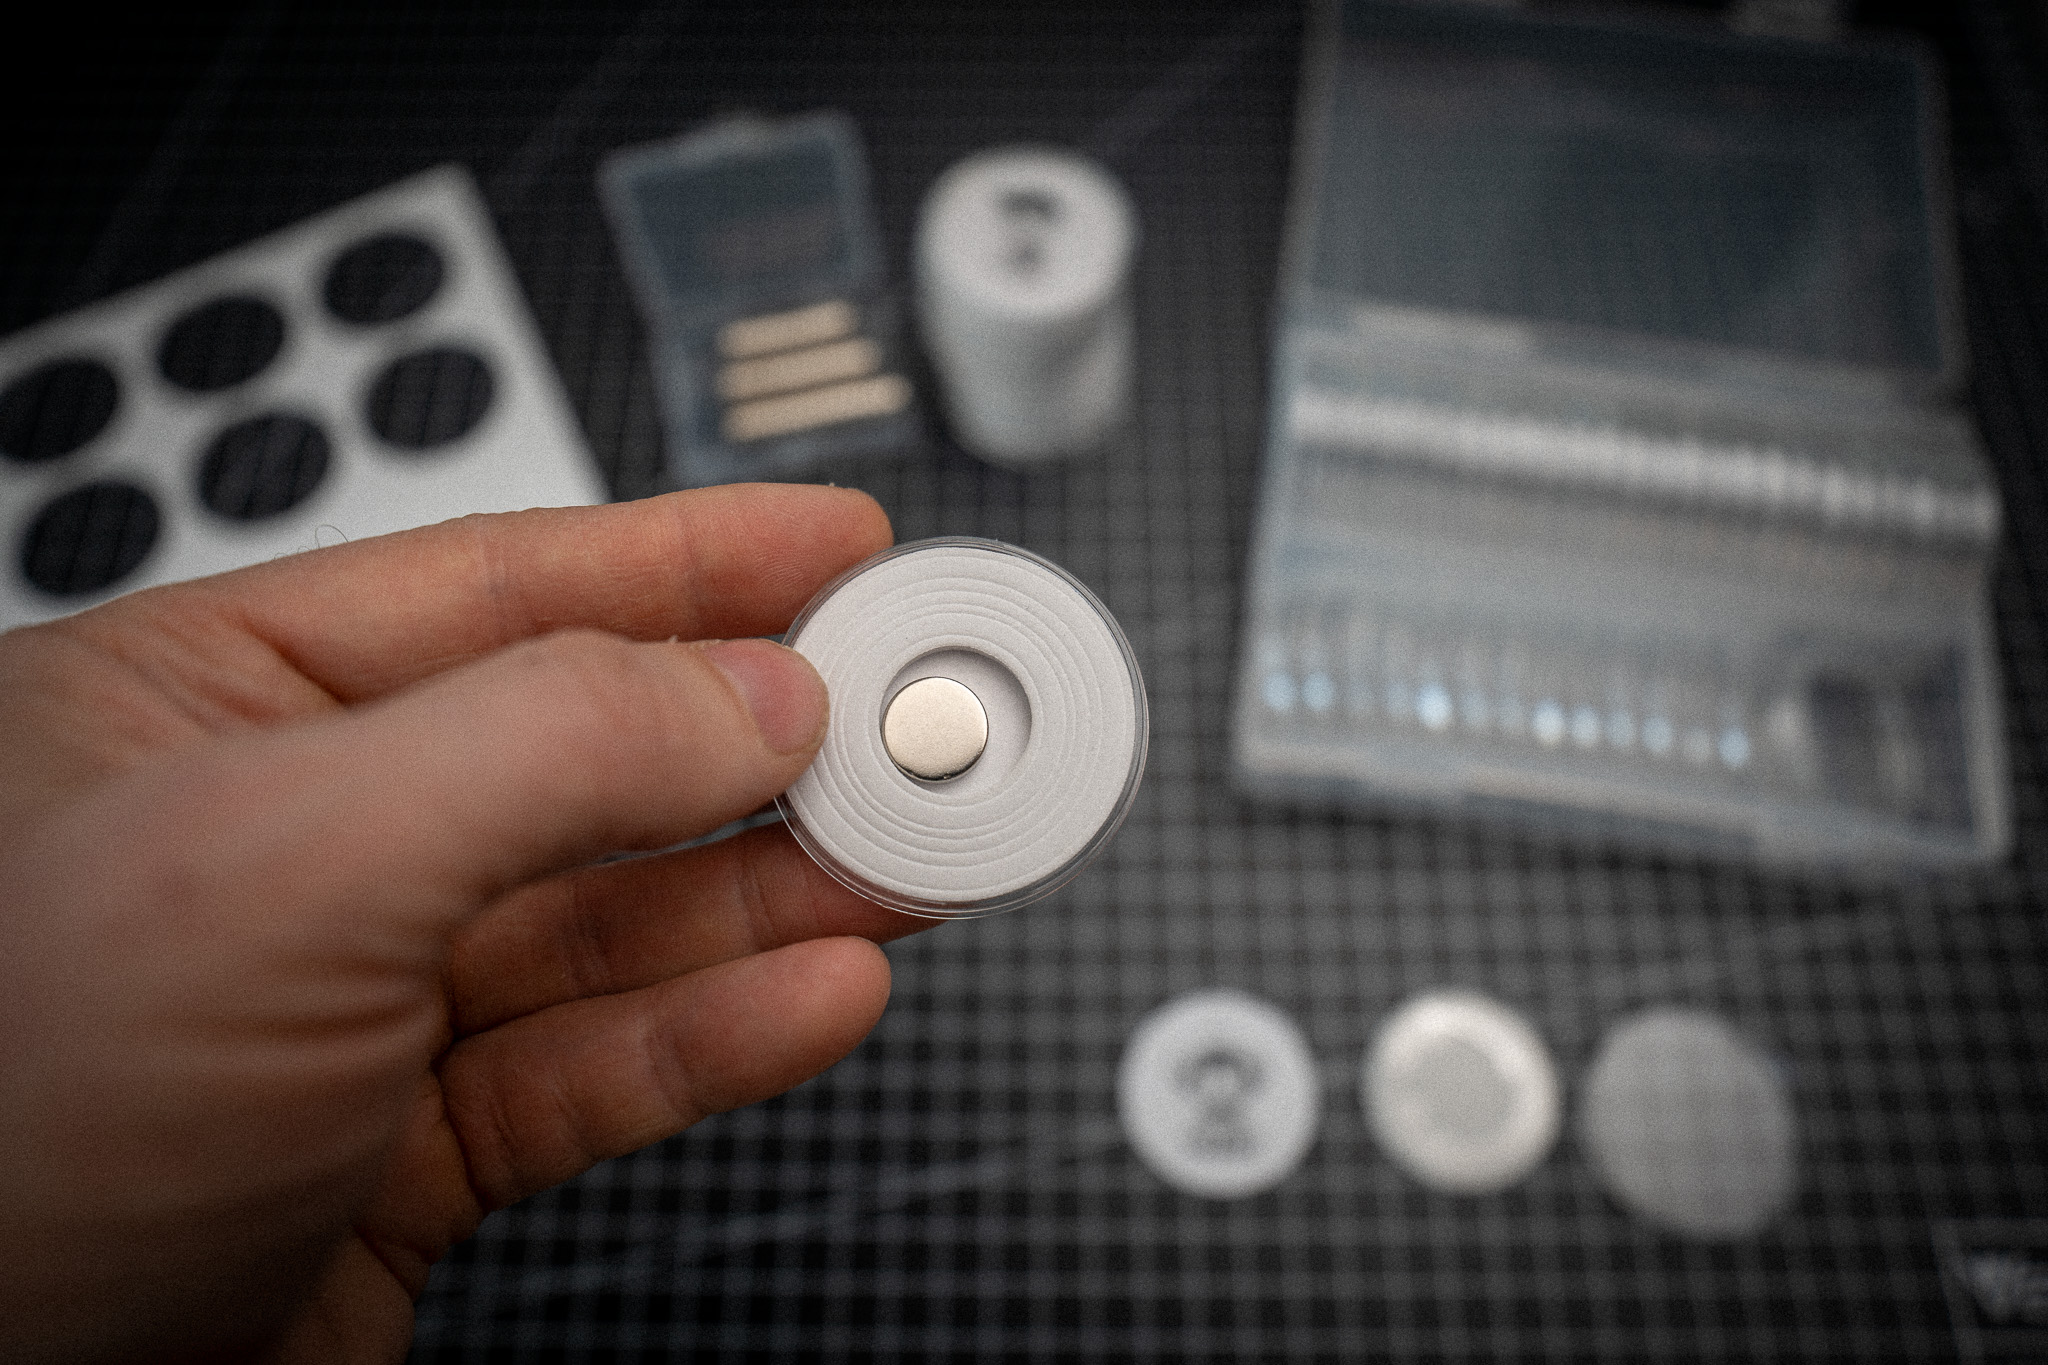
1. Coin capsules as NFC tags
The Toniebox only recognizes NFC tags that are at a certain distance from the surface. An easy way to achieve this is to use coin capsules with a foam ring to ensure the correct distance:
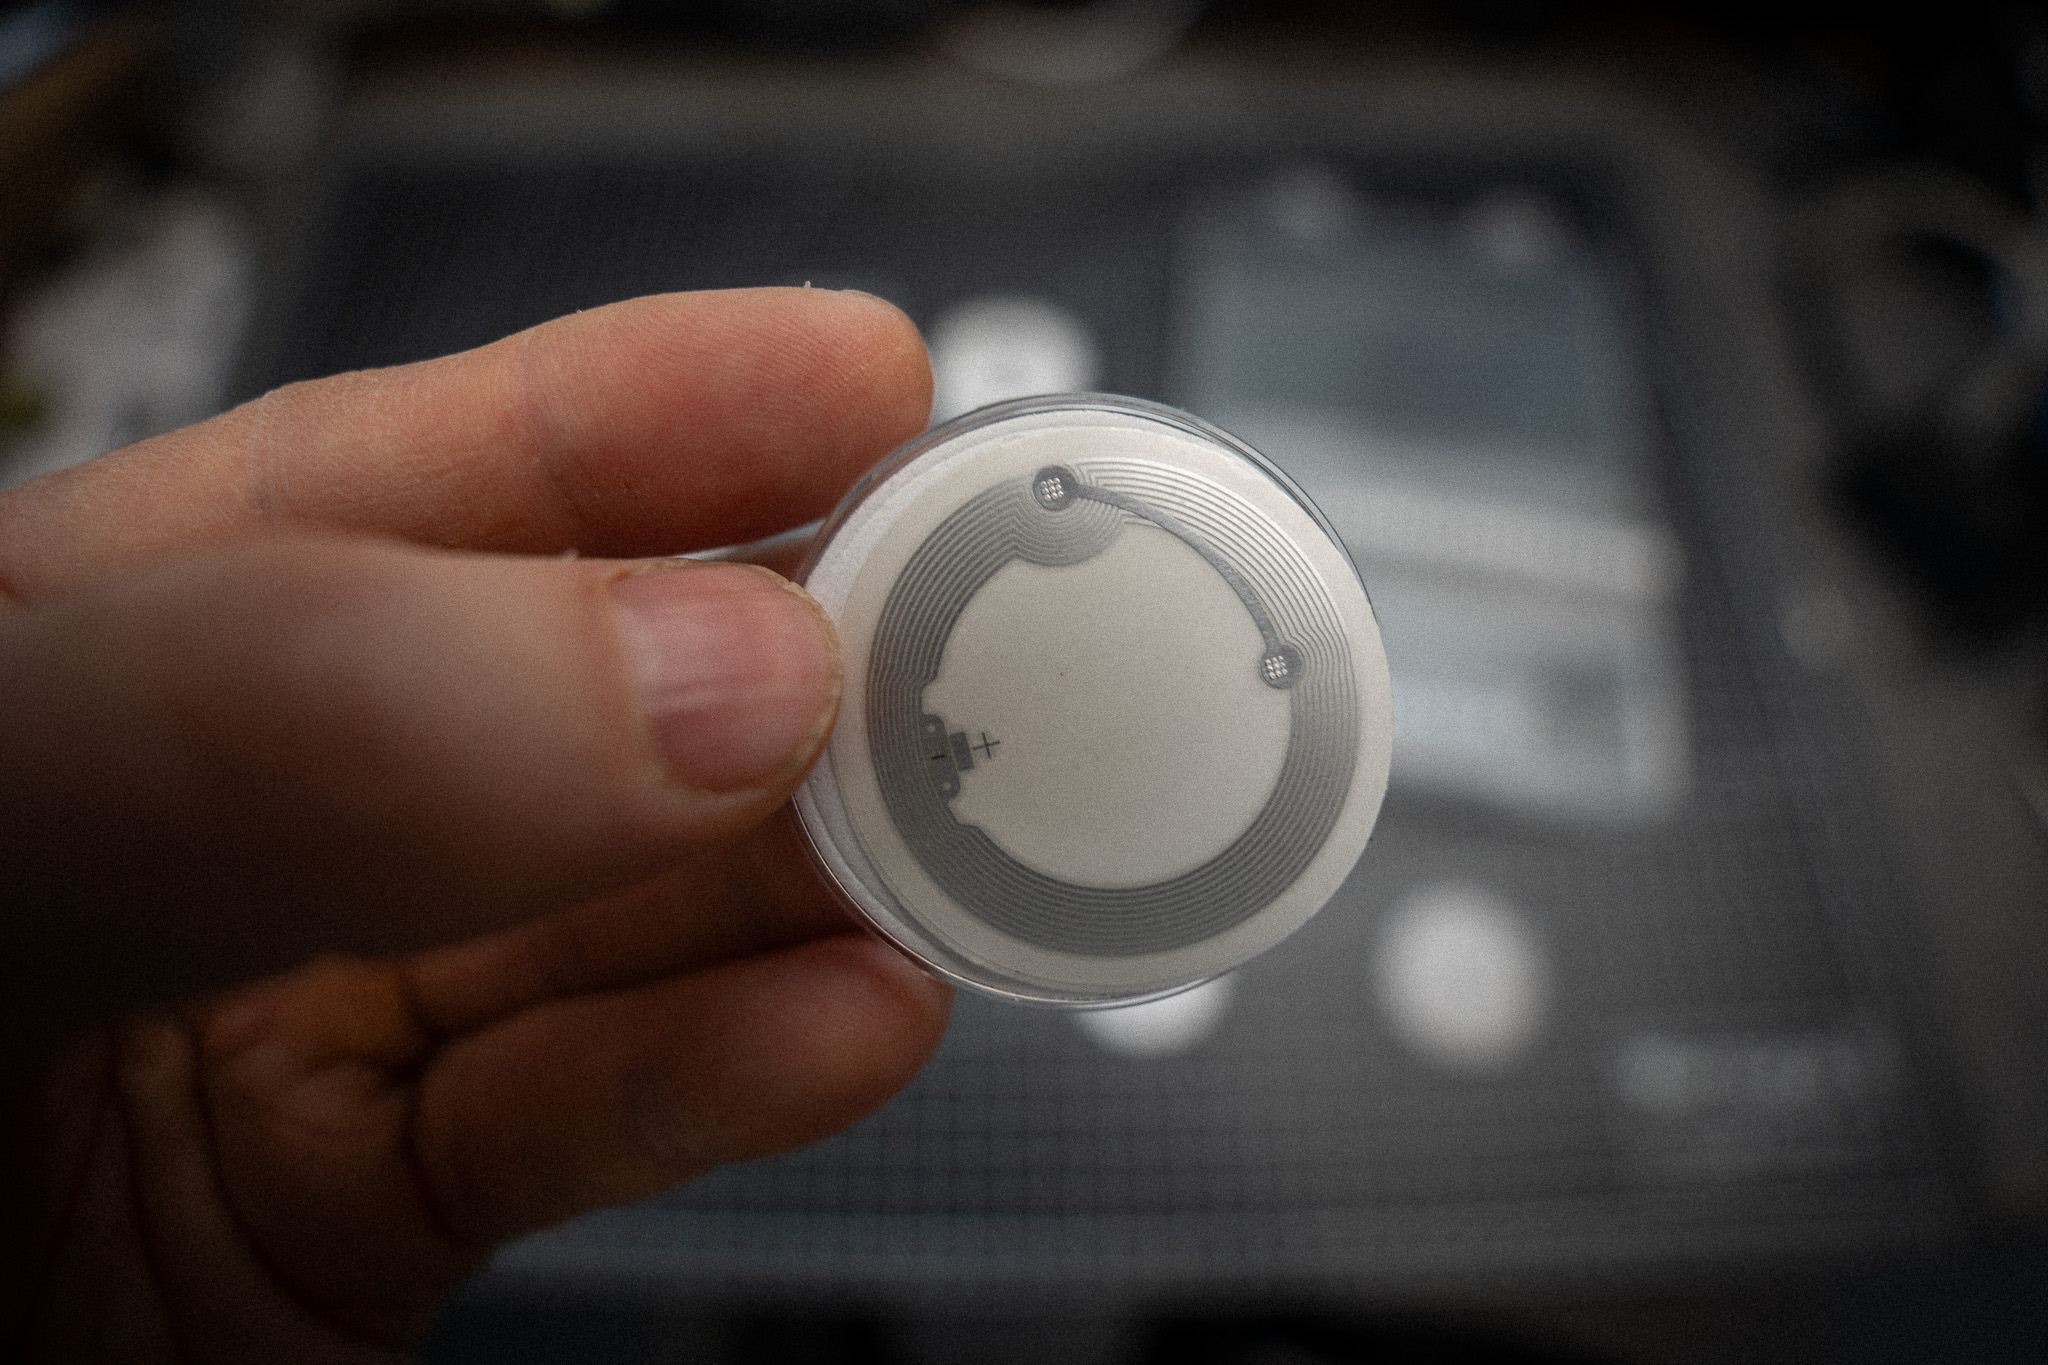
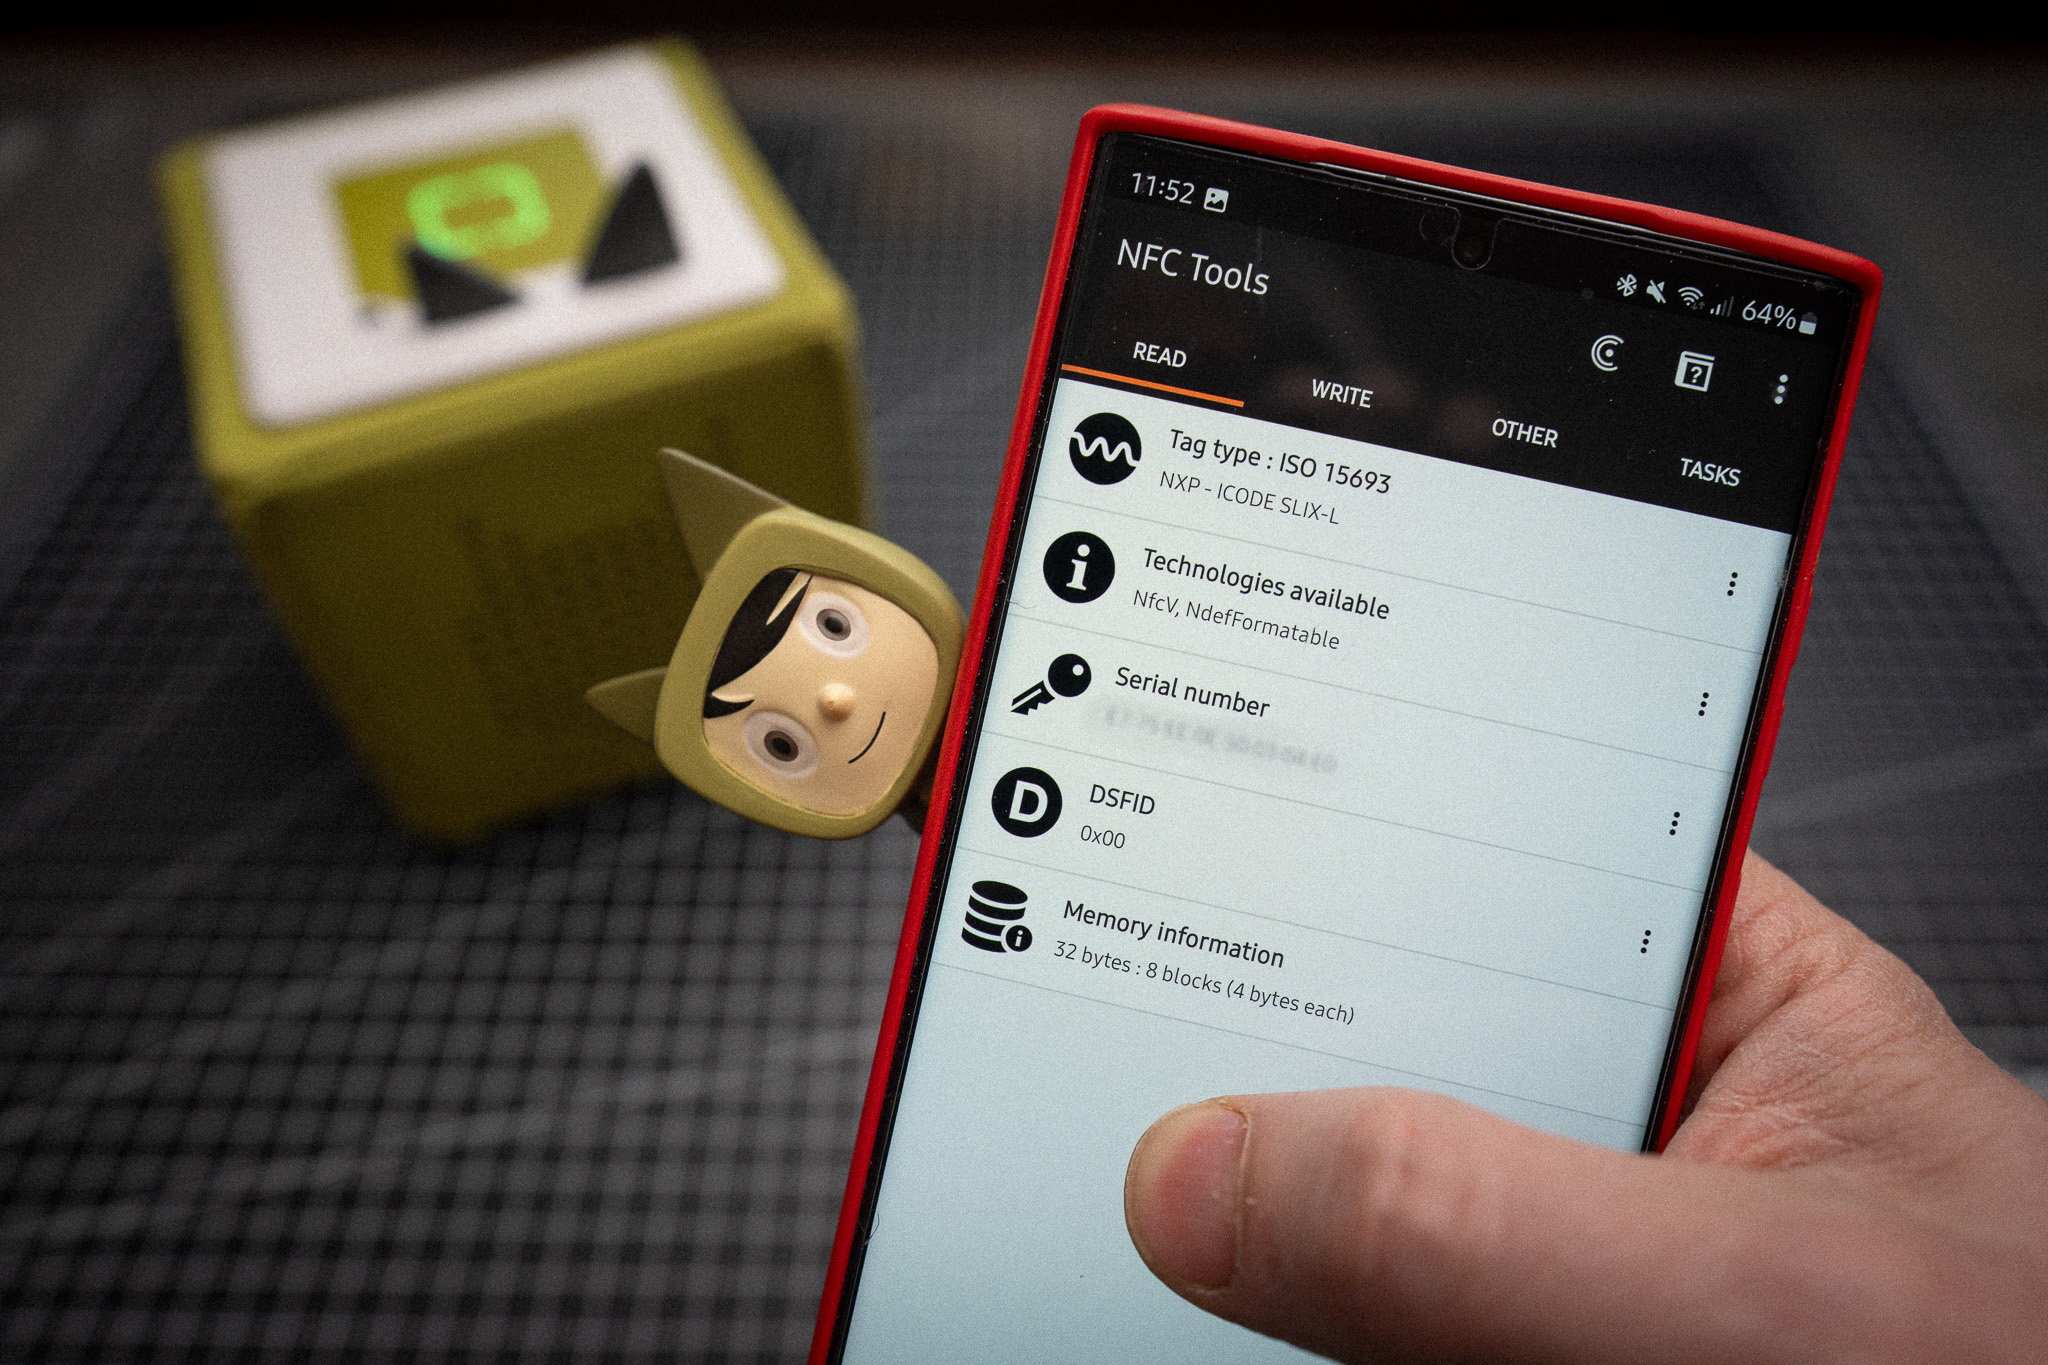
2. Read ID
The ID of the NFC tag can be read using your mobile phone – and you should definitely do this before placing the tag on the Toniebox, as this puts it into a so-called privacy mode.
From this point on, the ID can only be read using the so-called knock method: quickly tap with the tag on the box, as the privacy mode is opened briefly each time. This method also works with Creative Tonies:
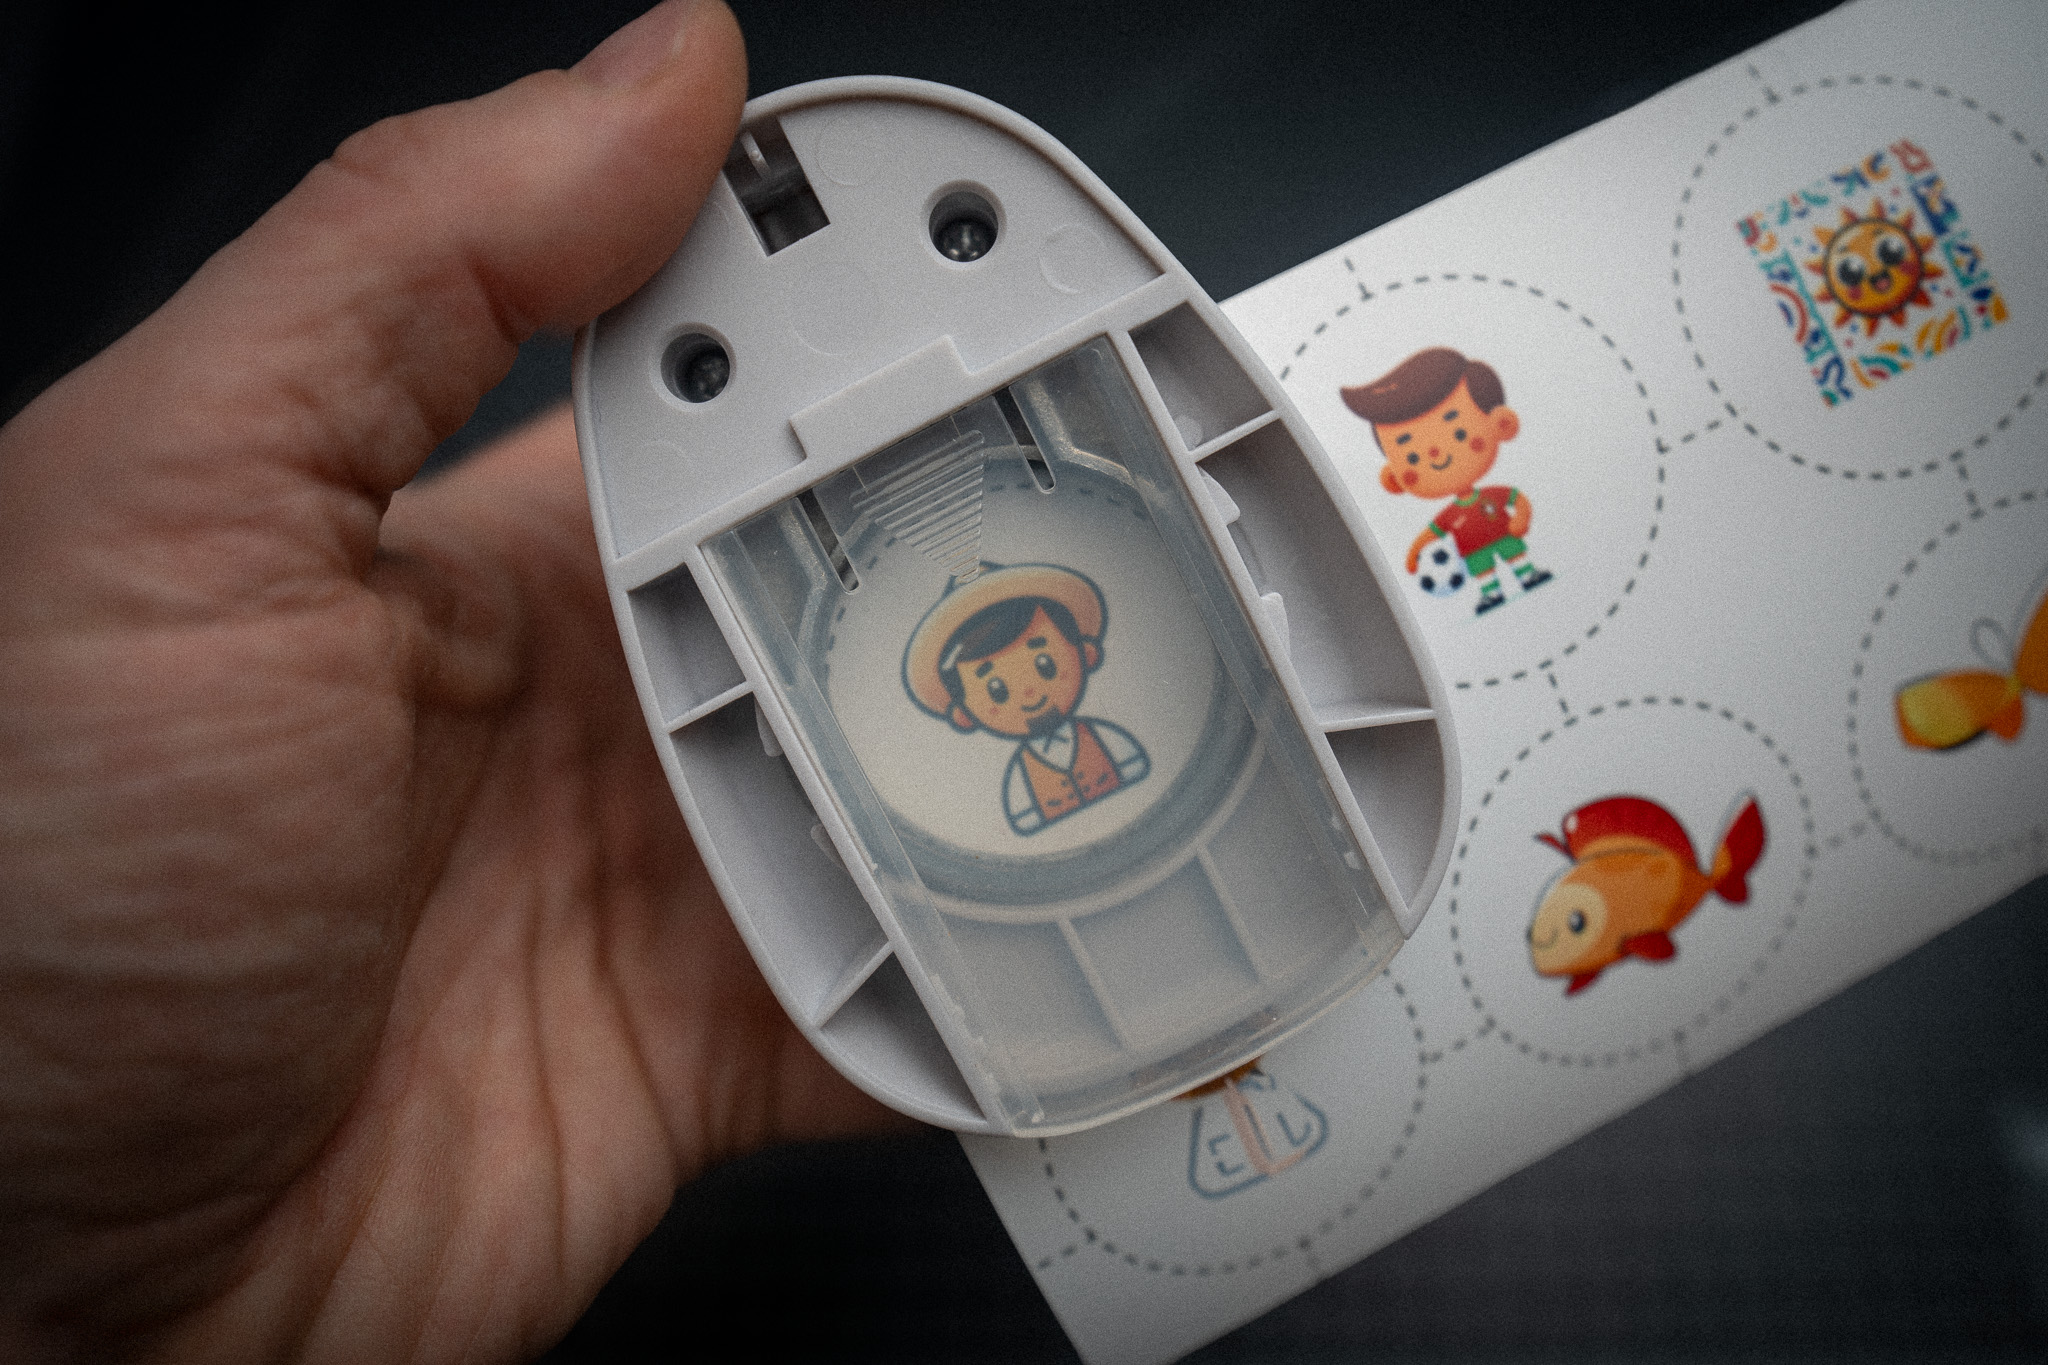
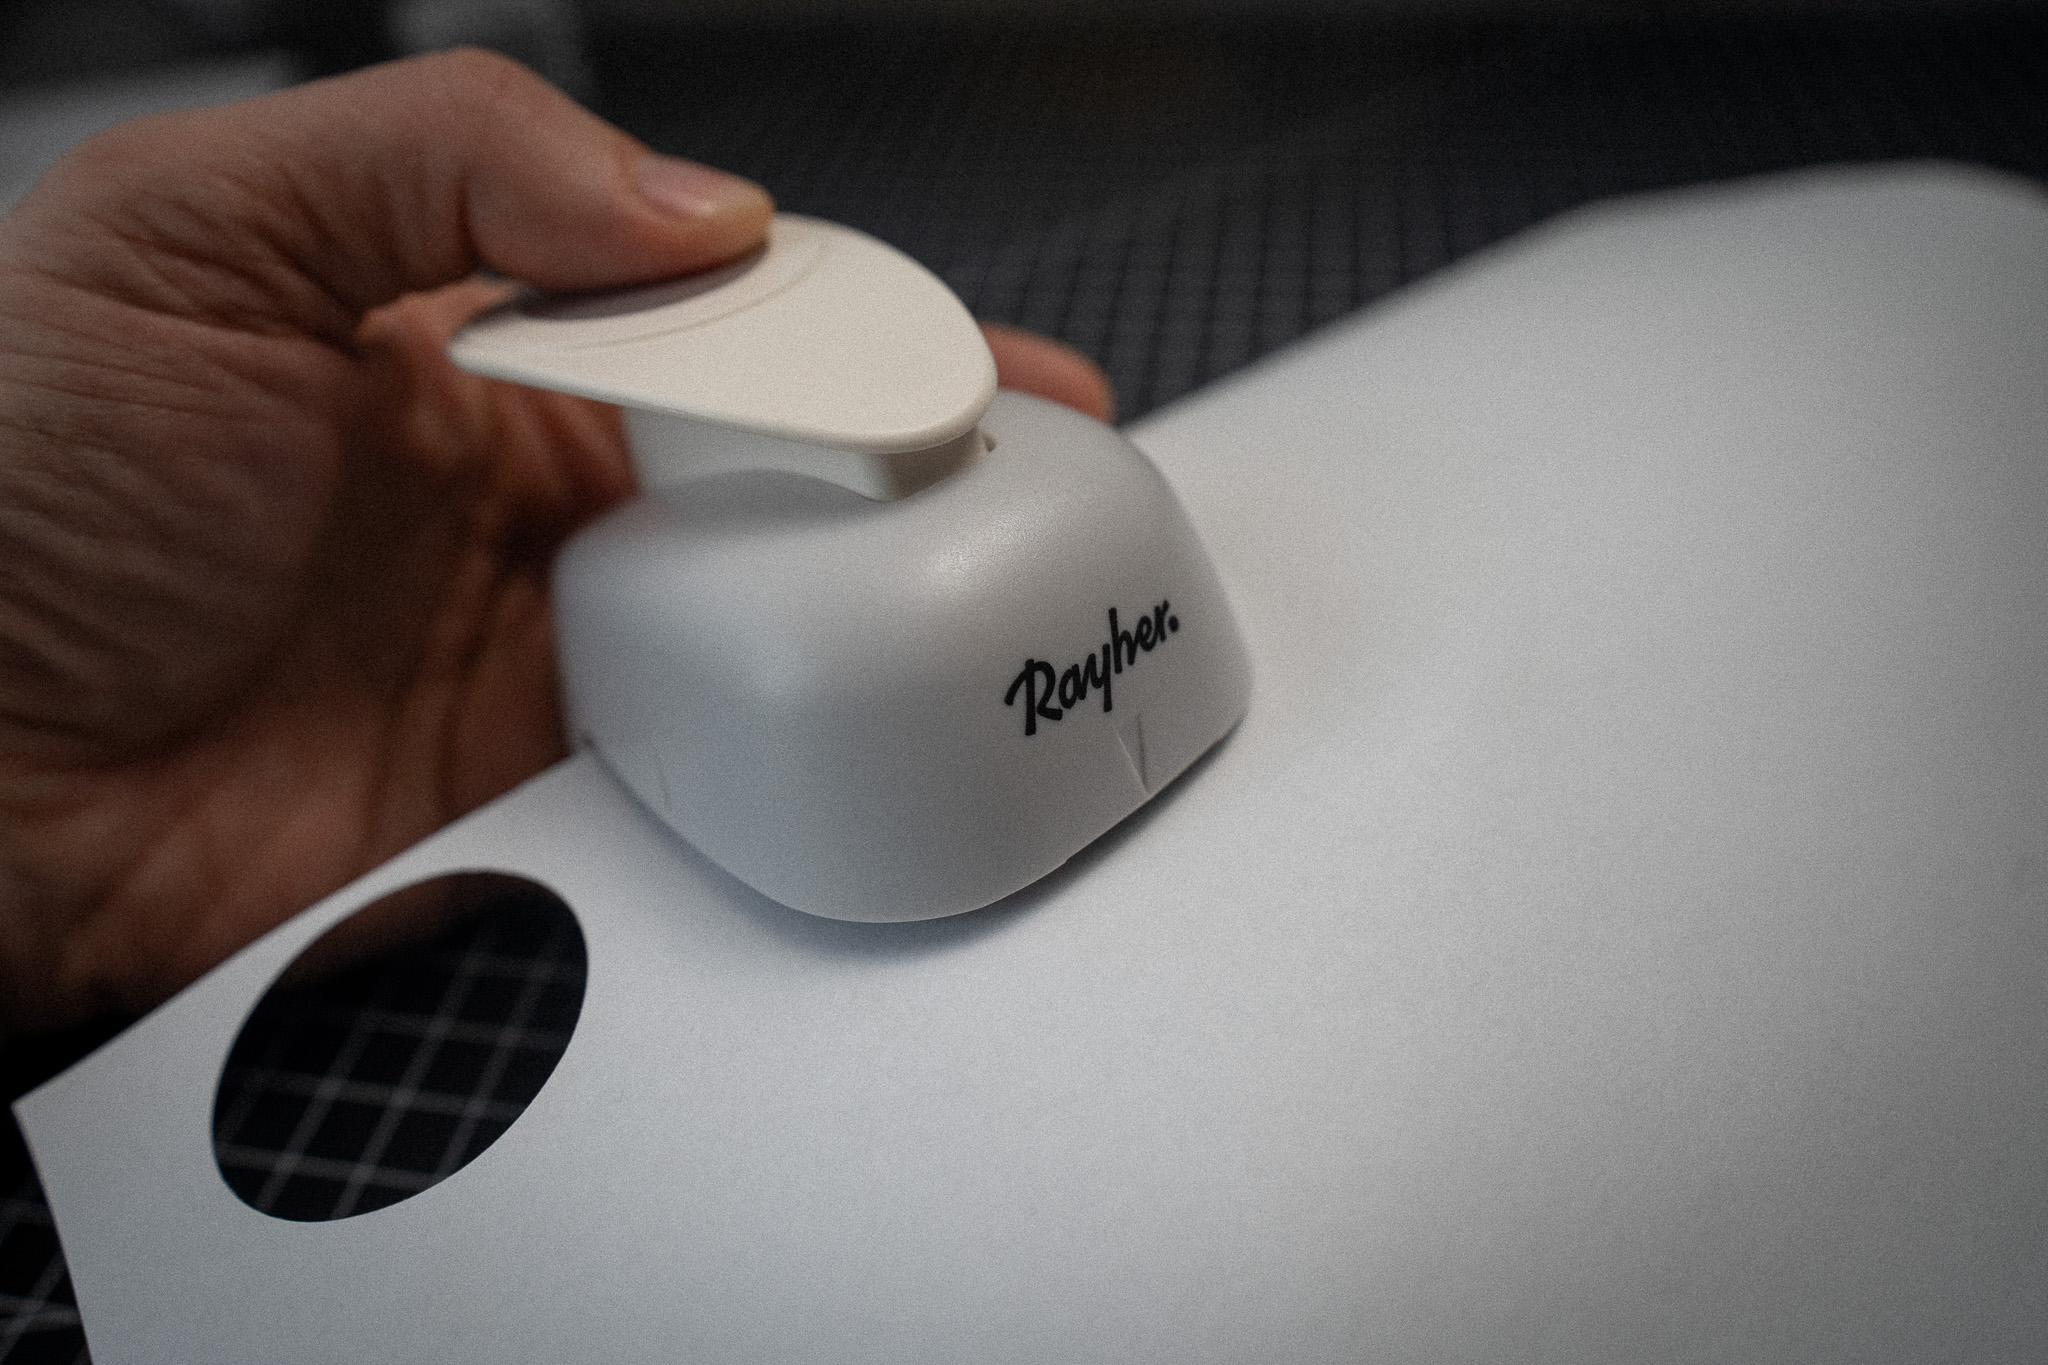
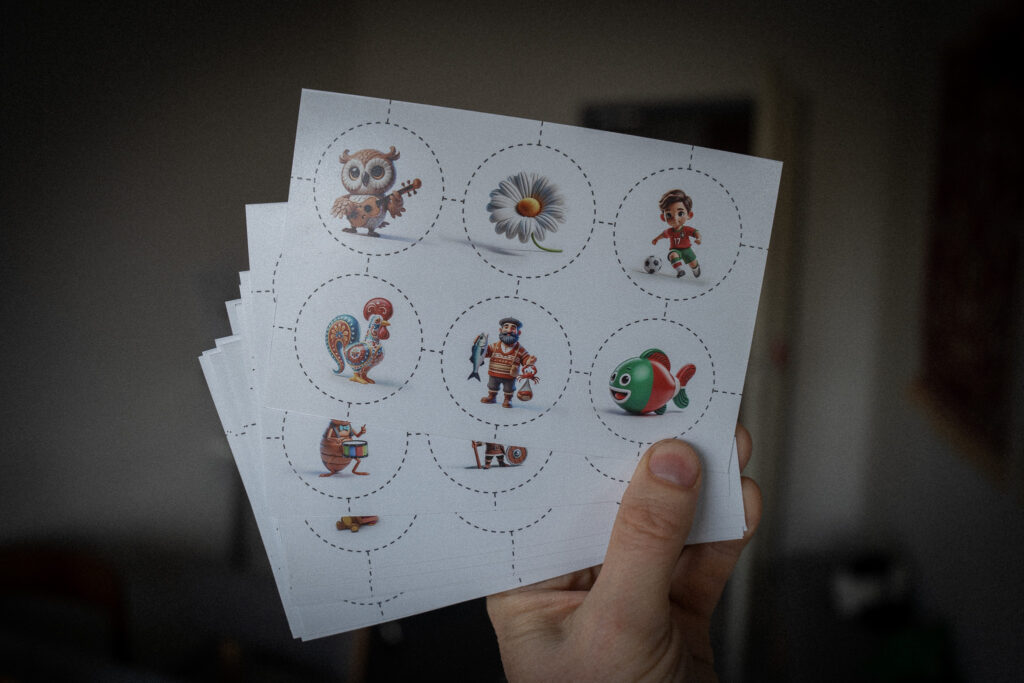
3. Templates for download
- Here you can download a template for coin capsules with 40mm diameter for Word in A4 and
- Here is the template in 15 x 10 cm format , in case you want to have it printed out as photos (currently costs 0.35 Euro for express printing and 0.19 with a matte finish when ordering at Müller store, for example).
Generate a PDF with your text here or uploaded images:
*Each line in the input field represents a Tonie. A semicolon within a line creates a line break. Alternatively, you can upload PNGs with a transparent background. The PDF will be automatically downloaded by your browser.
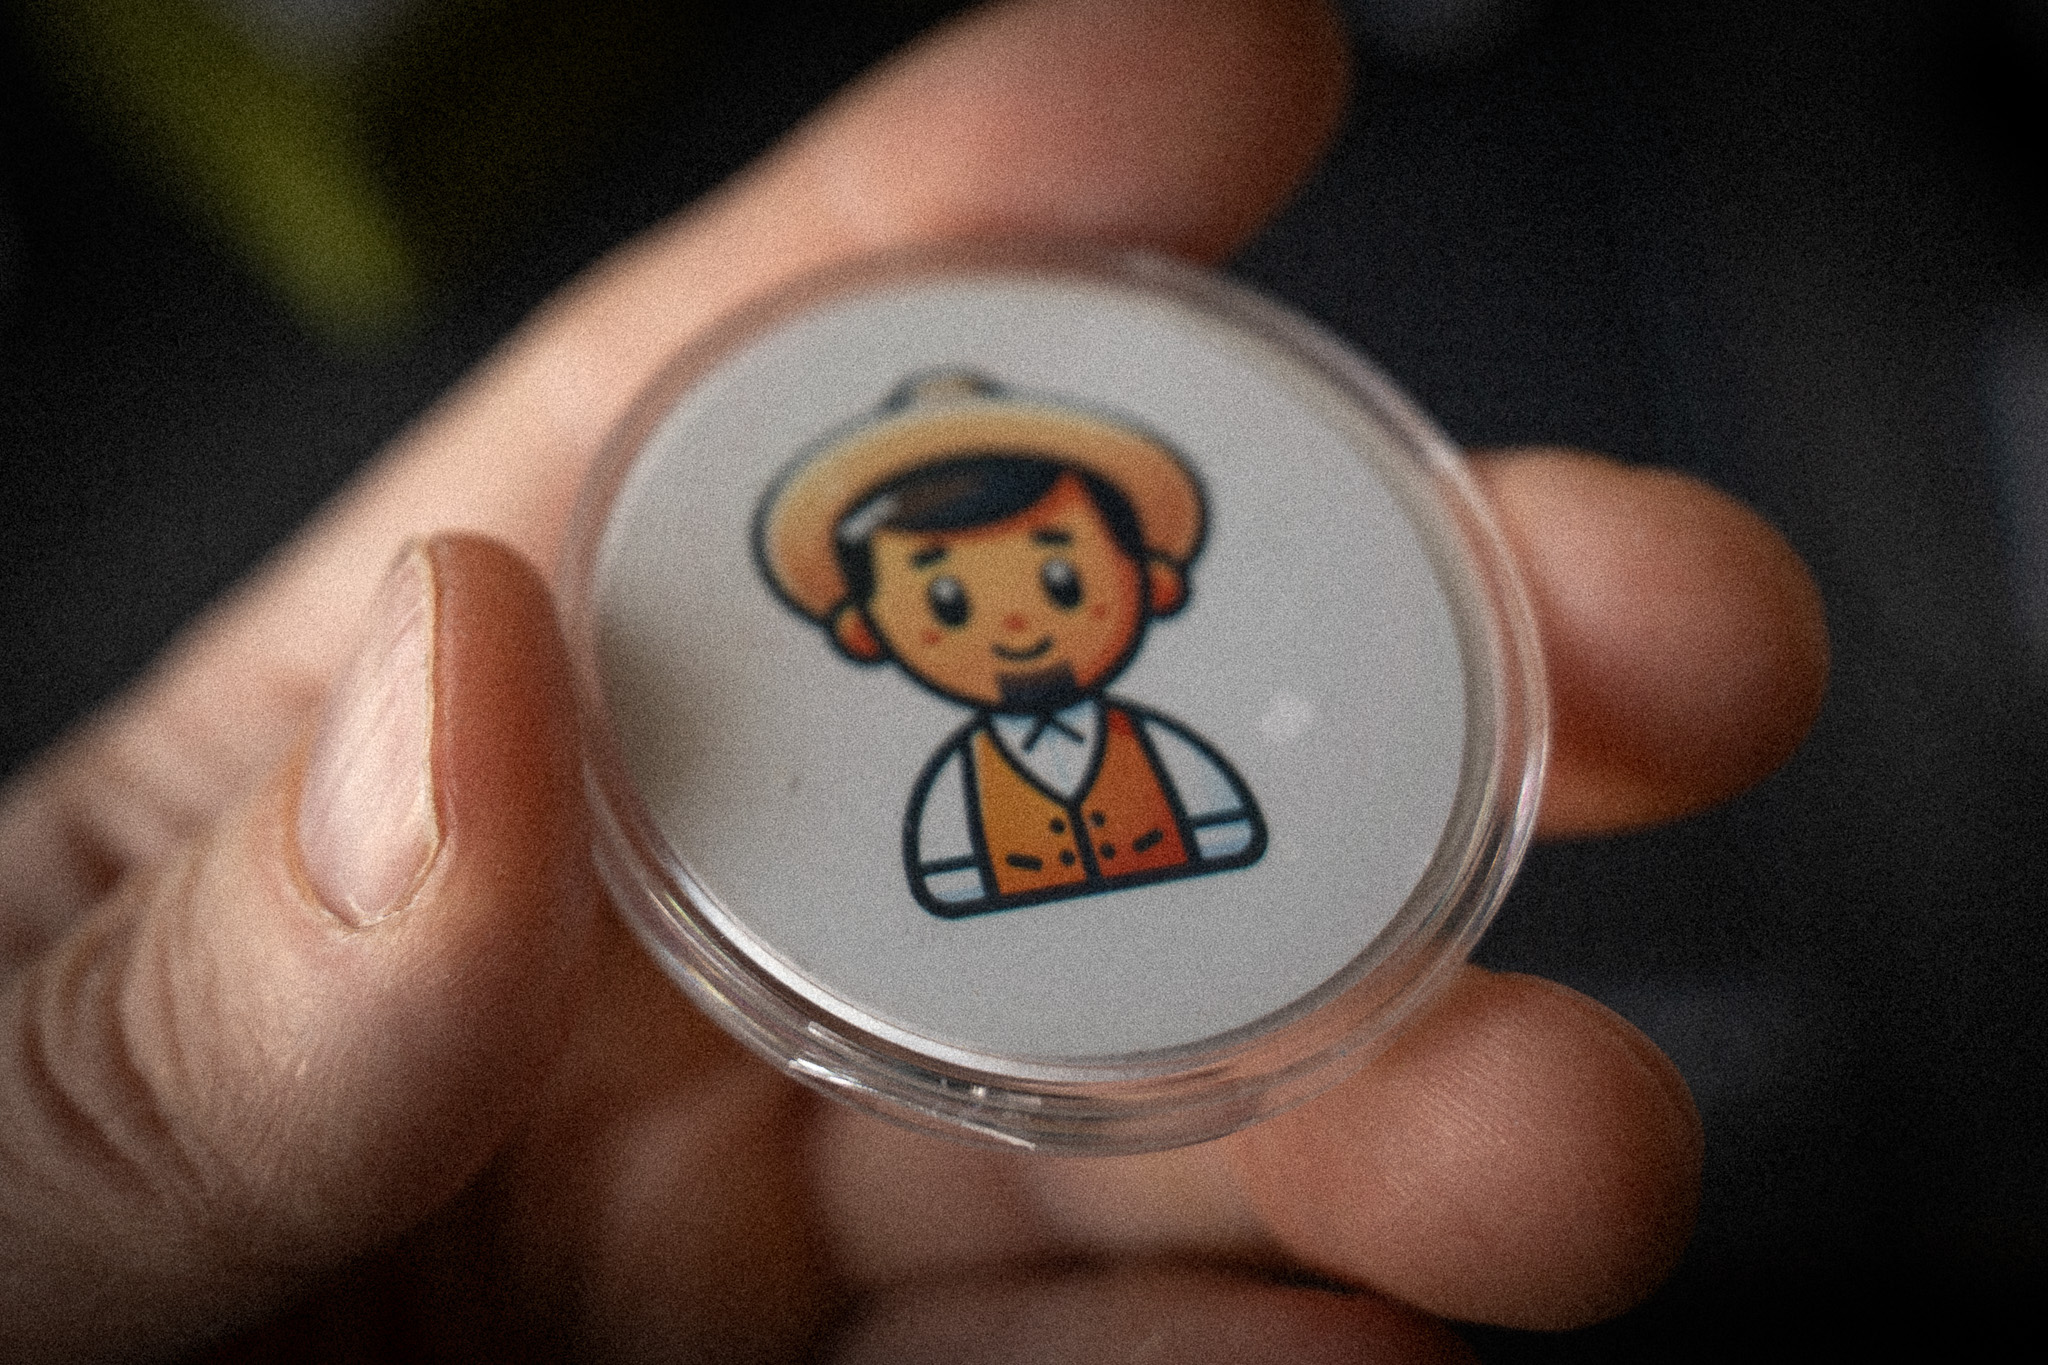
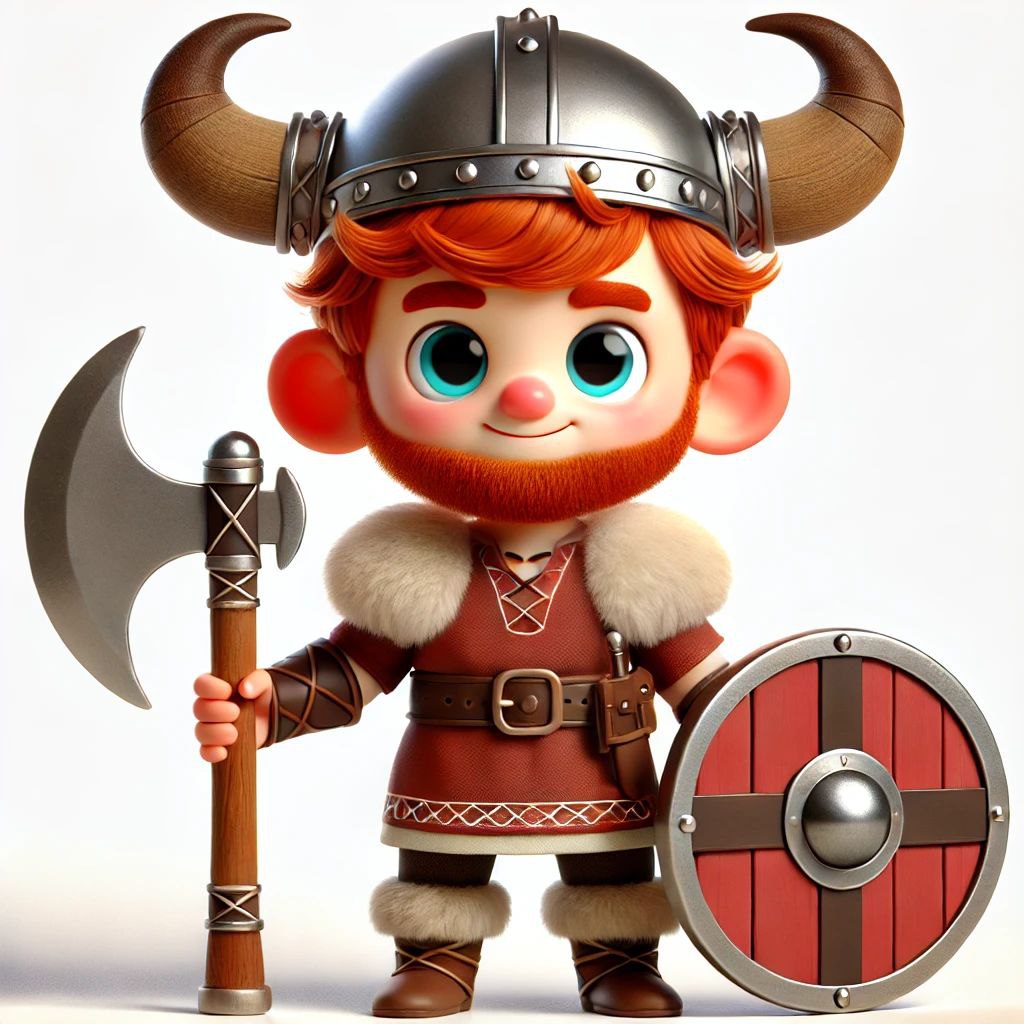
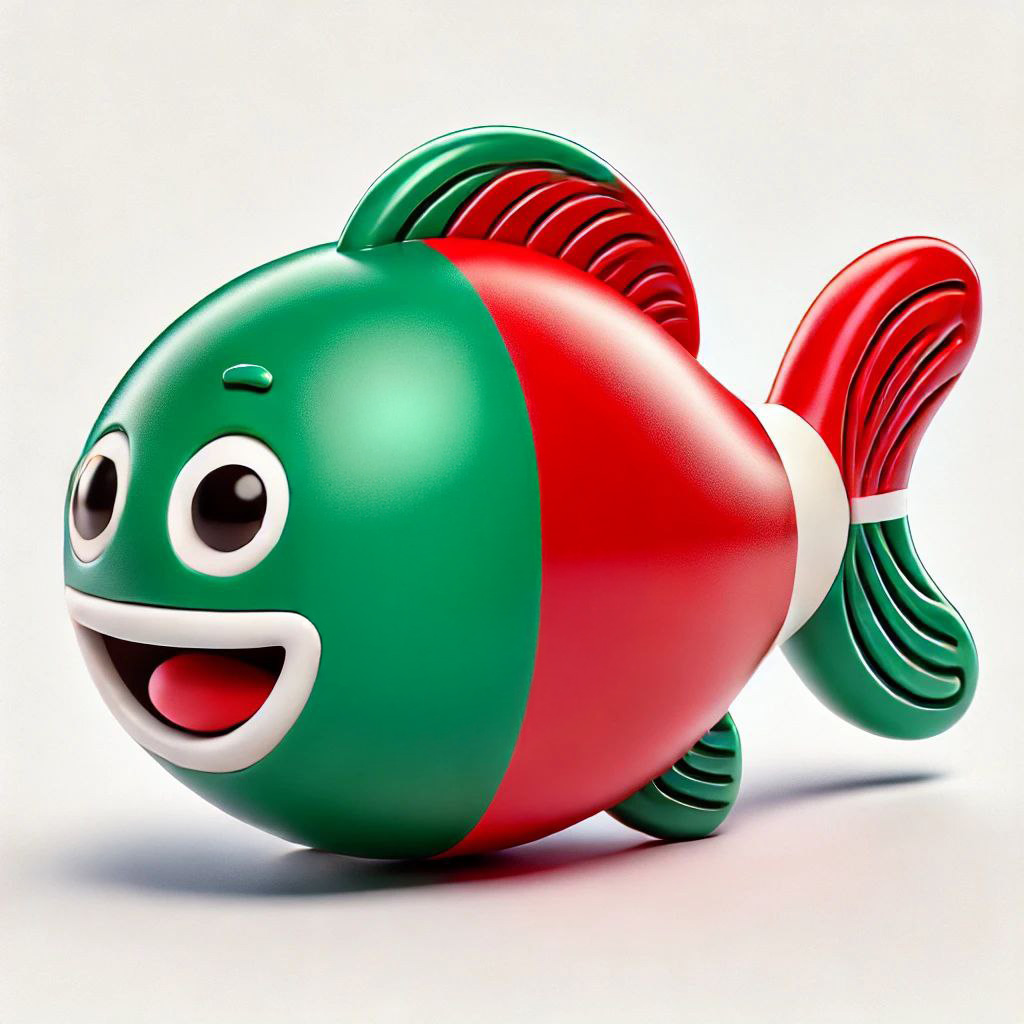
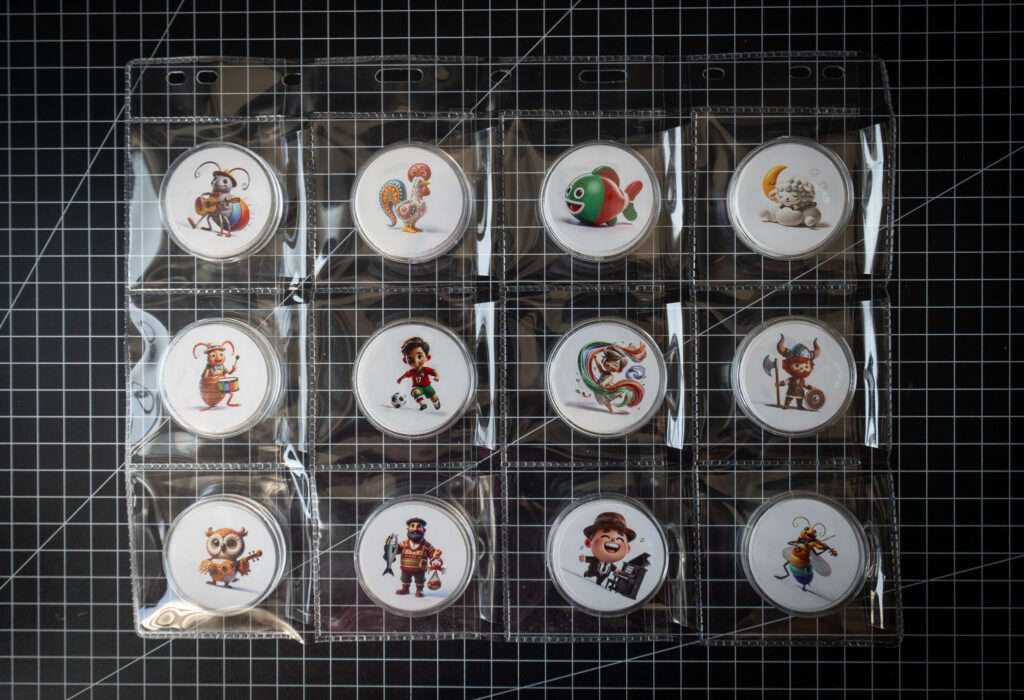
Lately I used DALL·E to generate images for my custom Tonies, ensuring they match the style of the original Tonies.:


4. Transparent sheets and magnetic eyeshadow palettes for storage
Magnetic eyeshadow palettes work great for storage:
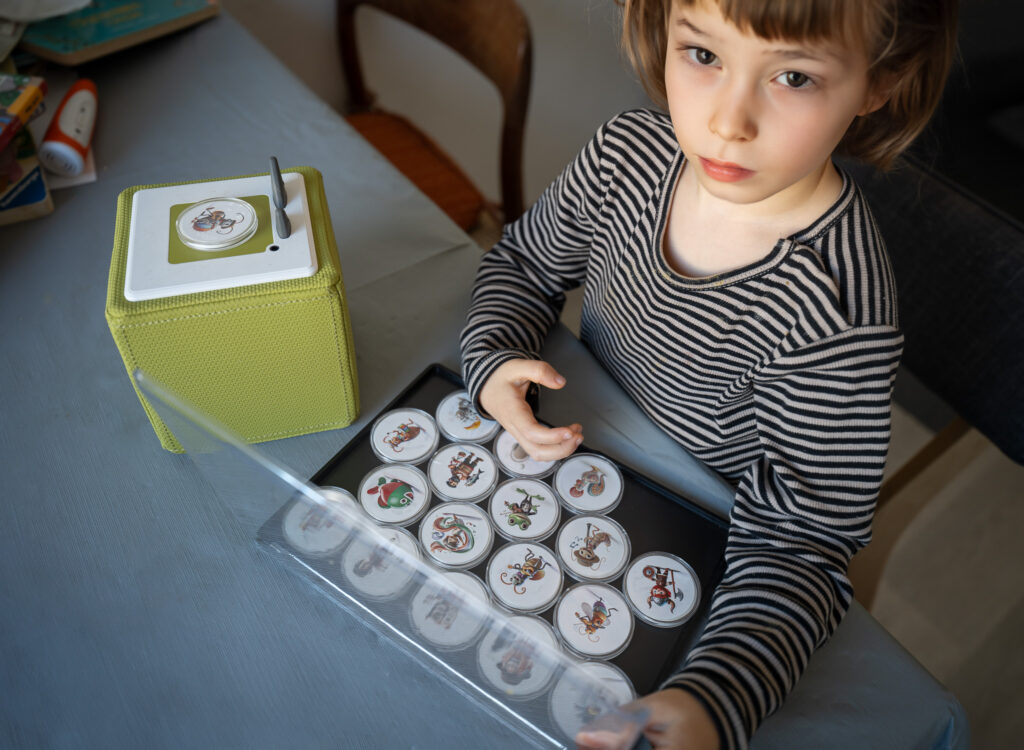
I also use these collector sleeves to keep our coins neatly organized:
Tips & Tricks
1. Using two SD cards
It is a good idea to use two MicroSD cards – one for online use with the official content and a second one that only stores your own content. This prevents the box from deleting your data when it connects to the Internet.
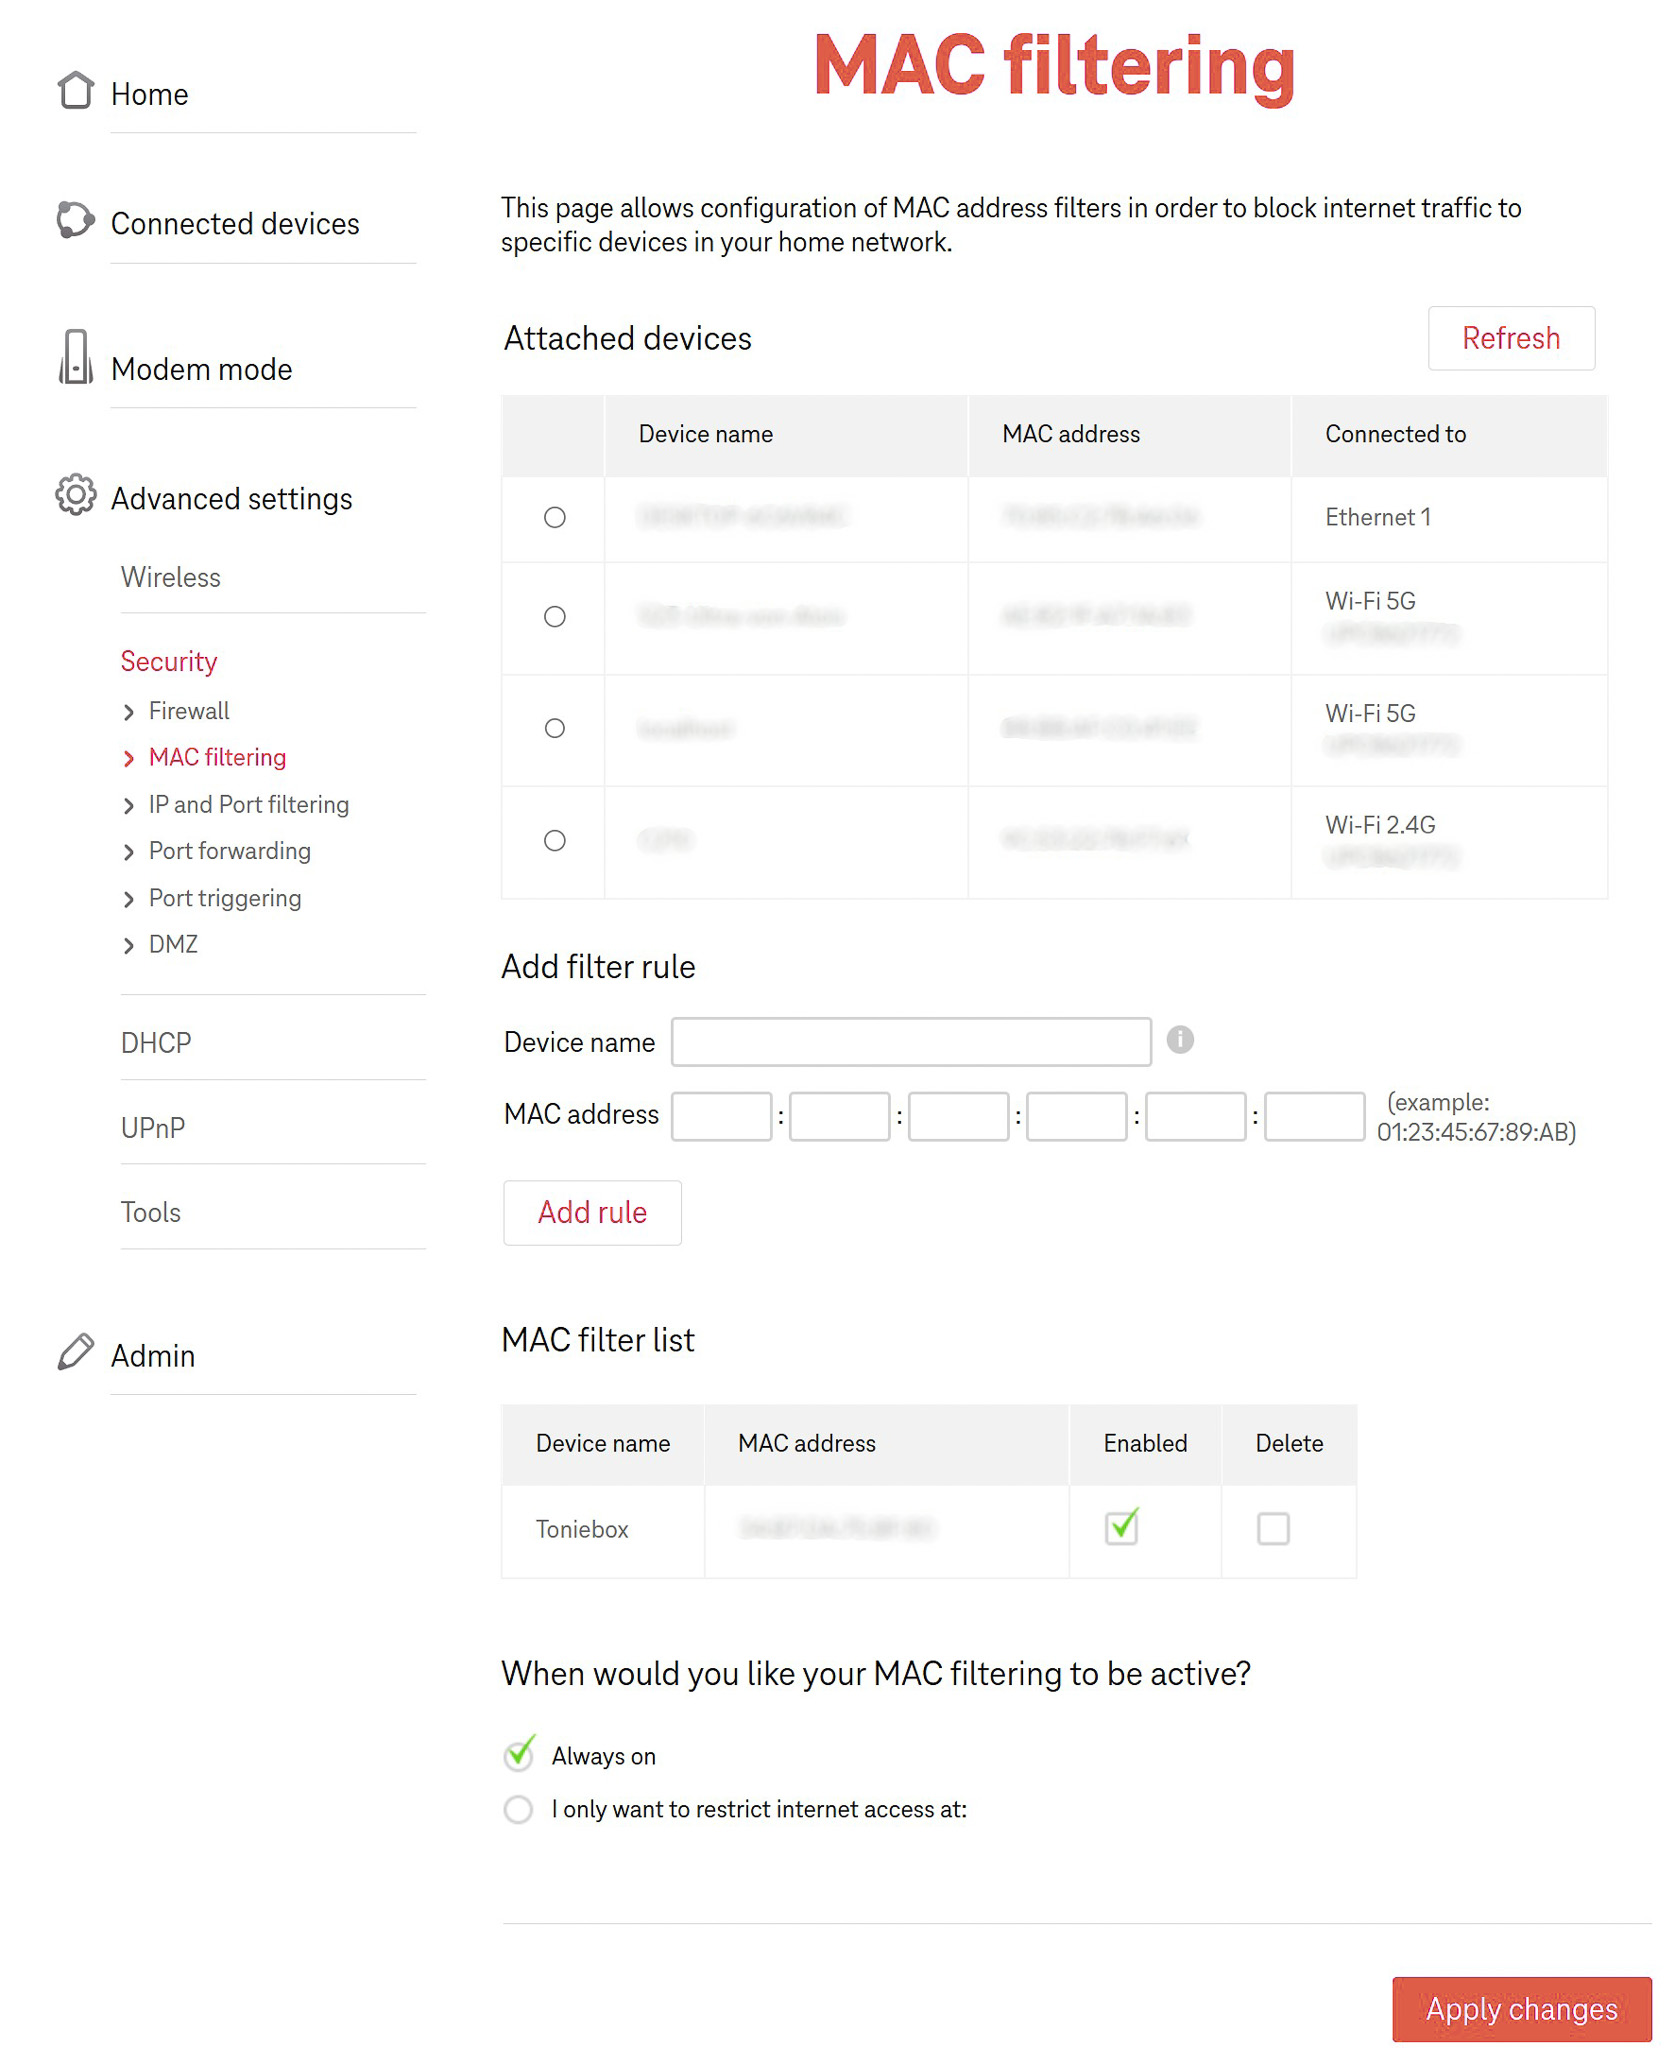
2. Activate offline mode
Block the Toniebox in the router so that it does not connect to the Internet and your own content is not deleted:
If the box is online, custom content is otherwise marked as “Live.” This means it always starts from the beginning and is flagged for deletion.
Alternatively, you can prevent the Toniebox from connecting to the Internet at all:
- Set up a hotspot on your smartphone.
- Press both ears of the Toniebox at the same time until you hear a beep (“pairing mode”).
- Connect your PC to the Toniebox’s open WiFi network.
- Open the address 192.168.1.1 in the browser, the interface of the box opens.
- Enter the Wi-Fi data of the hotspot you have set up and connect to it.
This completes the setup.
A third option would be the official offline mode:
- Press both ears of the Toniebox at the same time until you hear a beep (“pairing mode”).
- Then press and hold the right ear for about 3 seconds until a voice says “Offline mode is now activated”.
The last method is risky because the box will exit offline mode if the battery is empty or the connection to the battery is suddenly lost.
3. Hidden settings
If you want to reset the Toniebox or change certain settings, there are a few tricks:
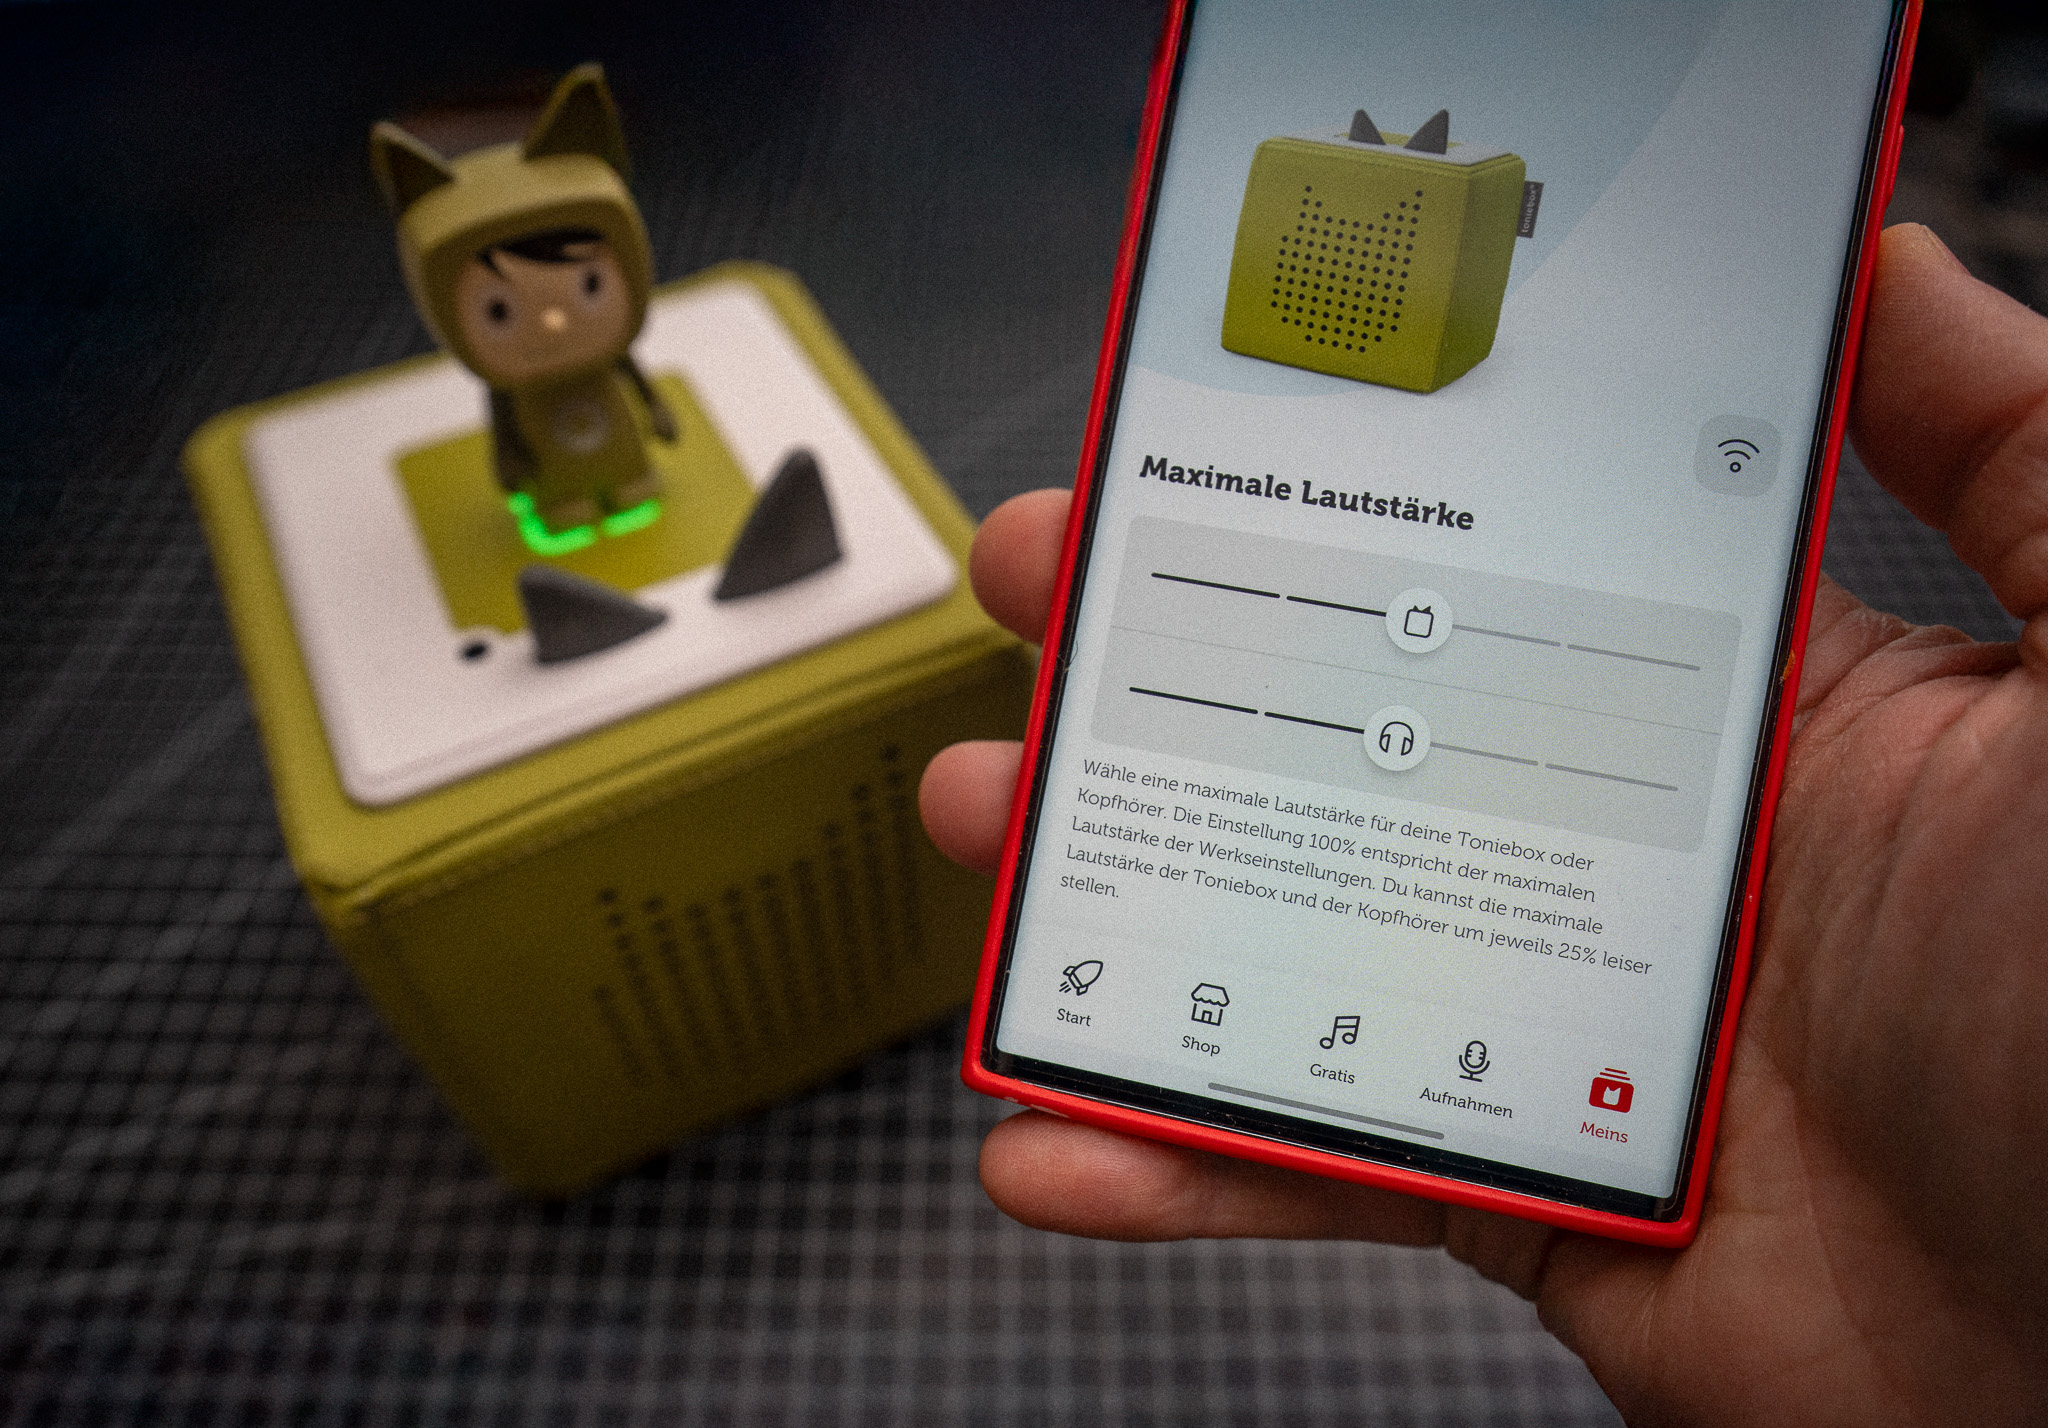
Attention!
- When resetting, the box forgets the changes to the maximum volume. So it’s better to wait 10 minutes until it switches off.
- Never turn and hold both ears when the charger is connected, as this will erase all content…
Conclusion: Our experiences
Hacking the Toniebox was a great way for us to customize the box. Especially for our child’s multilingual upbringing, it was a great benefit to be able to integrate our own content in different languages from YouTube or other sources.
Although it is a bit cumbersome to use the box offline, we now have the freedom to design the content according to our wishes.
If you have similar ideas – like creating your own characters or using NFC coins for travel – the hack offers many creative possibilities!
Do you have any questions or tips of your own?
We are always happy to hear new ideas or suggestions for improvement! Let us know about your experiences in the comments or ask us questions if you need help implementing them. Have fun crafting and hacking!
Leave a Reply